A great chicken brine recipe transforms ordinary poultry into something spectacular. If you’ve ever wondered why restaurant chicken tastes juicier and more flavorful than your home version, brining is usually the secret weapon.
This simple technique uses salt, water, and aromatics to infuse moisture and seasoning deep into the meat. Whether you’re roasting a whole bird, grilling breasts, or smoking thighs, brining guarantees tender, succulent results every single time.
Let me walk you through my tried and tested method that works for any cut of chicken. You’ll never serve dry chicken again.
Why You’ll Love This Recipe
This chicken brine recipe delivers restaurant quality results with minimal hands on effort. Once you try it, you’ll wonder how you ever cooked chicken without it.
- Produces noticeably juicier chicken with every cooking method
- Uses pantry staples you probably already have on hand
- Works for whole chickens, breasts, thighs, wings, or drumsticks
- Adds flavor throughout the meat, not just on the surface
- Provides a foolproof buffer against overcooking
My Experience Making This Recipe
I’ve been brining chicken for over a decade, and the difference still amazes me. The first time I pulled a brined chicken from the oven, I actually gasped at how the juices pooled on the cutting board.
My family now refuses to eat chicken any other way. Even my notoriously picky nephew asked for seconds, which felt like winning a small victory.
The aroma of the brine itself gets me excited for dinner. Those herbs, garlic, and peppercorns simmering together smell like a promise of something delicious to come.
Recipe Overview
- Recipe Name: Classic Chicken Brine
- Servings: Enough for 4 to 6 pounds of chicken
- Prep Time: 15 minutes
- Brine Time: 4 to 24 hours
- Total Time: 4 hours 15 minutes to 24 hours 15 minutes
- Course: Preparation technique
- Cuisine: American
- Calories per Serving: Approximately 15 calories absorbed per serving
Equipment You Will Need
- Large stockpot or Dutch oven for heating the brine
- Measuring cups and spoons
- Long handled spoon for stirring
- Large food safe container or brining bag
- Refrigerator space to hold the container
- Colander for draining
- Paper towels for patting dry
Ingredients for Chicken Brine Recipe
For the Brine Base
- 8 cups cold water, divided
- 1/2 cup kosher salt (or 1/4 cup table salt)
- 1/4 cup brown sugar, packed
- 4 cups ice cubes for rapid cooling
For the Aromatics
- 6 cloves garlic, smashed
- 1 tablespoon black peppercorns, whole
- 4 sprigs fresh thyme
- 2 sprigs fresh rosemary
- 2 bay leaves
- 1 lemon, halved
Ingredient Notes and Substitutions
- Kosher salt dissolves evenly and provides consistent seasoning. Use Diamond Crystal brand, or reduce amount by half if using Morton’s or table salt.
- Brown sugar balances the saltiness and promotes beautiful browning. Honey or maple syrup work as alternatives in equal amounts.
- Fresh herbs infuse subtle aromatic notes into the chicken. Dried herbs work in a pinch at one third the quantity.
- Garlic adds savory depth that permeates the meat. Substitute one teaspoon garlic powder if fresh is unavailable.
- Black peppercorns provide gentle heat without being overpowering. Skip them entirely for a milder brine.
- Lemon brightens the overall flavor and tenderizes slightly. Orange or lime make interesting substitutes for different flavor profiles.
How to Make Chicken Brine Recipe
Step 1: Heat the Water and Salt
Pour 4 cups of water into a large stockpot and add the kosher salt and brown sugar. Heat over medium high heat, stirring occasionally, until the salt and sugar dissolve completely.
Dissolving the salt fully prevents grainy texture and ensures even seasoning throughout the brine. You’ll see the liquid turn clear when everything has incorporated properly.
Step 2: Add the Aromatics
Toss in the smashed garlic, peppercorns, thyme, rosemary, bay leaves, and lemon halves. Give the mixture a gentle squeeze to release the lemon juice into the pot.
The heat helps release the essential oils from the herbs and spices. This is when your kitchen starts smelling absolutely incredible.
Step 3: Simmer Briefly
Bring the mixture to a gentle simmer and let it bubble for 3 to 5 minutes. Stir once or twice to distribute the flavors evenly.
Simmering extracts maximum flavor from the aromatics without evaporating too much liquid. Don’t boil aggressively or you’ll lose water volume.
Step 4: Cool the Brine Rapidly
Remove the pot from heat and add the remaining 4 cups of cold water plus the ice cubes. Stir until the ice melts and the brine reaches room temperature or cooler.
The brine must be completely cold before adding chicken. Warm brine creates a dangerous temperature zone where bacteria thrive, so patience here protects your health.
Step 5: Prepare the Chicken
Remove your chicken from its packaging and pat it dry with paper towels. Place it in a large food safe container or brining bag.
Drying the chicken first helps the brine make better contact with the meat surface. A brining bag works great for saving refrigerator space.
Step 6: Submerge the Chicken
Pour the cooled brine over the chicken, making sure the meat is fully submerged. If pieces float, place a small plate on top to weigh them down.
Complete submersion ensures every part of the chicken absorbs the brine equally. Exposed areas won’t benefit from the brining process and may taste bland.
Step 7: Refrigerate and Wait
Cover the container and refrigerate for at least 4 hours, or up to 24 hours for whole chickens. Bone in pieces need 4 to 8 hours, while boneless cuts only need 2 to 4 hours.
Longer brining times allow deeper penetration of salt and flavor. However, exceeding the recommended time can make the meat unpleasantly salty or mushy.
Step 8: Remove and Rinse
Take the chicken out of the brine and discard the liquid and aromatics. Rinse the chicken briefly under cold running water to remove surface salt.
Rinsing prevents an overly salty exterior when cooking. A quick rinse is sufficient; you don’t need to scrub vigorously.
Step 9: Dry Thoroughly
Pat the chicken completely dry with fresh paper towels, getting into all the crevices. For crispier skin, let it air dry uncovered in the refrigerator for 1 to 4 hours.
Dry skin browns beautifully and crisps up during cooking. Wet skin steams instead of searing, resulting in rubbery, pale results.
Step 10: Season and Cook
Season the dried chicken with your preferred spices and cook using your chosen method. The chicken is now ready for roasting, grilling, smoking, or frying.
Go easy on additional salt since the brine has already seasoned the meat. Focus on herbs, spices, and aromatics for your seasoning blend.
Pro Tip: For the crispiest roasted chicken skin, let your brined and dried bird sit uncovered in the refrigerator overnight before cooking. The cold air removes surface moisture and creates shatteringly crisp skin.
Tips for the Best Chicken Brine Recipe
- Always use cold brine; never add chicken to warm liquid as this promotes bacterial growth
- Match your brining time to the cut size; boneless breasts need only 2 hours while whole birds benefit from overnight
- Use a container that fits your refrigerator comfortably to avoid temperature fluctuations from constantly opening the door
- Taste your brine before adding chicken; it should taste pleasantly salty like sea water, not aggressively salty
- Save time by making double batches of brine base and freezing portions for future use
- Consider adding apple cider vinegar, soy sauce, or citrus zest for custom flavor variations
Common Mistakes to Avoid
- Using warm brine creates unsafe conditions for bacterial growth and partially cooks the exterior
- Over brining makes chicken unpleasantly salty and gives it a weird spongy texture
- Skipping the rinse leaves too much salt on the surface and overpowers other seasonings
- Not drying properly prevents skin from crisping and causes steaming instead of browning
- Using iodized table salt in the same quantity as kosher salt results in extremely oversalted chicken
Serving Suggestions
Brined chicken pairs beautifully with almost anything since it’s seasoned perfectly throughout. Here are some of my favorite ways to serve it.
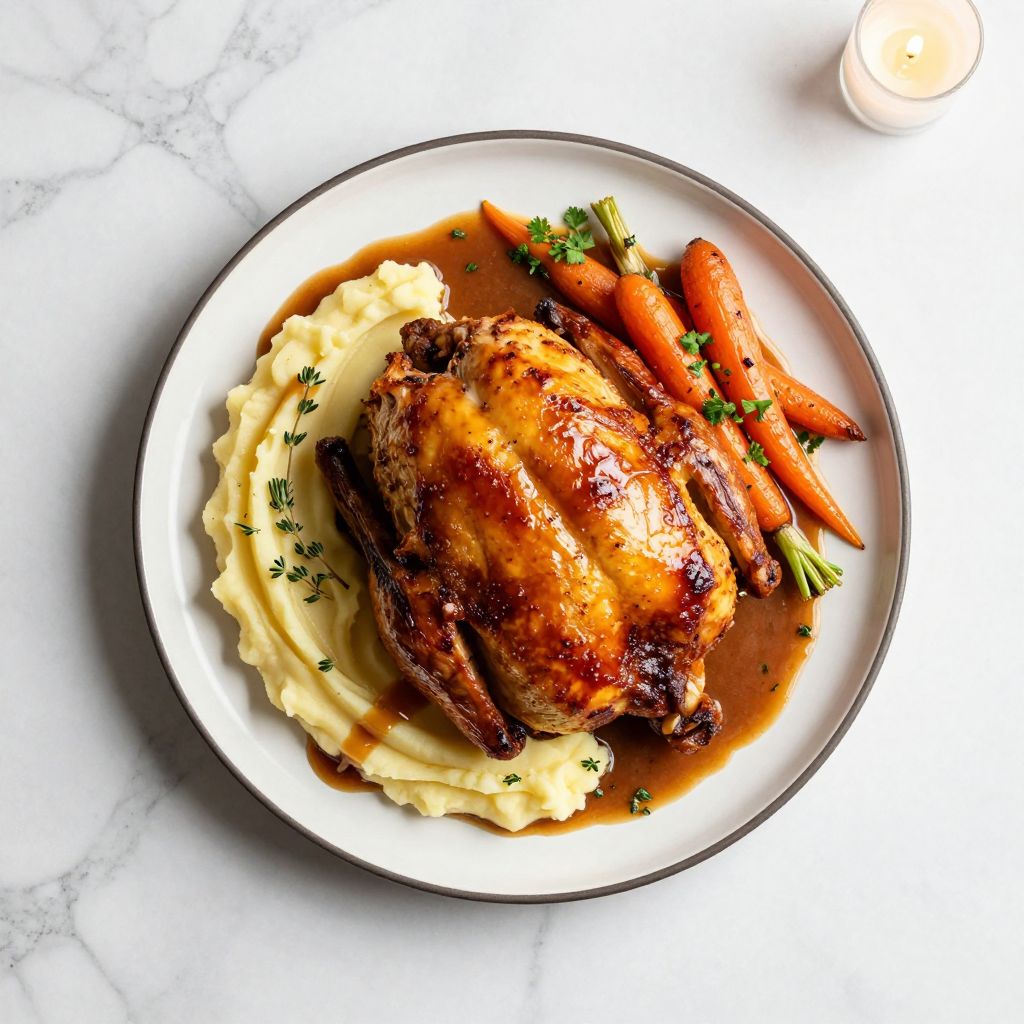
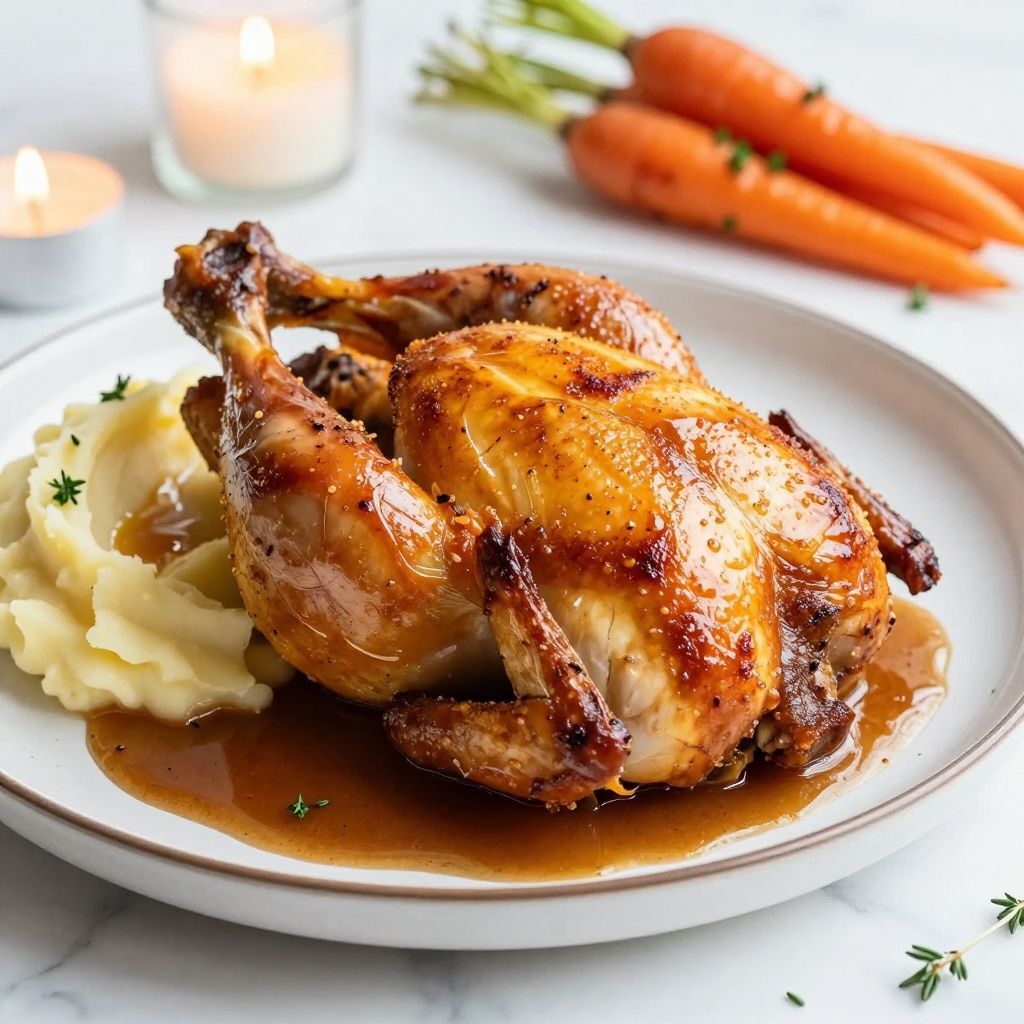
- Classic roasted chicken with mashed potatoes and gravy
- Grilled chicken breasts over a fresh summer salad
- Sliced on sandwiches with avocado and crispy bacon
- Shredded for tacos with pickled onions and cilantro
- Alongside roasted vegetables and crusty bread for a simple weeknight dinner
Variations to Try
- Buttermilk brine: Replace half the water with buttermilk for incredibly tender fried chicken with a tangy undertone
- Asian inspired brine: Add soy sauce, ginger, star anise, and sesame oil for chicken perfect in stir fries
- Spicy brine: Include crushed red pepper, cayenne, and hot sauce for chicken with subtle heat throughout
- Apple cider brine: Swap some water for apple cider and add cinnamon sticks for fall inspired flavor
- Herb garden brine: Double the fresh herbs and add sage, oregano, and marjoram for an intensely aromatic result
Dietary Adaptations
- Gluten free: This recipe is naturally gluten free; just verify your salt and sugar brands don’t contain additives
- Dairy free: The basic recipe contains no dairy; avoid buttermilk variations if needed
- Low sodium: Reduce salt by half and increase brining time by 50 percent for milder results
- Sugar free: Omit the brown sugar entirely; the brine still works, though browning will be slightly less pronounced
Storage and Reheating
Refrigerator
Store raw brined chicken and cook within 2 days for best results. Cooked brined chicken keeps well for 3 to 4 days.
- Keep in airtight containers
- Store on the lowest refrigerator shelf to prevent drips
- Never reuse brine that has touched raw chicken
Freezer
Unused brine base without chicken freezes beautifully for up to 3 months. Cooked brined chicken freezes well for 2 to 3 months.
- Freeze brine in ice cube trays for portion control
- Wrap cooked chicken tightly in plastic wrap, then foil
- Label with date and contents
Reheating
Brined chicken reheats better than unbrined because it retains more moisture. Use gentle methods to preserve that juiciness.
- Reheat in a 325F oven covered with foil until warmed through
- Add a splash of chicken broth to the pan for extra moisture
- Avoid microwaving skin on pieces as the skin becomes rubbery
Nutrition Information
| Nutrient | Amount |
|---|---|
| Calories | 15 |
| Total Fat | 0g |
| Saturated Fat | 0g |
| Carbohydrates | 3g |
| Fiber | 0g |
| Sugar | 3g |
| Protein | 0g |
| Sodium | 580mg |
| Cholesterol | 0mg |
Nutritional values represent estimated amounts absorbed by chicken during brining. Actual nutrition depends on the chicken cut and cooking method used.
Frequently Asked Questions
Can I use table salt instead of kosher salt?
Yes, but use exactly half the amount called for. Table salt is much finer and denser, so equal volumes would make your chicken way too salty.
How far ahead can I brine chicken?
Brine chicken up to 24 hours ahead for whole birds, or up to 8 hours for parts. After brining, you can keep the rinsed and dried chicken refrigerated for another day before cooking.
Does brining make chicken taste salty?
Properly brined and rinsed chicken should not taste overly salty. If your results are too salty, reduce brining time or decrease the salt quantity slightly next time.
Can I reuse the brine for another batch of chicken?
Never reuse brine that has contained raw chicken due to food safety concerns. You can make a fresh batch using the same recipe without any issues.
Why did my chicken turn out mushy after brining?
Mushy texture usually means the chicken brined too long or the salt concentration was too high. Stick to recommended times and measure your salt carefully for better results.
Final Thoughts
This chicken brine recipe genuinely changed how I approach cooking poultry. The small amount of extra planning pays off enormously when you bite into perfectly seasoned, impossibly juicy chicken.
Give this method a try for your next roast chicken or grilled dinner. Once you experience the difference brining makes, there’s simply no going back to dry, bland chicken ever again.
Classic Chicken Brine
Ingredients
Method
- Pour 4 cups of the cold water into a large stockpot.
- Add kosher salt and brown sugar; heat over medium-high, stirring, until completely dissolved, about 3–4 minutes.
- Stir in smashed garlic, peppercorns, thyme, rosemary, bay leaves, and the halved lemon (squeeze juice in, then drop halves).
- Bring the mixture to a gentle simmer and cook for 3–5 minutes to release flavors.
- Remove pot from heat. Add remaining 4 cups cold water and the ice cubes; stir until the brine is room temperature or colder.
- Place prepared chicken (up to 4–6 lb) in a food-safe container or brining bag.
- Pour cooled brine over the chicken, ensuring it is fully submerged; weigh down with a plate if necessary.
- Cover and refrigerate 4–24 hours (2–4 hours for boneless pieces, 4–8 hours for bone-in parts, up to 24 hours for a whole bird).
- Remove chicken from brine, discard liquid and aromatics, and briefly rinse under cold water.
- Pat chicken completely dry with paper towels; proceed with your preferred seasoning and cooking method.