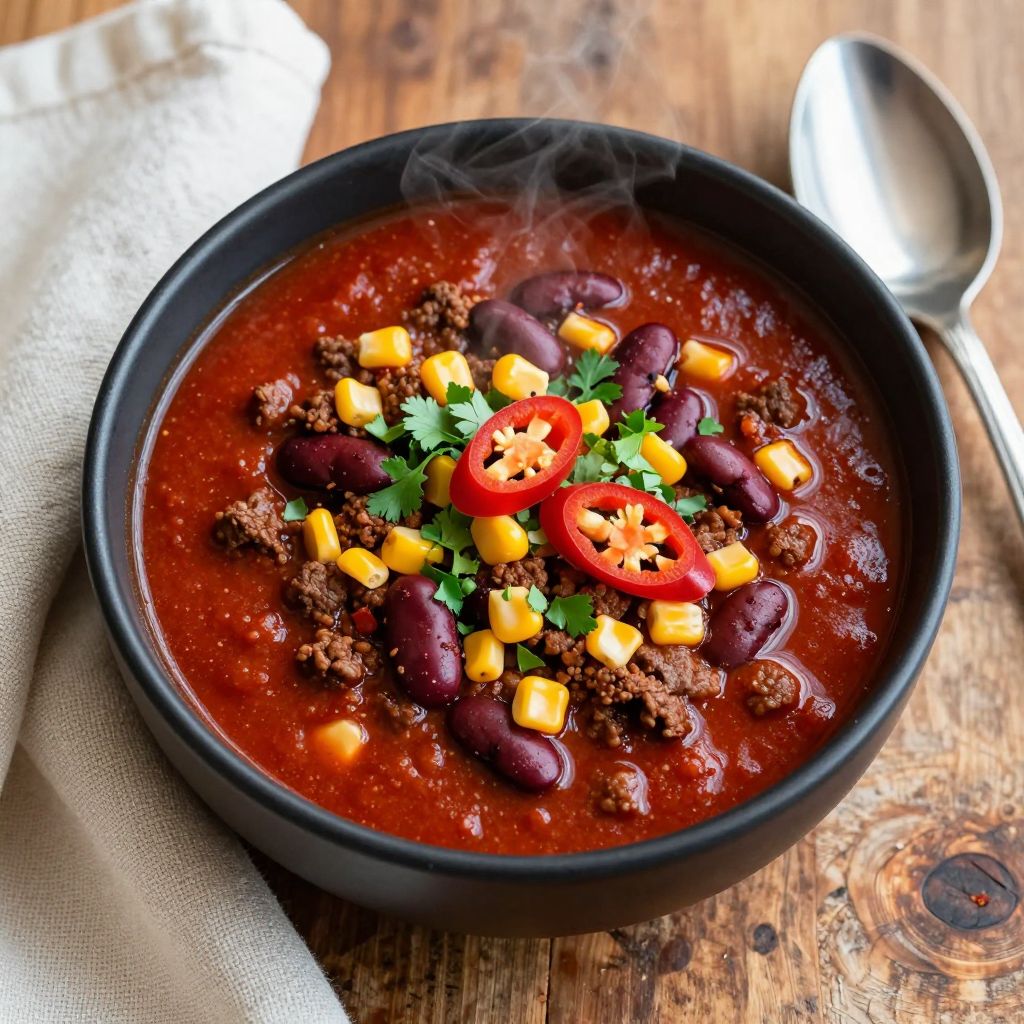
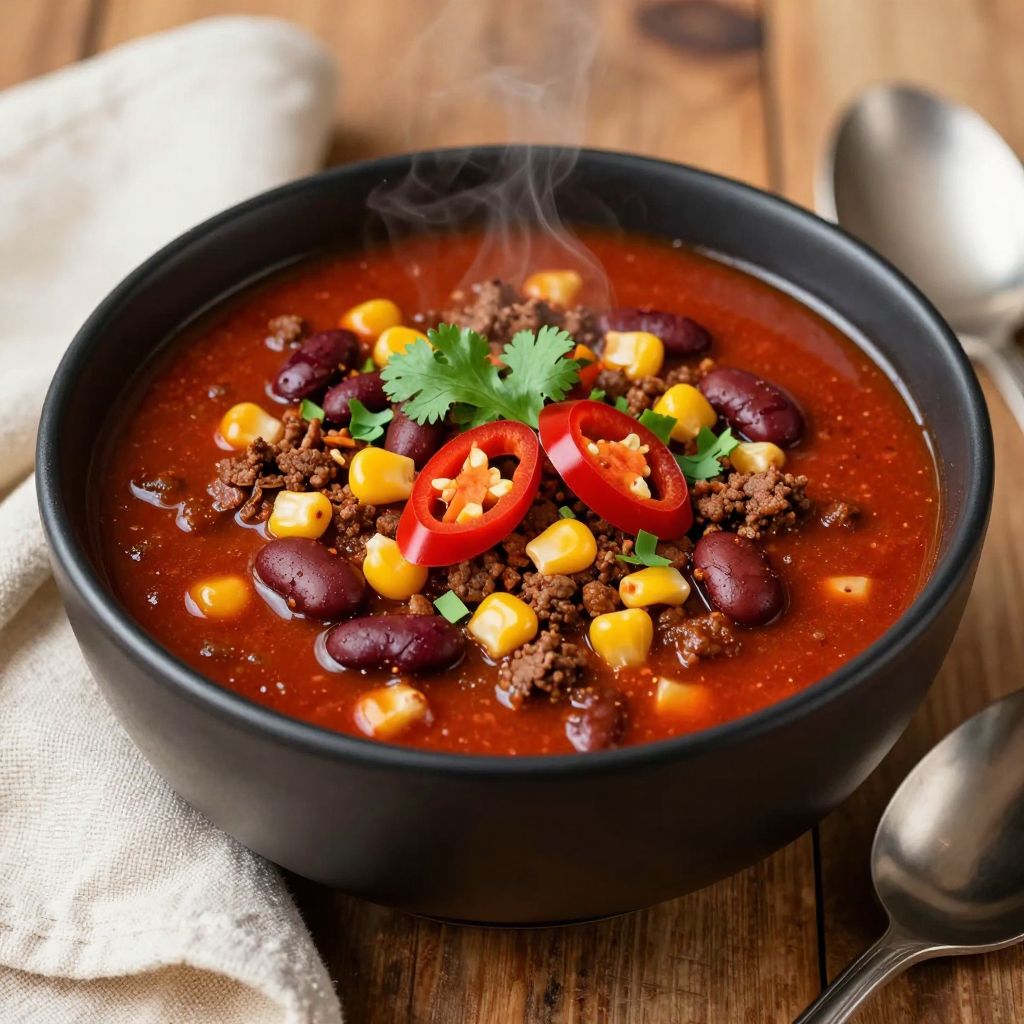
Chili seasoning recipe perfection starts right in your spice cabinet. This homemade blend transforms ordinary ground beef into award-worthy chili with warm cumin, smoky paprika, and just the right kick of heat.
Store-bought packets work in a pinch, but they hide sneaky additives and way too much sodium. Once you mix your own chili seasoning, you control everything from the heat level to the depth of flavor.
Ready to ditch those mystery packets forever? Let me show you exactly how to make this pantry staple in under five minutes.
Why You’ll Love This Recipe
This homemade chili seasoning hits different than anything you grab off a grocery shelf. Here’s what makes it special.
- Takes less than five minutes to mix together
- No hidden MSG, fillers, or excessive sodium lurking in the blend
- Costs pennies compared to store-bought seasoning packets
- Fully customizable heat level for your personal preference
- Stores for up to six months in your pantry
My Experience Making This Recipe
I started making my own chili seasoning about eight years ago after reading the ingredient list on a popular brand. Maltodextrin? Silicon dioxide? No thank you.
The first batch I made changed everything. The aroma that hit me when I opened that jar of freshly mixed spices was incredible, all toasty cumin and sweet paprika with a subtle chile warmth underneath.
My family now refuses to eat chili made with store-bought seasoning. They say it tastes flat and one-dimensional compared to this blend. Honestly, they have a point.
Recipe Overview
- Recipe Name: Homemade Chili Seasoning
- Servings: 10 batches of chili (about 1/2 cup total)
- Prep Time: 5 minutes
- Cook Time: 0 minutes
- Total Time: 5 minutes
- Course: Seasoning Blend
- Cuisine: American, Tex-Mex
- Calories per Serving: 16 calories per tablespoon
Equipment You Will Need
- Measuring spoons
- Small mixing bowl
- Whisk or fork for combining
- Airtight glass jar or container for storage
- Labels and marker for dating your blend
Ingredients for Chili Seasoning
- Chili powder: 3 tablespoons
- Ground cumin: 2 tablespoons
- Smoked paprika: 1 tablespoon
- Garlic powder: 1 tablespoon
- Onion powder: 1 tablespoon
- Dried oregano: 1 teaspoon
- Cayenne pepper: 1/2 teaspoon
- Black pepper: 1/2 teaspoon
- Sea salt: 1 teaspoon
- Brown sugar: 1 teaspoon
Ingredient Notes and Substitutions
- Chili powder forms the backbone of this blend with its mild heat and earthy depth. Substitute ancho chile powder for a smokier, slightly sweeter profile.
- Ground cumin delivers that classic Tex-Mex warmth everyone craves. Toast whole cumin seeds and grind them fresh for maximum flavor impact.
- Smoked paprika adds complexity and a subtle barbecue note. Regular sweet paprika works but loses that smoky dimension.
- Garlic powder provides savory depth without the moisture of fresh garlic. Granulated garlic substitutes at a 1:1 ratio with slightly different texture.
- Cayenne pepper brings the heat that makes chili exciting. Reduce to 1/4 teaspoon for mild or increase to 1 teaspoon for serious spice lovers.
- Brown sugar balances the heat and acidity in your final chili. Coconut sugar or a pinch of regular white sugar works identically.
How to Make Chili Seasoning
Step 1: Gather and Measure Your Spices
Pull all your spices from the cabinet and check their freshness before measuring. Ground spices lose potency after about six months, so give each jar a sniff to confirm it still smells vibrant and strong.
Step 2: Add the Base Spices to Your Bowl
Measure the chili powder, cumin, and smoked paprika into your mixing bowl first. These three ingredients form the foundation of your seasoning and should make up the bulk of your blend.
Step 3: Incorporate the Aromatics
Add the garlic powder and onion powder to the bowl. These aromatics create savory depth that makes your chili taste like it simmered all day even when it did not.
Step 4: Add the Herbs and Heat
Measure in the dried oregano, cayenne pepper, and black pepper. The oregano adds an herbal note that prevents the blend from tasting one-dimensional, while the peppers layer different types of heat.
Step 5: Include Salt and Sugar
Add the sea salt and brown sugar to your spice mixture. The salt amplifies all the other flavors, and the sugar creates balance by taming harsh edges from the heat.
Step 6: Whisk Until Completely Combined
Use a small whisk or fork to blend everything thoroughly for about 30 seconds. You want zero clumps and a completely uniform color throughout the mixture.
Step 7: Break Up Any Remaining Clumps
Press any stubborn clumps against the side of the bowl with the back of your spoon. Clumps in your seasoning lead to uneven flavor distribution in your finished chili.
Step 8: Transfer to Storage Container
Carefully pour or spoon your seasoning into a clean, dry glass jar. Use a funnel if needed to avoid losing precious spice blend on your counter.
Step 9: Label and Date Your Blend
Write the name and date on your container before storing. This small step prevents future confusion and helps you track when you need to make a fresh batch.
Pro Tip: Use 2 tablespoons of this seasoning per pound of meat for perfect chili every single time.
Tips for the Best Chili Seasoning
- Buy whole spices and grind them yourself for exponentially better flavor and aroma.
- Store your blend away from heat and light to preserve potency longer.
- Make a double or triple batch if you cook chili frequently during cold months.
- Toast your cumin in a dry skillet for 30 seconds before grinding to unlock deeper flavor.
- Adjust the cayenne up or down based on who you typically cook for.
- Give the jar a good shake before each use since spices settle during storage.
Common Mistakes to Avoid
- Using stale spices ruins your blend before you even start since old spices taste dusty and flat.
- Skipping the sugar leaves your chili tasting harsh and unbalanced with a bitter aftertaste.
- Adding too much salt becomes problematic if your chili recipe also calls for salted broth or canned tomatoes.
- Storing in plastic containers allows the spice oils to absorb plastic flavors over time.
- Measuring carelessly throws off the entire balance and creates inconsistent results batch to batch.
Serving Suggestions
This versatile seasoning goes far beyond a pot of chili. Here are some creative ways to use your blend.
- Season taco meat, burrito bowls, or enchilada filling
- Sprinkle on roasted sweet potatoes or butternut squash
- Mix into hamburger patties before grilling
- Add to homemade barbecue sauce for smoky depth
- Stir into sour cream for a quick dip
Variations to Try
- Texas-Style: Double the cumin and add 1 teaspoon of coffee grounds for authentic chuck wagon flavor.
- Cincinnati-Style: Add 1/2 teaspoon each of cinnamon, allspice, and cocoa powder for that unique regional taste.
- Extra Smoky: Replace regular chili powder with chipotle powder and double the smoked paprika.
- Mild Family-Friendly: Eliminate the cayenne entirely and reduce black pepper to 1/4 teaspoon.
- Ghost Pepper Extreme: Add 1/4 teaspoon ghost pepper powder for those who crave serious heat.
Dietary Adaptations
- Gluten-Free: This recipe is naturally gluten-free, but verify your individual spice brands have no cross-contamination warnings.
- Dairy-Free: Completely dairy-free as written with no modifications needed.
- Vegan/Vegetarian: The seasoning itself contains no animal products, perfect for bean-based chili recipes.
- Low-Carb/Keto: Omit the brown sugar to reduce carbs, though the small amount per serving is minimal.
Storage and Reheating
Refrigerator
Refrigeration is unnecessary for this dry spice blend. Room temperature storage in your pantry works perfectly.
- Keep away from the stove where heat and steam degrade quality
- Ensure the jar lid seals tightly after each use
Freezer
Freezing extends shelf life but introduces moisture concerns. Most home cooks find pantry storage sufficient.
- Use a freezer-safe container if you choose to freeze
- Allow to come to room temperature before opening to prevent condensation
Reheating
Dry spice blends do not require reheating. Use directly from storage in your recipes.
- Bloom in hot oil for 30 seconds to intensify flavors before adding other ingredients
- Add to simmering liquids and allow at least 20 minutes for full flavor development
Nutrition Information
| Nutrient | Amount |
|---|---|
| Calories | 16 |
| Total Fat | 0.7g |
| Saturated Fat | 0.1g |
| Carbohydrates | 2.8g |
| Fiber | 1.2g |
| Sugar | 0.5g |
| Protein | 0.6g |
| Sodium | 95mg |
| Cholesterol | 0mg |
Nutritional values are estimates based on 1 tablespoon serving size and may vary based on specific brands used.
Frequently Asked Questions
Can I use regular paprika instead of smoked paprika?
Yes, regular sweet paprika works fine but your blend will lack that distinctive smoky backbone. Consider adding a tiny pinch of liquid smoke to your chili to compensate.
How far ahead can I make this seasoning?
Mix this blend up to six months in advance without losing quality. After six months, the spices gradually lose potency and your chili may taste muted.
How should I store homemade chili seasoning?
Keep your blend in an airtight glass jar in a cool, dark cabinet. Avoid storing above your stove where heat and humidity accelerate flavor loss.
Why does my homemade seasoning taste different from store-bought?
Commercial blends contain anti-caking agents, preservatives, and often MSG that alter the flavor profile. Your homemade version tastes fresher and more vibrant because it contains pure spices only.
How much seasoning should I use per pound of meat?
Start with 2 tablespoons per pound of ground beef for classic chili flavor. Adjust up or down based on your heat tolerance and how intensely seasoned you prefer your dishes.
Final Thoughts
Making your own chili seasoning takes five minutes and rewards you with months of better-tasting food. You know exactly what goes into it, and you control the heat level perfectly for your household.
Grab those spices from your cabinet and mix up a batch this weekend. Your next pot of chili will thank you, and so will everyone lucky enough to eat it.
Homemade Chili Seasoning
Ingredients
Method
- Gather all spices and verify freshness; discard any that smell dull or stale.
- Measure chili powder, ground cumin, and smoked paprika into a small mixing bowl.
- Add garlic powder and onion powder to the bowl, creating the aromatic base.
- Stir in dried oregano, cayenne pepper, and black pepper for herbal depth and heat.
- Add sea salt and brown sugar to balance and amplify overall flavor.
- Whisk the mixture for about 30 seconds until the color is uniform and no clumps remain.
- Press any remaining clumps against the side of the bowl with the back of a spoon to break them apart.
- Transfer the blended seasoning into a clean, dry airtight glass jar; use a funnel if needed to avoid spills.
- Label the jar with the name and date, then store in a cool, dark pantry for up to six months. Use 2 tablespoons per pound of meat when cooking chili.