
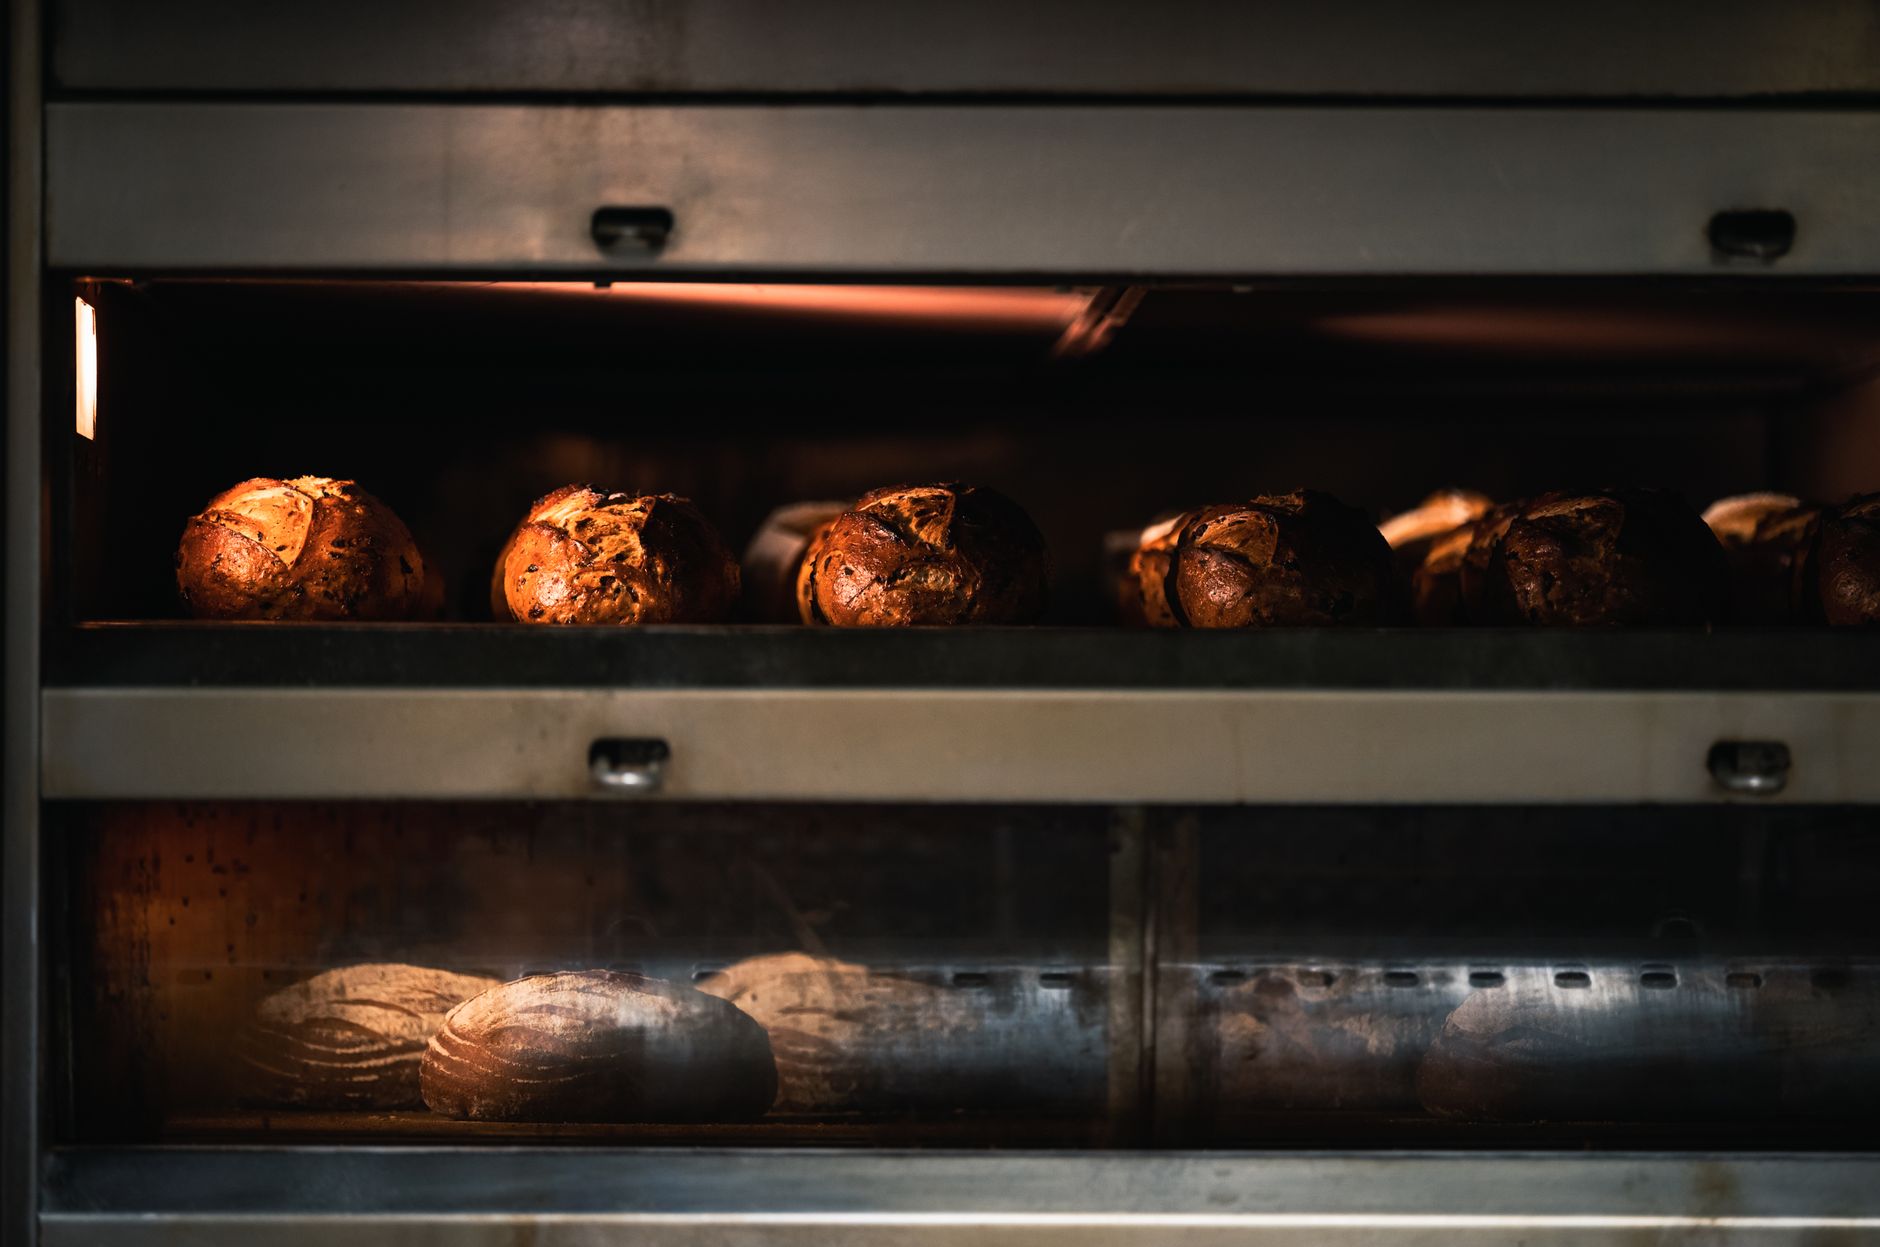
Baking homemade bread is a rewarding experience that fills your kitchen with warmth and delightful aromas. Whether you’re a beginner or an experienced baker, understanding the fundamentals of bread-making will help you create a loaf that is both delicious and satisfying. This guide provides detailed ingredients, methods, and tips to help you navigate the art of bread-making.
This article will cover various aspects of making bread, including essential ingredients, methods, baking tips, and serving suggestions. By the end, you’ll not only know how to make your own bread but also how to customize it to suit your taste!
How Do I Make Bread?
To make bread, you need a few basic ingredients, a method to combine them, and some patience for rising and baking. Bread typically consists of flour, water, yeast, and salt. You can customize it with various additives and seasoning to enhance the flavor and texture. Below is a detailed guide to help you through each step.
Ingredients for Making Bread
Here’s what you will need to produce a basic loaf of bread:
- Flour: 4 cups (500 grams) of all-purpose or bread flour. Bread flour has higher protein content, which helps with gluten development.
- Water: 1.5 cups (360 milliliters) of warm water (about 110°F or 43°C), ideally around room temperature.
- Yeast: 2 teaspoons (7 grams) of active dry yeast or instant yeast. Instant yeast can be mixed directly with the flour.
- Salt: 2 teaspoons (12 grams) of kosher salt to enhance flavor and control yeast activity.
- Sweetener: 1 tablespoon of sugar or honey (optional), to help activate the yeast and add flavor.
- Fat: 2 tablespoons of olive oil or melted butter (optional) to enrich the dough, improve texture, and extend shelf life.
Essential Equipment for Bread-Making
Here’s a list of tools that will make the bread-making process easier:
- Large mixing bowl
- Measuring cups and spoons
- Wooden spoon or a dough whisk
- Plastic wrap or a clean kitchen towel for covering
- Loaf pan or baking sheet
- Parchment paper (optional for easy removal)
- Oven thermometer (to ensure correct baking temperature)
- Cooling rack
The Bread-Making Method
Making bread involves a series of steps including mixing, kneading, rising, shaping, and baking. Here’s a step-by-step guide.
- Activate the Yeast: In a small bowl, combine warm water and sugar. Sprinkle yeast over the top and let it sit for about 5-10 minutes until it becomes frothy. This indicates that the yeast is active.
- Mix the Dry Ingredients: In a large bowl, mix together the flour and salt. If using instant yeast, add it directly to this mixture.
- Combine Wet and Dry Ingredients: Create a well in the center of the flour mixture and pour in the activated yeast mix and olive oil if using. Stir until the dough begins to come together.
- Knead the Dough: Transfer the dough onto a lightly floured surface and knead for about 8-10 minutes, until it’s smooth and elastic. You can also use a stand mixer with a dough hook for this step.
- First Rise: Place the kneaded dough in a lightly greased bowl, cover it with plastic wrap or a kitchen towel, and let it rise in a warm area for 1-2 hours or until it has doubled in size.
- Shape the Dough: Once risen, turn the dough onto a floured surface and gently punch it down to release gas. Shape it into a loaf or divide it into rolls.
- Second Rise: Place the shaped dough into the greased loaf pan or on a baking sheet lined with parchment paper. Cover again and let it rise for about 30-60 minutes or until it has risen above the edge of the pan.
- Preheat the Oven: Around 20 minutes before baking, preheat your oven to 375°F (190°C).
- Bake the Bread: Bake for 30-35 minutes for a loaf, or until the crust is golden brown and the bread sounds hollow when tapped on the bottom. You can also insert a thermometer; the internal temperature should be around 190-200°F (88-93°C).
- Cool the Bread: Remove the bread from the oven and cool in the pan for 10 minutes before transferring it to a wire rack to cool completely.
Baking Tips and Tricks
To achieve the best results when making bread, consider the following tips:
- Flour Measurement: Use the spoon and level method to accurately measure your flour. This involves spooning flour into your measuring cup, then leveling it off with a knife.
- Temperature: Ensure the water is warm but not hot. If it’s too hot, it can kill the yeast.
- Kneading: Proper kneading is crucial for gluten development. The dough should be smooth and elastic when finished; a windowpane test can help—you should be able to stretch a small piece of dough thin without it tearing.
- Rising Environment: Warm, draft-free conditions help yeast thrive. If your kitchen is cool, you can place the dough in a slightly warmed oven (turned off) to encourage rising.
- Steam for a Crusty Bread: To create a crusty exterior, place a pan of hot water in the oven while baking to generate steam.
- Cool Completely: Allowing the bread to cool completely before slicing helps to set the texture and flavor.
Common Mistakes and Troubleshooting
Here are some common pitfalls to avoid when making bread, along with troubleshooting tips:
- Dough Not Rising: This may occur due to inactive yeast or an unsuitable rising environment. Ensure that your yeast is fresh and that the dough is kept warm.
- Dense Texture: If your bread turns out dense, it could be a result of too much flour or not enough kneading. Try measuring flour accurately and kneading until smooth.
- Wet Dough: If the dough is too sticky, you can gradually add more flour during kneading, but be cautious not to add too much, as it can alter the final product.
- Overbaking: Keep an eye on the bread as it bakes. If it browns too quickly, you might cover it with aluminum foil for the remainder of baking time.
Serving Suggestions
Once your bread is baked and cooled, there are countless ways to enjoy it:
- With Butter or Jam: Freshly baked bread pairs beautifully with butter, jam, or honey.
- As Sandwich Bread: Use your loaf for hearty sandwiches with various fillings like deli meats, cheeses, and vegetables.
- Toasted: Slices of bread are delicious when toasted and served with avocado, eggs, or spreads.
- With Soup or Salad: Serve slices alongside a warm soup or salad for a complete meal.
Variations and Customizations
Feel free to explore different types of bread and customize your recipe! Here are a few variations:
- Whole Wheat Bread: Substitute half or all of the all-purpose flour with whole wheat flour for a healthier option.
- Herb and Cheese Bread: Add dried herbs and grated cheese to the dough for flavor.
- Sweet Bread: Include ingredients like dried fruit, cinnamon, or chocolate chips to create a sweet loaf for breakfast or snacks.
- Gluten-Free Bread: Substitute regular flour with a gluten-free flour blend and add xanthan gum if needed for structure.
Make-Ahead and Storage Options
If you’re planning ahead, here are a few options for preparation and storage:
- Freezing Dough: You can freeze unbaked dough after the first rise. To bake, thaw the dough overnight in the refrigerator and let it rise again before baking.
- Storing Baked Bread: Store cooled bread in an airtight container at room temperature for a few days, or wrap tightly in plastic wrap and freeze for up to three months.
Conclusion
Making your own bread is a satisfying experience that opens up a world of creativity in the kitchen. By following the guidelines and methods outlined above, you can achieve a variety of breads suited to any occasion. Remember, practice makes perfect, so don’t hesitate to experiment with different ingredients and techniques.
If you’re interested in further expanding your skills, consider exploring recipes for honey wheat bread or sourdough baguettes. Each recipe offers unique flavors and textures sure to impress. Happy baking!
Explore more recipes and tips like honey wheat bread and check out our delicious sourdough baguette recipe for additional inspiration in your bread-making journey.