
There’s something magical about the way Rice Krispie Treats transform simple ingredients into a delightful, chewy treat that brings back childhood memories. These are not just any treats; they are quick to make, fun to eat, and perfect for busy parents looking to whip up something sweet with minimal fuss.
Why You’ll Love This Recipe
This recipe is a fantastic go-to for any occasion. It combines nostalgia with ease, making it a favorite for many.
- Quick to prepare in the microwave.
- Only requires three main ingredients.
- Chewy and crispy texture that kids adore.
- Versatile for adding mix-ins like chocolate chips or sprinkles.
- Perfect for parties or as a lunchbox treat.
My Experience Making This Recipe
Every time I make these treats, the aroma of melting marshmallows fills my kitchen, and I can hardly resist sneaking a bite. The joy on my kids’ faces when they see the finished product reminds me why I love baking.
Once I brought a batch to a picnic, and they vanished within minutes, proving that these treats are a universal crowd-pleaser.
Recipe Overview
- Recipe Name: Rice Krispie Treats
- Servings: 12
- Prep Time: 5 minutes
- Cook Time: 2 minutes
- Total Time: 7 minutes
- Course: Dessert
- Cuisine: American
- Calories per Serving: 100
Equipment You Will Need
- Microwave-safe bowl
- Spoon or spatula
- 9×13 inch baking dish
- Parchment paper (optional)
Ingredients for Rice Krispie Treats
- 3 tablespoons unsalted butter
- 10 ounces mini marshmallows (about 6 cups)
- 6 cups Rice Krispies cereal
Ingredient Notes and Substitutions
- Unsalted butter: Adds richness; you can use salted butter for added flavor.
- Mini marshmallows: Melt easily and mix well; regular marshmallows can be used but may take a bit longer to melt.
- Rice Krispies cereal: Provides the crunch; any crispy rice cereal can be substituted.
How to Make Rice Krispie Treats
Step 1: Melt the Butter
In a microwave-safe bowl, add the butter and microwave it for about 30 seconds until melted. This will create a rich base for the marshmallows to melt into.
Step 2: Add the Marshmallows
Add the mini marshmallows to the melted butter and stir to coat them evenly. This helps the marshmallows to melt smoothly and evenly without burning.
Step 3: Microwave the Mixture
Place the bowl back in the microwave and heat for another 1-2 minutes, stirring halfway through. Keep an eye on it to prevent overflowing and burning.
Step 4: Stir Until Smooth
Once melted, stir the mixture until it is completely smooth and glossy. This ensures that every bite of your treats is evenly sweetened.
Step 5: Add the Rice Krispies
Remove the bowl from the microwave and add the Rice Krispies. Mix carefully, so you don’t crush the cereal, ensuring a delightful crunch.
Step 6: Prepare the Baking Dish
Line a 9×13 inch baking dish with parchment paper or grease it lightly. This makes it easier to lift out the treats once they are set.
Step 7: Press the Mixture into the Dish
Transfer the mixture into the prepared dish and press it down firmly with your hands or a spatula. This helps them hold together and makes slicing easier later.
Step 8: Let Them Cool
Allow the treats to cool for at least 30 minutes before cutting into squares. This helps them set properly and makes for cleaner cuts.
Pro Tip: For a fun twist, add chocolate chips or sprinkles after mixing in the Rice Krispies for extra flavor and color.
Tips for the Best Rice Krispie Treats
- Use fresh marshmallows for the best flavor and texture.
- Don’t skimp on the butter; it adds richness to the treats.
- Press the mixture down firmly to prevent crumbling.
- Experiment with mix-ins like peanut butter or M&Ms for variety.
- Store in an airtight container to keep them fresh longer.
Common Mistakes to Avoid
- Overheating the marshmallows can cause them to become hard; microwave in short bursts.
- Not pressing the mixture down enough can lead to crumbly treats.
- Using stale marshmallows will affect the taste and texture.
- Skipping the parchment paper can make cleanup a hassle.
Serving Suggestions
These treats shine on their own but pair well with other snacks. Consider serving them alongside a glass of milk or hot chocolate for a cozy treat.
- Chocolate milk
- Ice cream
- Fruit skewers
- Popcorn
- Nut butter for dipping
Variations to Try
- Add peanut butter for a nutty flavor that pairs beautifully with marshmallows.
- Mix in chocolate chips for a sweet, melty surprise in every bite.
- Incorporate cocoa powder for a chocolatey twist on the classic recipe.
- Use colored sprinkles to make them festive for any celebration.
Dietary Adaptations
- Gluten-free: Use certified gluten-free Rice Krispies.
- Dairy-free: Substitute with dairy-free butter and marshmallows.
- Vegan: Opt for vegan marshmallows and butter substitutes.
- Low-carb/keto: Look for low-carb cereal alternatives and sugar-free marshmallows.
Storage and Reheating
Refrigerator
Store in an airtight container in the fridge for up to a week.
- Wrap them in plastic wrap for added freshness.
- Layer with parchment paper to prevent sticking.
Freezer
These treats freeze well for up to three months.
- Wrap them individually to keep them fresh.
- Use a freezer-safe container for longer storage.
Reheating
Let them thaw at room temperature before serving. If you prefer them warm, microwave for a few seconds.
- Check for doneness every few seconds to avoid melting.
Nutrition Information
| Nutrient | Amount |
|---|---|
| Calories | 100 |
| Total Fat | 4g |
| Saturated Fat | 2g |
| Carbohydrates | 15g |
| Fiber | 0g |
| Sugar | 8g |
| Protein | 1g |
| Sodium | 50mg |
| Cholesterol | 15mg |
This information is an estimate and can vary based on specific brands and measurements used.
Frequently Asked Questions
Can I substitute the marshmallows?
Yes, you can use regular marshmallows instead of mini ones, but they may take longer to melt.
How far in advance can I make these?
You can prepare them a week in advance and store them in an airtight container.
Can I freeze Rice Krispie treats?
Absolutely! Just wrap them tightly in plastic wrap before freezing.
Why are my treats hard?
If overheated, the marshmallows can become hard; make sure to melt them carefully.
Can I add mix-ins?
Yes, you can add chocolate chips, nuts, or sprinkles for extra flavor and texture.
Final Thoughts
Making Rice Krispie Treats in the microwave is a simple and rewarding experience that can bring joy to any gathering. So gather your ingredients, get the kids involved, and enjoy the delicious nostalgia of these fantastic treats.
If you’re interested in more fun recipes, check out this popcorn balls recipe or learn how to cook bacon in the microwave for quick meal ideas.
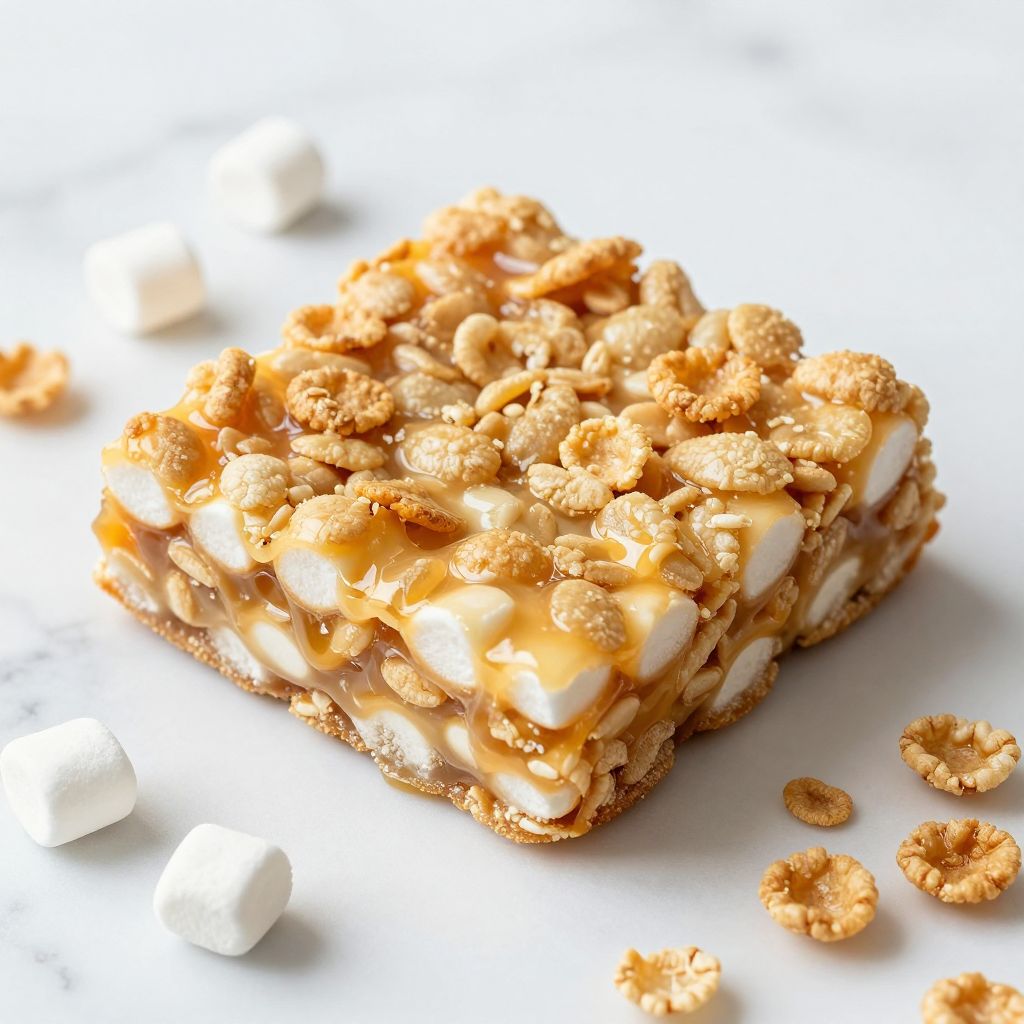
Rice Krispie Treats
Ingredients
Equipment
Method
- In a microwave-safe bowl, add the butter and microwave it for about 30 seconds until melted.
- Add the mini marshmallows to the melted butter and stir to coat them evenly.
- Place the bowl back in the microwave and heat for another 1-2 minutes, stirring halfway through.
- Once melted, stir the mixture until it is completely smooth and glossy.
- Remove the bowl from the microwave and add the Rice Krispies.
- Line a 9x13 inch baking dish with parchment paper or grease it lightly.
- Transfer the mixture into the prepared dish and press it down firmly with your hands or a spatula.
- Allow the treats to cool for at least 30 minutes before cutting into squares.