
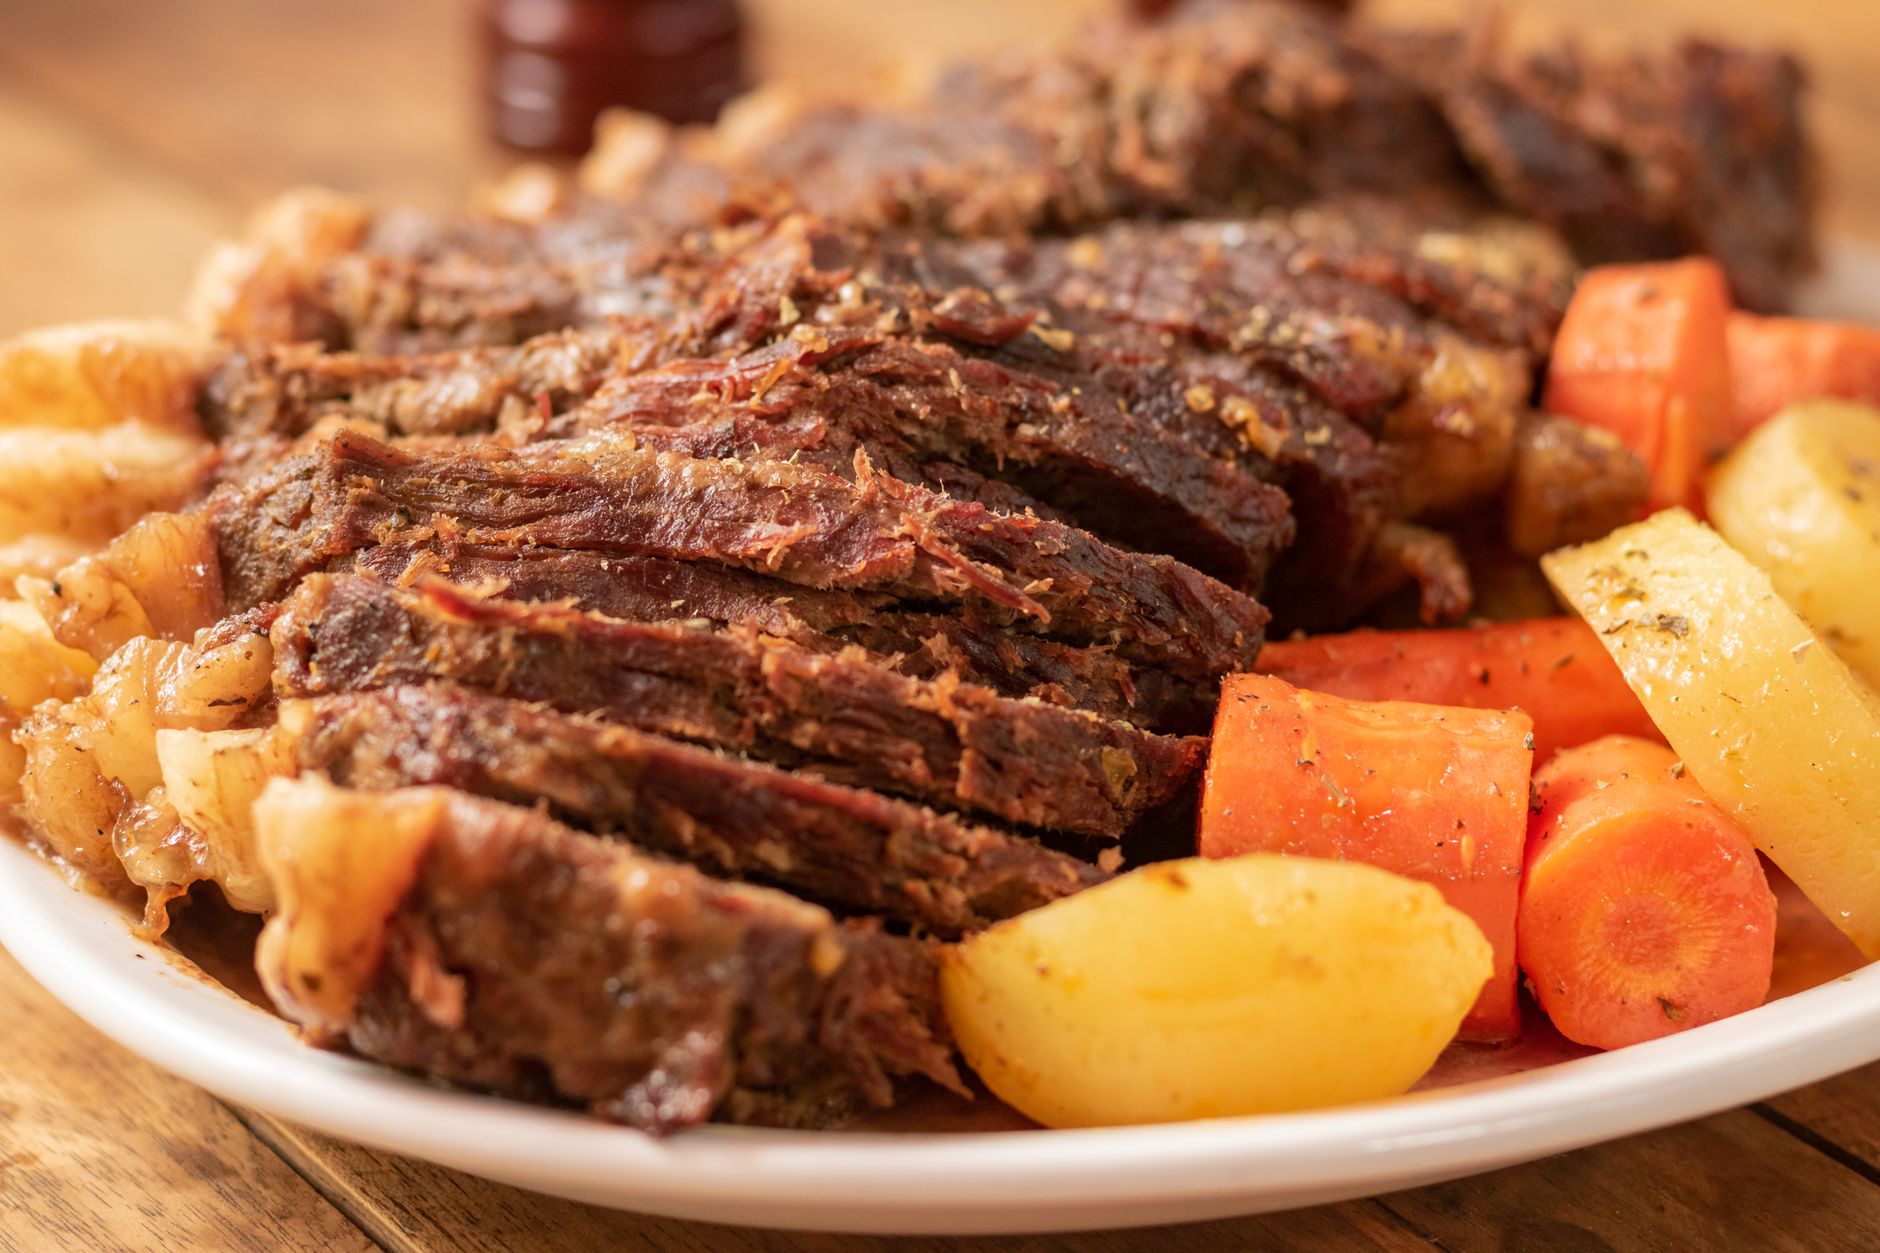
Pressure cooking a pot roast is an excellent way to achieve tender, flavorful meat in a fraction of the time it would take using traditional cooking methods. Whether you’re pressed for time after a long day or simply looking for a more efficient way to enjoy this classic dish, pressure cooking can deliver delicious results swiftly.
This article will guide you through everything you need to know about how long to pressure cook pot roast, along with tips for ensuring perfect doneness and flavor for a mouthwatering meal.
How Long to Pressure Cook Pot Roast?
To pressure cook a pot roast, the cooking time generally ranges from 60 to 70 minutes, depending on the size and cut of meat. Additionally, a natural pressure release for about 15 to 20 minutes after cooking ensures the meat remains succulent and tender.
Understanding Pot Roast and Its Cuts
Pot roast is typically made from tougher cuts of beef that benefit from slow, moist cooking methods to become tender. Common cuts include:
- Chuck Roast: Ideal for pot roast due to its rich marbling; it becomes very tender and flavorful when cooked.
- Brisket: Has a distinct flavor and becomes tender when cooked long enough, though it may take longer than chuck roast.
- Round Roast: Leaner than chuck and can be used, but may require a longer cooking time to achieve tenderness.
Equipment and Ingredients Needed
Before diving into the cooking process, ensure you have the following:
Essential Equipment
- Pressure cooker (electric or stovetop)
- Cutting board and sharp knife
- Meat thermometer
- Large spoon or spatula for stirring
- Measuring cups and spoons
Ingredients
- 3 to 4 pounds of your chosen cut of beef (chuck roast is preferred)
- Salt and pepper to taste
- 2 tablespoons of cooking oil (such as olive oil or vegetable oil)
- 1 to 2 cups of broth (beef or vegetable)
- 1 onion, chopped
- 3 to 4 carrots, cut into 2-inch pieces
- 3 to 4 potatoes, quartered (optional)
- 2-3 cloves of garlic, minced (optional)
- Herbs and seasonings, such as thyme, rosemary, or bay leaves (optional)
Preparation Steps
Proper preparation is key to a successful pot roast. Follow these steps to get started:
- Trim and Season the Meat: Trim any excessive fat from the roast and season generously with salt and pepper on all sides.
- Sear the Meat: Heat the oil in your pressure cooker on the sauté mode (or over medium-high heat). Sear the roast for about 4-5 minutes per side until browned. This step enhances the flavor.
- Add Aromatics: Once seared, remove the roast and add onions, garlic (if using), and any other aromatics. Sauté until the onions turn translucent.
- Deglaze the Pot: Pour in some broth to deglaze the pot, scraping up any browned bits from the bottom. This adds depth to your dish.
- Add Vegetables: Place the carrots and potatoes (if using) into the pot. You can add any herbs or seasonings here as well.
- Return the Roast: Place the seared roast back into the pressure cooker.
- Add Remaining Broth: Pour the remaining broth over the roast, ensuring it is covered (2 to 4 cups, depending on your cooker size).
- Close the Lid: Secure the lid on the pressure cooker, ensuring the valve is set to sealing.
Cooking Time and Techniques
Cooking times can vary slightly based on the specific pressure cooker used and the size of the roast. Here’s a general guide to help:
Cooking Times Based on Size
| Size of Roast | Cooking Time (High Pressure) |
|---|---|
| 2 pounds | 50-60 minutes |
| 3 pounds | 60-70 minutes |
| 4 pounds | 70-80 minutes |
Cooking Process
- Set Cooking Time: Use the manual setting on your electric pressure cooker or set your stovetop cooker to high heat.
- Start the Cook: Once the cooker reaches high pressure, the timer will start counting down.
- Natural Release: After cooking time is up, let the pressure release naturally for about 15-20 minutes before carefully switching the valve to venting to release any remaining pressure.
- Check for Doneness: Use a meat thermometer to check that the internal temperature of the roast has reached 190°F to 205°F for optimal tenderness.
Tips for Pot Roast Doneness
Achieving the right doneness is crucial for an enjoyable pot roast. Here are some key points to consider:
Using a Meat Thermometer
Using a meat thermometer ensures you know exactly when the meat has reached the desired tenderness. For pot roast, an ideal temperature is between 190°F and 205°F. At this range, collagen breaks down, resulting in meltingly tender meat.
Texture and Appearance
Properly cooked pot roast should be tender enough to shred with a fork. If the roast feels tough, it likely needs more cooking time. Even after the initial pressure cooking, it’s okay to reseal the pot and cook for an additional 10 to 15 minutes if needed.
Common Mistakes and Troubleshooting
Even seasoned cooks can make a few errors. Here are some common pitfalls to avoid:
- Not Adding Enough Liquid: Always ensure there’s enough liquid in the pot (at least 1 cup) to create the steam necessary for pressure cooking.
- Overcrowding with Vegetables: While adding vegetables enhances flavor, too many can prevent the meat from cooking evenly. Balance the quantity.
- Skipping the Sear: Searing the meat adds depth of flavor; do not rush this step.
- Rushing the Natural Release: Allow a natural release as this helps retain moisture in the meat. If you vent too quickly, the meat may end up dry.
Serving Suggestions
Once your pot roast is ready, you can serve it with a variety of delicious accompaniments:
- Classic Mashed Potatoes: Serve alongside mashed potatoes, drizzled with the luscious gravy from the pot.
- Roasted Vegetables: Additional vegetables such as Brussels sprouts or green beans make for a vibrant side.
- Crusty Bread: A side of crusty bread to soak up the juices is a comforting addition.
- Salad: A simple green salad can help balance the meal.
Make-Ahead and Storage Tips
Pot roast can be made ahead of time and stored for later use, making it an excellent meal prep option:
Cooling and Storing
After cooking, allow the pot roast to cool completely. Slice or shred the meat and place it in airtight containers, adding a bit of broth or gravy to keep it moist.
Refrigerating
Store in the refrigerator for up to 3 to 4 days.
Freezing
For longer storage, freeze the pot roast for up to 3 months. Thaw in the refrigerator overnight before reheating.
Reheating Your Pot Roast
When reheating pot roast, do so gently to maintain its tenderness:
- Stovetop: Reheat in a saucepan over low heat, adding a splash of broth to prevent drying out.
- Microwave: Use medium power to reheat, covering it slightly to retain moisture.
- Oven: Wrap in foil and heat at 300°F until warmed through.
Flavor Variations and Substitutions
Experimenting with flavors can elevate your pot roast. Consider these variations:
Seasoning Choices
- Try adding different herbs like oregano or parsley for a fresh twist.
- Swapping beef broth for red wine or a combination adds depth.
- Using different vegetables like parsnips or turnips can introduce new flavors.
Ingredient Substitutions
- Use a different cut of beef, such as flank steak or shoulder, but adjust cooking time accordingly.
- Replace carrots with sweet potatoes for a sweeter flavor.
- For a gluten-free option, ensure your broth is certified gluten-free.
With the right timing and technique, pressure cooking pot roast can yield delicious, tender results every time. Whether serving it for a cozy family dinner or meal prepping for the week ahead, this method offers convenience without compromising on flavor.
Explore more on different cooking methods by checking out our Dutch oven pot roast recipe or get creative with your seasoning using our pot roast seasoning recipe. Happy cooking!