
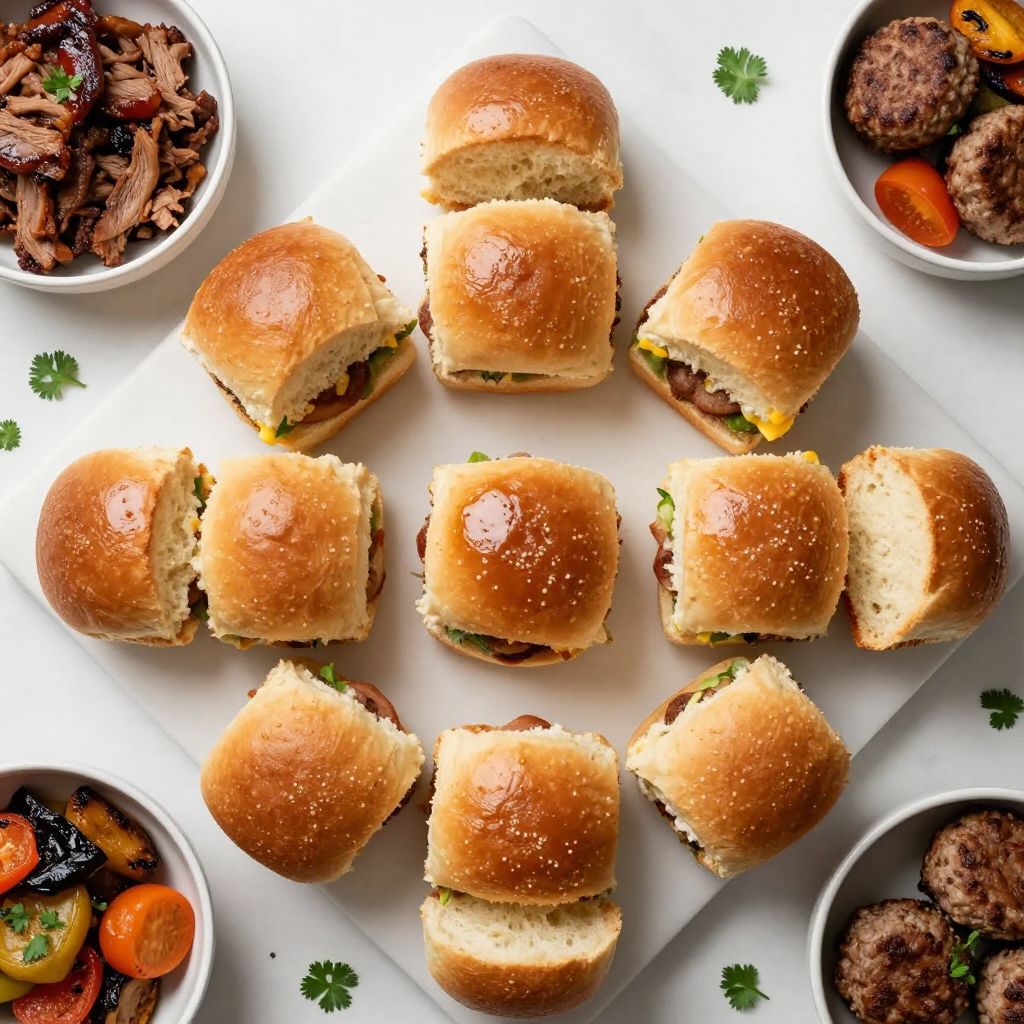
There’s something undeniably charming about a fresh, soft bun cradling your favorite filling. Making your own Slider Buns is a rewarding experience that elevates any gathering, turning simple sliders into gourmet delights. These buns are fluffy, slightly sweet, and have a delightful texture that perfectly complements a variety of fillings. Whether you’re hosting a party or just craving a tasty snack, this recipe is a must-try.
Why You’ll Love This Recipe
This recipe stands out for its ease and flavor. You won’t believe how simple it is to whip up these delicious buns.
- Soft and fluffy texture that melts in your mouth.
- Quick to prepare and bake, perfect for busy days.
- Versatile enough to pair with any slider filling.
- Made with pantry staples for convenience.
- Perfect for gatherings or family dinners.
My Experience Making This Recipe
The first time I made these Slider Buns, my kitchen smelled like a warm bakery, and my family couldn’t wait to dig in. Watching them rise and puff up in the oven was almost magical, and the first bite was pure bliss.
Everyone loved the soft texture and just the right amount of sweetness. I knew I had found a keeper with this recipe, and it quickly became a family favorite.
Recipe Overview
- Recipe Name: Slider Buns
- Servings: 12 buns
- Prep Time: 15 minutes
- Cook Time: 25 minutes
- Total Time: 40 minutes
- Course: Bread
- Cuisine: American
- Calories per Serving: Approximately 120
Equipment You Will Need
- Mixing bowl
- Measuring cups and spoons
- Wooden spoon or spatula
- Rolling pin
- Baking sheet
- Parchment paper
- Kitchen towel
Ingredients for Slider Buns
- 2 ¼ teaspoons active dry yeast (or 1 packet)
- 1 cup warm water (about 110°F)
- 2 tablespoons granulated sugar
- 3 cups all-purpose flour (plus more for dusting)
- 1 teaspoon salt
- 2 tablespoons unsalted butter (melted)
- 1 egg (for egg wash, optional)
Ingredient Notes and Substitutions
- Active dry yeast: This helps the buns rise and become fluffy. Instant yeast can be used as a substitute, and you can skip the proofing step.
- Granulated sugar: Adds a subtle sweetness and helps with browning. You can use honey or maple syrup as alternatives.
- All-purpose flour: Provides structure to the buns. Bread flour can be used for a chewier texture.
- Unsalted butter: Adds richness and flavor. Coconut oil can be a dairy-free substitute.
- Egg: Gives a beautiful golden color to the buns. A milk wash can replace it for a vegan option.
How to Make Slider Buns
Step 1: Activate the Yeast
In a mixing bowl, combine warm water, sugar, and yeast. Let it sit for about 5-10 minutes until frothy, indicating the yeast is active.
Step 2: Mix the Dough
Add melted butter, salt, and 2 cups of flour to the yeast mixture. Stir until combined, then gradually add the remaining flour until a soft dough forms.
Step 3: Knead the Dough
Transfer the dough to a floured surface and knead for about 5-7 minutes until smooth and elastic. This develops gluten, giving the buns their structure.
Step 4: First Rise
Place the dough in a lightly greased bowl, cover it with a kitchen towel, and let it rise in a warm place for about 1 hour, or until doubled in size.
Step 5: Shape the Buns
Punch down the risen dough and turn it out onto a floured surface. Divide it into 12 equal pieces and shape each piece into a smooth ball.
Step 6: Second Rise
Arrange the dough balls on a baking sheet lined with parchment paper. Cover them again and let them rise for about 30 minutes until puffy.
Step 7: Preheat the Oven
Preheat your oven to 375°F (190°C) while the buns complete their second rise. This ensures they bake evenly and thoroughly.
Step 8: Bake the Buns
If using, brush the tops of the buns with the egg wash for a golden finish. Bake for 20-25 minutes until golden brown and hollow when tapped.
Pro Tip: For an extra soft bun, brush with melted butter right after they come out of the oven.
Tips for the Best Slider Buns
- Ensure your water is warm but not hot; too hot can kill the yeast.
- Don’t skip the second rise; it makes the buns light and fluffy.
- Use a kitchen scale for more precise measurements, especially with flour.
- Experiment with herbs or spices in the dough for added flavor.
- Store leftover buns in an airtight container to maintain freshness.
Common Mistakes to Avoid
- Not letting the yeast activate properly can lead to dense buns.
- Over-kneading can make the dough tough, so knead just until smooth.
- Baking at too low a temperature can result in pale, undercooked buns.
- Skipping the rest periods can lead to buns that don’t rise well.
Serving Suggestions
These buns are fantastic for any occasion and pair well with various fillings. Try them with:
- Mini burgers with all the fixings.
- BBQ pulled pork for a Southern twist.
- Veggie sliders filled with roasted vegetables.
- Sloppy Joes for a hearty option.
Variations to Try
- Add garlic powder to the dough for savory garlic buns.
- Incorporate cheese into the dough for a cheesy flavor.
- Make them whole wheat by substituting half of the all-purpose flour.
- Add chopped herbs like rosemary or thyme for a fragrant twist.
Dietary Adaptations
- Gluten-free: Use a gluten-free flour blend, adjusting liquid as needed.
- Dairy-free: Substitute melted butter with coconut oil or dairy-free margarine.
- Vegan: Replace the egg wash with a milk wash or leave it out.
- Low-carb/Keto: Use almond flour or coconut flour, adjusting for moisture.
Storage and Reheating
Refrigerator
Store leftover buns in an airtight container in the refrigerator for up to 5 days.
- Wrap in foil or plastic wrap for best results.
- Reheat in the oven for a few minutes before serving.
Freezer
Freeze the buns for longer storage. Place them in a freezer bag for up to 3 months.
- Separate layers with parchment paper to prevent sticking.
- Thaw in the refrigerator overnight before reheating.
Reheating
Reheat frozen buns in a preheated oven at 350°F (175°C) for about 10-15 minutes.
- For a softer texture, wrap them in foil.
- Microwave for a quick option, but they may become chewy.
Nutrition Information
| Nutrient | Amount |
|---|---|
| Calories | 120 |
| Total Fat | 2g |
| Saturated Fat | 1g |
| Carbohydrates | 23g |
| Fiber | 1g |
| Sugar | 1g |
| Protein | 3g |
| Sodium | 150mg |
| Cholesterol | 10mg |
This information is approximate and can vary based on specific ingredients and brands used.
Frequently Asked Questions
Can I use whole wheat flour instead of all-purpose flour?
Yes, you can replace half of the all-purpose flour with whole wheat flour for a different flavor and texture.
Can I make these buns ahead of time?
Absolutely! You can prepare the dough in advance and refrigerate it before the second rise.
What should I do if my dough doesn’t rise?
This could be due to inactive yeast; ensure your yeast is fresh and your water is warm, not hot.
How can I prevent my buns from getting hard?
Be sure to store them properly in an airtight container, and avoid overbaking.
Can I freeze the dough?
Yes, you can freeze the dough after the first rise. Just thaw it in the refrigerator before shaping.
Final Thoughts
Now that you have this delightful Slider Bun Recipe, you’re equipped to impress your friends and family with your baking skills. These buns are sure to become your go-to for any slider occasion.
Don’t forget to explore more delicious recipes like this one. Check out my Pretzel Bun Recipe and indulge in savory Roast Beef Sliders for more fun in the kitchen.
Slider Buns
Ingredients
Equipment
Method
- In a mixing bowl, combine warm water, sugar, and yeast. Let it sit for about 5-10 minutes until frothy.
- Add melted butter, salt, and 2 cups of flour to the yeast mixture. Stir until combined, then gradually add the remaining flour until a soft dough forms.
- Transfer the dough to a floured surface and knead for about 5-7 minutes until smooth and elastic.
- Place the dough in a lightly greased bowl, cover it with a kitchen towel, and let it rise in a warm place for about 1 hour, or until doubled in size.
- Punch down the risen dough and turn it out onto a floured surface. Divide it into 12 equal pieces and shape each piece into a smooth ball.
- Arrange the dough balls on a baking sheet lined with parchment paper. Cover them again and let them rise for about 30 minutes until puffy.
- Preheat your oven to 375°F (190°C) while the buns complete their second rise.
- If using, brush the tops of the buns with the egg wash for a golden finish. Bake for 20-25 minutes until golden brown and hollow when tapped.