
There’s nothing quite like the creamy delight of a homemade frozen treat, especially when it’s as simple as a Banana Ninja Creami. This recipe stands out because it transforms ripe bananas into a luscious dessert that’s both healthy and indulgent. With its rich, velvety texture and natural sweetness, it’s a perfect way to satisfy your sweet tooth without guilt. Plus, it’s a fantastic option for busy parents looking to whip up something special with minimal effort. Ready to dive into this creamy goodness? Let’s get started!
Why You’ll Love This Recipe
This recipe is a winner for many reasons, making it a must-try at home.
- Deliciously creamy texture that mimics ice cream.
- Made with simple, wholesome ingredients.
- Perfect for using up overripe bananas.
- Great for all ages; kids will love it!
- Customizable with various add-ins and toppings.
My Experience Making This Recipe
When I first made the Banana Ninja Creami, I was blown away by how easy it was. Just blend, freeze, and blend again — it felt almost too good to be true.
Watching the bananas transform into a smooth, creamy dessert was incredibly satisfying. My family couldn’t get enough, and I loved knowing I was serving them something nutritious.
Recipe Overview
- Recipe Name: Banana Ninja Creami
- Servings: 4
- Prep Time: 10 minutes
- Cook Time: 0 minutes
- Total Time: 10 minutes + freezing
- Course: Dessert
- Cuisine: American
- Calories per Serving: 120
Equipment You Will Need
- Ninja Creami machine
- Blender or food processor
- Freezer-safe container
- Measuring cups and spoons
Ingredients for Banana Ninja Creami
- 4 ripe bananas, peeled and sliced
- 1 cup almond milk (or any milk of choice)
- 1 tablespoon honey (optional, for extra sweetness)
- 1 teaspoon vanilla extract
- Pinch of salt
Ingredient Notes and Substitutions
- Bananas: They contribute natural sweetness and creaminess. Substitute with frozen bananas for a chillier treat.
- Almond milk: This adds a light flavor and creaminess. Any milk works, including dairy or oat milk.
- Honey: Adds sweetness and depth. Maple syrup is a great vegan alternative.
- Vanilla extract: Enhances flavor complexity. Feel free to skip it if you’re in a pinch.
- Salt: Balances sweetness and enhances flavor. Just a tiny pinch does wonders!
How to Make Banana Ninja Creami
Step 1: Prepare the Bananas
Start by peeling and slicing the bananas into small pieces. This ensures they blend smoothly and freeze evenly.
Step 2: Blend the Ingredients
In a blender, combine the sliced bananas, almond milk, honey, vanilla extract, and salt. Blending until smooth creates a creamy base for your treat.
Step 3: Freeze the Mixture
Pour the blended mixture into a freezer-safe container. Make sure to seal it well to avoid freezer burn.
Step 4: Freeze for 24 Hours
Let the mixture freeze for at least 24 hours. This step is crucial for achieving the right texture in the Ninja Creami.
Step 5: Process in the Ninja Creami
Remove the frozen mixture from the container and place it in the Ninja Creami. Select the “Lite Ice Cream” function for the best results.
Step 6: Check the Consistency
After processing, check the consistency. If it’s too thick, you can add a splash of almond milk and process again until smooth.
Step 7: Serve Immediately
Once you achieve the desired creaminess, scoop the Banana Ninja Creami into bowls. It’s best enjoyed fresh for maximum creaminess.
Step 8: Store Any Leftovers
If you have leftovers, store them in an airtight container in the freezer. Reprocess in the Ninja Creami before serving again.
Pro Tip: For a richer flavor, add a tablespoon of peanut butter or cocoa powder during blending!
Tips for the Best Banana Ninja Creami
- Use very ripe bananas for the best sweetness and flavor.
- Allow the mixture to sit at room temperature for a few minutes before processing if too hard.
- Experiment with different milk types for varied flavors and textures.
- Incorporate mix-ins like chocolate chips or nuts for added crunch.
- Adjust sweetness to your preference; remember, bananas are naturally sweet!
Common Mistakes to Avoid
- Not freezing long enough can result in a slushy texture instead of creamy.
- Using unripe bananas will lead to a less sweet and flavorful treat.
- Overfilling the Ninja Creami can cause uneven processing.
- Not blending thoroughly can leave chunks of banana, affecting texture.
- Forgetting to add a pinch of salt can dull the overall flavor.
Serving Suggestions
This creamy delight pairs beautifully with several toppings and sides.
- Chopped nuts for crunch.
- Fresh berries for a tart contrast.
- Drizzle of chocolate sauce for indulgence.
- Granola for added texture.
- Whipped cream for a dessert vibe.
Variations to Try
- Add cocoa powder for a chocolatey version that kids will adore.
- Mix in peanut butter for a nutty twist that packs protein.
- Incorporate coconut flakes for a tropical flair.
- Try vanilla protein powder for an extra boost if you’re hitting the gym.
- Substitute bananas with mango for a refreshing change.
Dietary Adaptations
- Gluten-free: This recipe is naturally gluten-free, so enjoy without worry.
- Dairy-free: Use almond milk or any plant-based milk for a dairy-free option.
- Vegan: Substitute honey with maple syrup to make it completely plant-based.
- Low-carb/keto: Use unsweetened almond milk and skip the honey for a keto-friendly dessert.
Storage and Reheating
Refrigerator
This treat is best stored in the freezer, but if you have leftovers, keep them in the fridge for a day.
- Transfer to an airtight container.
- Consume within a day for best flavor.
Freezer
The Banana Ninja Creami freezes well for future treats.
- Store in an airtight container.
- Can last up to 2 weeks in the freezer.
Reheating
Reheating is not necessary, but if it gets too firm, let it sit out for a few minutes before serving.
- For a softer texture, reprocess in the Ninja Creami.
- Add a splash of milk if needed for smoothness.
Nutrition Information
| Nutrient | Amount |
|---|---|
| Calories | 120 |
| Total Fat | 3g |
| Saturated Fat | 0g |
| Carbohydrates | 24g |
| Fiber | 3g |
| Sugar | 10g |
| Protein | 2g |
| Sodium | 50mg |
| Cholesterol | 0mg |
This recipe is packed with nutrients while keeping calories in check, making it a guilt-free dessert option.
Frequently Asked Questions
Can I use frozen bananas?
Yes! Frozen bananas work great and create an even creamier texture.
How long can I store this in the freezer?
You can store it for up to 2 weeks, but it’s best consumed fresh.
What if my mixture is too thick?
Just add a splash of milk and reprocess in the Ninja Creami until smooth.
Can I make this ahead of time?
Absolutely! Just freeze the mixture in advance and process when you are ready to serve.
What can I substitute for honey?
Maple syrup works wonderfully as a vegan substitute for sweetness.
Final Thoughts
Making a Banana Ninja Creami is not just easy; it’s a fun way to enjoy a healthy dessert. With just a few ingredients, you can create a creamy treat that’s sure to impress.
I encourage you to try this recipe and experiment with your own favorite flavors. For more delightful recipes, check out my Ninja Creami recipe or indulge in a delicious Banana Cheesecake recipe.
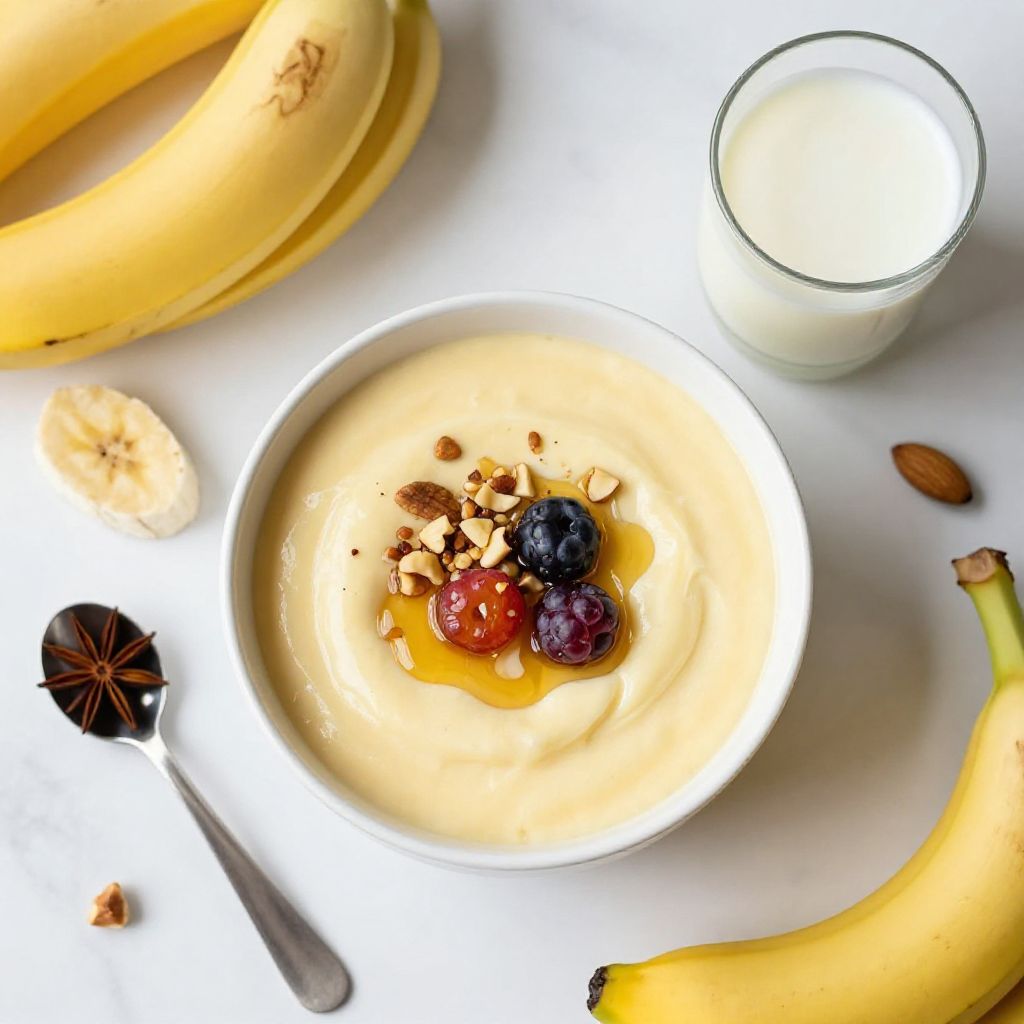
Banana Ninja Creami
Ingredients
Equipment
Method
- Start by peeling and slicing the bananas into small pieces.
- In a blender, combine the sliced bananas, almond milk, honey, vanilla extract, and salt. Blend until smooth.
- Pour the blended mixture into a freezer-safe container and seal well.
- Let the mixture freeze for at least 24 hours.
- Remove the frozen mixture from the container and place it in the Ninja Creami.
- Select the 'Lite Ice Cream' function for the best results.
- Check the consistency. If it’s too thick, add a splash of almond milk and process again until smooth.
- Scoop the Banana Ninja Creami into bowls and serve immediately.
- If you have leftovers, store them in an airtight container in the freezer.