
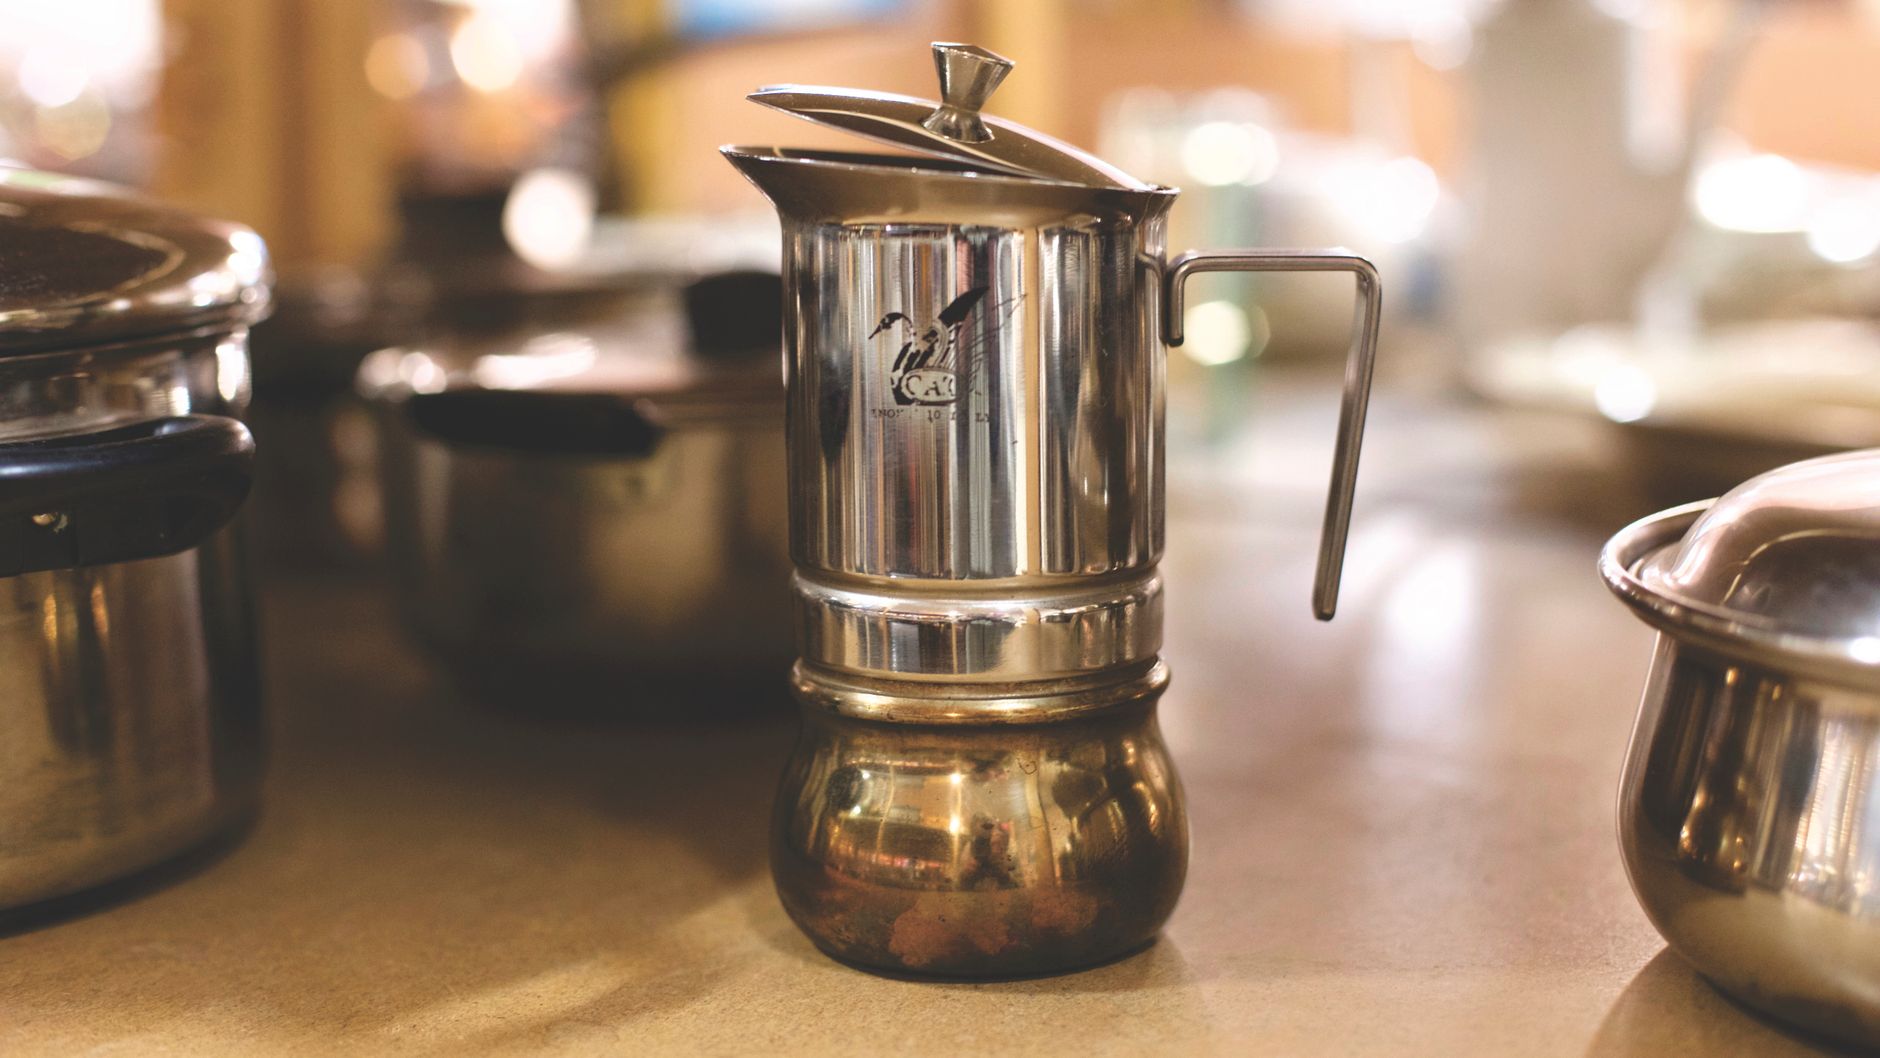
Many coffee enthusiasts have come across the term “percolator,” but what exactly is it? Simply put, a percolator is a type of coffee brewing pot that continuously cycles boiling water through coffee grounds to extract flavors. This traditional brewing method has been used for generations, making it a staple in many households.
In this article, we will explore the ingredients, taste, and culinary uses of a percolator. Whether you’re a seasoned coffee drinker or just starting your brewing journey, understanding this method can elevate your coffee experience.
What Is a Percolator?
A percolator is a coffee brewing device that uses a patented process of cycling boiling water through coffee grounds repeatedly until the desired strength is achieved. It consists of a pot, a filter basket, and a stem, which directs the boiling water back down through the coffee. This method was particularly popular before the advent of drip coffee makers and remains a beloved option for many.
Ingredients Needed for Percolator Coffee
Making coffee with a percolator is a straightforward process involving just a few essential ingredients:
- Coarse Coffee Grounds: Using coarsely ground coffee beans is crucial. Fine grounds can clog the filter basket and result in over-extraction.
- Water: Fresh, clean water is key to producing excellent coffee. Filtered water is ideal for removing any chlorine or impurities that could affect the flavor.
Taste Profile of Percolator Coffee
The taste of coffee brewed in a percolator can vary significantly based on several factors, including the coffee beans used, the brewing time, and the grind size.
Percolated coffee tends to have:
- Full-bodied Flavor: The repeated cycling through the coffee grounds extracts rich flavors, leading to a more robust coffee.
- Bitterness: Over-brewing can lead to a bitter taste, so timing is crucial during this brewing method.
- Aromatic Qualities: Properly brewed percolator coffee can produce a delightful aroma, enhancing the overall coffee experience.
Culinary Uses of a Percolator
While the primary use of a percolator is for brewing coffee, there are creative ways to incorporate it into culinary practices:
1. Brewing Herb and Spice Infusions
Beyond coffee, a percolator can be used to brew herbal teas or infuse water with spices. This method allows for full extraction of flavors:
- Herbal Teas: Try brewing chamomile or peppermint using the same method as coffee.
- Spice Infusions: Add cinnamon sticks or cloves to water for a delicious spiced drink.
2. Making Flavored Coffee
If you want to enhance your coffee experience, consider adding flavors directly into the percolator. You can experiment with:
- Cocoa Powder: Add cocoa powder to the coffee grounds for a mocha-inspired flavor.
- Vanilla Beans: Splitting a vanilla bean and adding it to the pot can create a delightful aromatic coffee.
How to Use a Percolator: Step-by-Step Guide
Brewing coffee with a percolator is simple. Follow this step-by-step guide for a successful brew:
- Gather Your Equipment: Ensure you have a percolator, fresh coffee grounds, and clean water.
- Measure Water: Fill the percolator’s water chamber with the desired amount of water. As a rule of thumb, use about 6 ounces of water for each tablespoon of coffee.
- Add Coffee Grounds: Place the filter basket on the stem and add coarsely ground coffee. Use approximately 1 tablespoon of coffee per 6 ounces of water.
- Assemble the Percolator: Reassemble the percolator pot securely, ensuring the filter basket is properly seated.
- Heat It Up: Place the percolator on the stove over medium heat. If you have an electric percolator, plug it in and turn it on.
- Observe Brew Time: As the water heats, it will begin to bubble up the stem and through the coffee grounds. This process takes about 7–12 minutes. Keep an eye on it to avoid over-brewing.
- Check for Doneness: The coffee is ready when it reaches a consistent, deep amber color. You can look through the glass knob on top to check.
- Turn Off Heat: Once brewed to your taste, remove the percolator from the heat source or turn off the electric model.
- Serve: Pour the brewed coffee into your cup. Enjoy it black, or add milk, sugar, or flavored syrups to taste.
Common Mistakes When Using a Percolator
While using a percolator may seem straightforward, several common mistakes can hinder the quality of your coffee:
- Using Too Fine Coffee Grounds: Fine grounds can lead to over-extraction and bitterness. Always stick to coarsely ground coffee.
- Over-Brewing: Brewing for too long can extract unwanted flavors. Aim for a brewing window of 7–12 minutes, depending on the desired strength.
- Not Cleaning the Percolator: Residual oils and coffee grounds can affect taste. Clean your percolator after each use to maintain flavor integrity.
Tips for Perfect Percolator Coffee
- Experiment with Ratios: Adjust the coffee-to-water ratio based on your taste preferences. This exploration will help you discover your ideal brew.
- Use Fresh Coffee Beans: Freshly ground coffee beans yield a more flavorful cup. Consider investing in a coffee grinder to grind as needed.
- Keep the Temperature Moderate: High heat can lead to uneven extraction and scorched flavors. Use medium heat for more controlled brewing.
Variations of Percolator Coffee
While the classic approach is excellent, you can enjoy various percolator coffee variations:
1. Café au Lait
This French-inspired coffee drink combines brewed coffee with steamed milk, offering a creamy texture. Brew a strong pot of coffee in the percolator and mix with equal parts steamed milk.
2. Iced Percolator Coffee
If you prefer cold coffee, you can make iced coffee using your percolator. Brew a standard pot of coffee but let it cool before pouring it over ice. For a richer flavor, brew it double-strength.
Storing Coffee for Percolator Use
Storage is essential for maintaining coffee freshness. Here are some tips:
- Keep It Airtight: Store coffee beans or grounds in an airtight container to prevent exposure to air, moisture, and light.
- Choose the Right Location: Avoid storing coffee in the fridge or freezer, as humidity can affect flavor. Opt for a cool, dark cupboard instead.
- Grind as Needed: If possible, grind coffee only when needed. Whole beans retain flavor longer than pre-ground coffee.
Cleaning and Maintaining Your Percolator
Regular cleaning ensures your percolator operates effectively and brews great coffee. Follow these steps for proper maintenance:
- Disassemble: After each use, unplug your electric percolator or allow your stovetop model to cool. Disassemble all parts.
- Cleansing Solution: Use warm soapy water to wash the pot and all parts. A coffee maker cleaner can be employed for deep cleaning if residue builds up.
- Rinse Thoroughly: Rinse all parts thoroughly with clean water to remove any soap residue.
- Dry Completely: Allow parts to air-dry completely before reassembling to prevent rust or mildew.
Alternative Brewing Methods to Consider
While the percolator is fantastic, you might consider exploring these popular alternatives as well:
- French Press: This method allows steeping coffee grounds in hot water, promoting robust flavors and oils.
- Pour-Over: A pour-over setup lets you control the flow of water, yielding a clean cup of coffee.
- Drip Coffee Maker: A modern staple, this method is convenient for brewing larger amounts without much effort.
Conclusion
The percolator remains a cherished method for brewing coffee, offering a rich and flavorful cup. By understanding the ins and outs of using a percolator, from the right ingredients and techniques to flavor variations and maintenance, you can enhance your coffee brewing experience.
For those looking to perfect their coffee journey, consider exploring related guides on brewing methods, coffee beans, and equipment to elevate your understanding of this beloved beverage.