
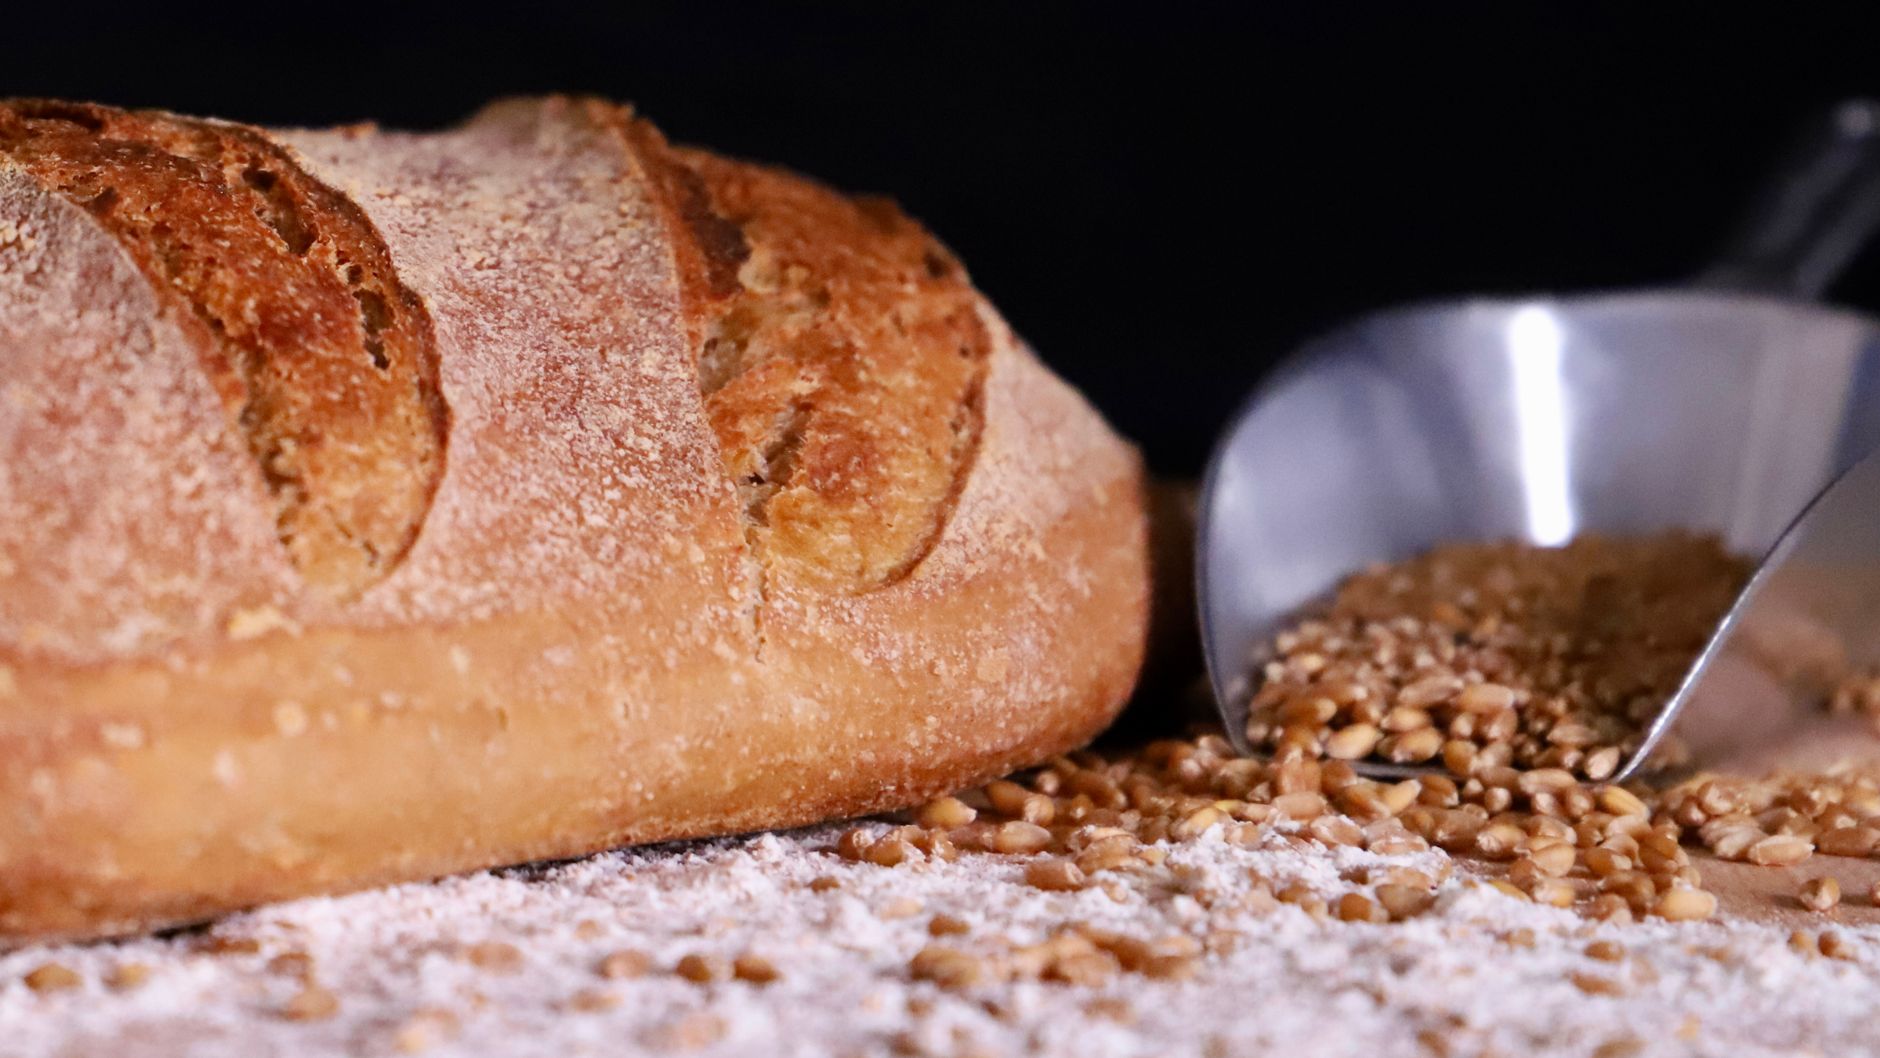
Sourdough is a type of bread characterized by its distinct tangy flavor, chewy texture, and crispy crust. Unlike bread made with commercial yeast, sourdough is leavened through naturally occurring wild yeast and lactic acid bacteria. This fermentation process not only allows the dough to rise but also contributes to its unique taste and aroma.
As homemade sourdough has grown in popularity, many people are curious about how to make it, the health benefits associated with it, and its versatility in the kitchen. This article will explore the essential aspects of sourdough, from its ingredients to techniques, making it easier for you to enjoy this delicious bread in your own home.
What Is Sourdough?
Sourdough bread is made through a natural fermentation process using a starter culture, commonly known as sourdough starter. The fermentation occurs because the specific combination of wild yeast and lactic acid bacteria present in the starter thrives in a warm environment. This method of leavening differs from the rapid commercial yeast methods commonly used in standard bread recipes.
The History of Sourdough
Sourdough is one of the oldest forms of leavened bread, with roots tracing back thousands of years. Ancient Egyptians are believed to have been the first to create sourdough. As bread-making knowledge spread through Europe, sourdough became a staple, particularly in regions where wild yeast was abundant. Its ability to remain fresh for extended periods made it an ideal food source for sailors, pioneers, and other travelers in bygone eras.
Understanding Sourdough Starter
A sourdough starter is a mixture of flour and water that captures wild yeast and beneficial bacteria from the environment. This mixture becomes a living culture that can be used to leaven bread. Building and maintaining a sourdough starter involves feeding it regularly, which helps it develop the right flavor and leavening power.
Creating Your Own Sourdough Starter
- Combine equal parts of flour and water in a clean jar. For instance, start with 100 grams of all-purpose flour and 100 grams of filtered water.
- Mix thoroughly until the flour is fully hydrated, then cover the jar loosely to allow airflow.
- Let it sit in a warm place (around 70-75°F or 21-24°C) for 24 hours.
- After 24 hours, observe for bubbles or swelling. If visible, discard half of the mixture and feed it again with another 100 grams of flour and 100 grams of water. Repeat this every 24 hours.
- In about 5 to 7 days, your starter should be bubbly, have doubled in size, and emit a slightly sour aroma, indicating it’s ready to use.
Types of Flour to Use
Different types of flour can be used to create a sourdough starter. The most common ones include:
- All-Purpose Flour: A versatile option that works well for beginners.
- Whole Wheat Flour: Contains more nutrients and will help capture wild yeast more effectively.
- Rye Flour: Known for its high nutrient content, rye flour can kickstart your starter’s fermentation process.
The Fermentation Process
The fermentation process is vital to sourdough bread, as it develops the bread’s flavor, texture, and complexity. The sour taste of sourdough is primarily due to lactic acid produced by the bacteria in the starter, which occurs during the fermentation period. In order to create a successful loaf of sourdough bread, it is crucial to manage the fermentation time and temperature properly.
Bulk Fermentation
Following mixing the dough, it undergoes bulk fermentation, which allows the dough to rise. This is typically a lengthy process ranging from 4 to 8 hours, depending on the ambient temperature and the specific recipe. During this time, the dough should be folded several times to develop gluten structure.
Final Proof
After the bulk fermentation, the dough is shaped and allowed to proof again, usually for about 1 to 4 hours at room temperature or longer in the refrigerator. The final proof allows for development of the dough’s structure and flavor before baking.
Baking Sourdough Bread
Baking sourdough requires specific techniques to achieve a perfect loaf. Understanding the necessary equipment and steps ensures the best results.
Essential Equipment
- Mixing Bowl: A large bowl to combine your ingredients.
- Dough Scraper: Useful for handling sticky dough.
- Proofing Basket: Supports the dough’s shape during the final proof.
- Pizza Stone or Dutch Oven: Helps create steam in the oven for that coveted crust.
- Sharp Blade or Lame: For scoring the loaf before baking, allowing for proper expansion.
Step-by-Step Sourdough Recipe
This section outlines a straightforward recipe to bake a classic sourdough loaf.
Yield and Timing
Yield: 1 loaf
Preparation Time: 1 hour (excluding the proofing and fermentation time)
Cooking Time: 30-40 minutes
Total Time: 12-14 hours (including proofing and fermentation)
Ingredients
- 500 grams bread flour
- 350 grams water (room temperature)
- 100 grams active sourdough starter
- 10 grams sea salt
Method
- In a large mixing bowl, combine the bread flour and water. Mix until no dry flour remains.
- Let the dough rest for 30 minutes (autolyse period), allowing the flour to hydrate.
- Add the sourdough starter and salt to the dough. Mix thoroughly using a dough scraper or your hands.
- Bulk ferment for 4 to 8 hours, folding the dough every 30 minutes for the first 2 hours.
- After bulk fermentation, the dough should have risen and show bubbles. Shape the dough and place it into the proofing basket, seam side up.
- Cover and allow it to proof for 1 to 4 hours at room temperature, or refrigerate overnight for a 12-hour cold proof.
- Preheat your oven to 450°F (232°C) about 30 minutes before baking, with a pizza stone or Dutch oven inside.
- Carefully transfer the dough into the preheated Dutch oven or onto the pizza stone. Score the top with a sharp blade.
- Bake for 30-40 minutes until deep golden brown. Remove from the oven and allow the bread to cool on a wire rack for at least 1 hour before slicing.
Common Mistakes and Troubleshooting
Like any culinary endeavor, sourdough baking can present challenges. Here are a few common mistakes and their solutions:
- Flat Loaf: This often indicates insufficient fermentation or a starter that is not active enough. Ensure your starter is bubbly and fed before use.
- Dough Too Sticky: This might occur if too much water is added. Adjust by reducing the hydration in future batches.
- Dense Bread: This can result from under-kneading. Make sure to develop gluten properly through folding and kneading.
Suggestions for Serving Sourdough
Sourdough bread is diverse and can be enjoyed in many ways. Here are some popular serving ideas:
- Toast: Perfect for breakfast with butter, jam, or avocado.
- Sandwiches: Ideal for hearty sandwiches with meats, cheeses, and fresh vegetables.
- Croutons: Use stale sourdough for homemade croutons for salads or soups.
- Drying and Grinding: To create sourdough breadcrumbs for coating or topping dishes.
Health Benefits of Sourdough
Sourdough bread, made through this natural fermentation process, brings various health benefits. The presence of lactic acid bacteria can help improve digestion and may enhance the bioavailability of nutrients. Additionally, some studies suggest that sourdough fermentation can lower the glycemic index, making it a better option for those monitoring their blood sugar levels.
Creative Ways to Use Sourdough Discard
If you’re maintaining a sourdough starter, you will often find yourself with leftover “discard” when feeding your starter. Rather than tossing it, consider these creative uses:
- Pancakes: Use sourdough discard in pancake batter for a light, fluffy breakfast treat.
- Waffles: Incorporate into waffle recipes for added depth and flavor.
- Pizza Dough: Use it as a base for a delicious tangy pizza dough. Check out our sourdough discard pizza dough recipe for a starting point.
Storing Sourdough
Proper storage of your sourdough bread is key to maintaining its flavor and texture.
Short-Term Storage
For immediate consumption, leave the sourdough at room temperature in a paper bag or bread box for up to three days. Avoid plastic bags, as they trap moisture and can create a soggy loaf.
Long-Term Storage
If you need to store sourdough for a longer period, consider freezing it. Wrap the bread tightly in plastic wrap and then place it in a freezer-safe bag. To enjoy, thaw at room temperature or reheat in the oven for a freshly baked taste.
Conclusion
Sourdough is more than just a bread; it embodies tradition, creativity, and healthy living. With the right knowledge and techniques, you can dive into the world of sourdough baking, crafting delicious loaves that not only taste great but also foster a deeper appreciation for the art of bread-making.
Explore related recipes, cooking tips, or food guides such as our sourdough baguette recipe and learn how to make the best out of your starter and leftover discard!