
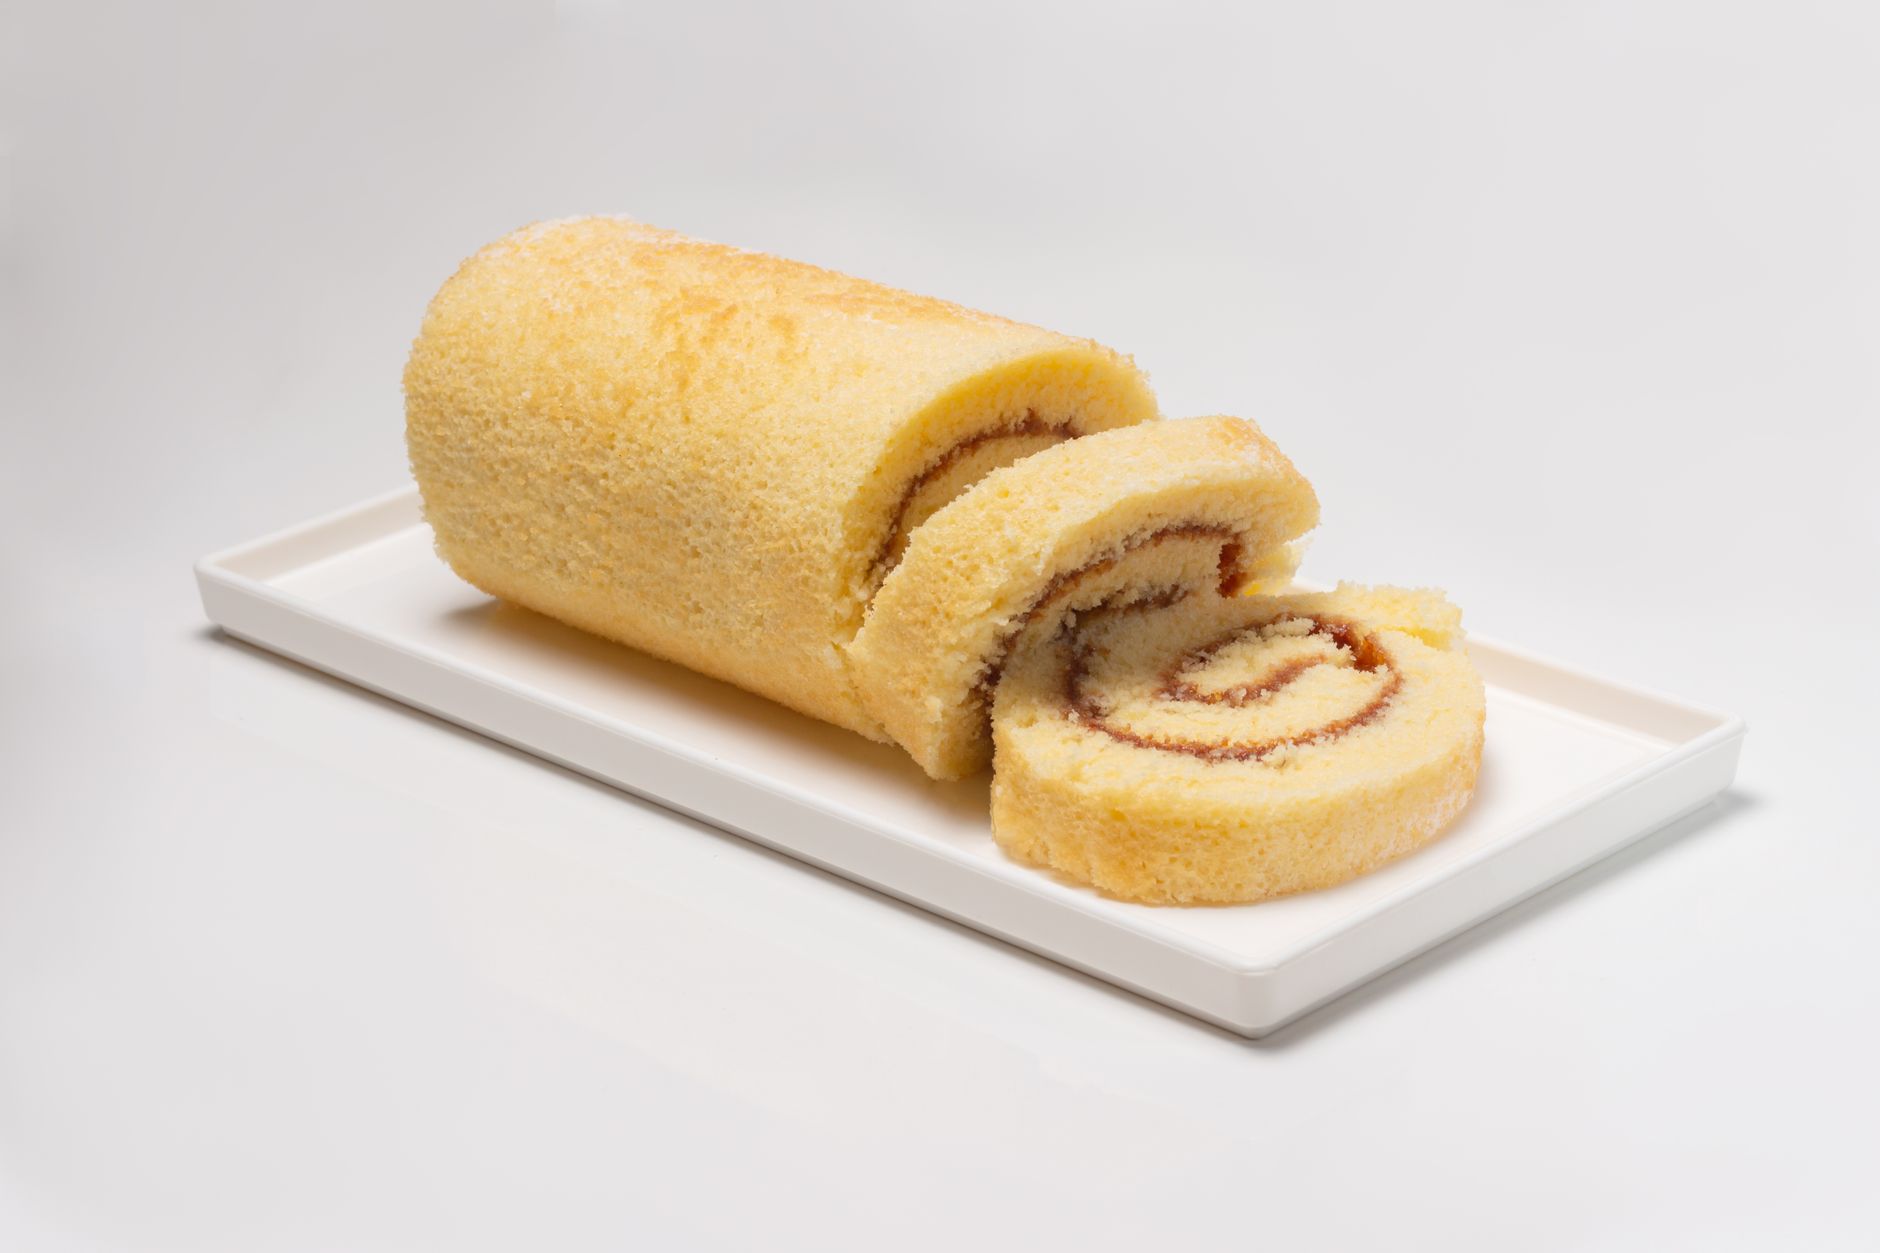
A jelly roll pan is a versatile kitchen tool essential for baking and preparing various sweet and savory dishes. Its unique dimensions and shallow sides are designed for specific tasks, making it ideal for baking everything from cakes to roasting vegetables. Understanding its characteristics and uses can greatly enhance your cooking experience.
This article delves into the specifics of jelly roll pans, including their dimensions, construction materials, and practical uses in the kitchen. Whether you are an experienced baker or a novice cook, knowing when and how to use a jelly roll pan will elevate your culinary creations.
What Is A Jelly Roll Pan?
A jelly roll pan is a rectangular baking pan that typically measures about 15 x 10 x 1 inches, featuring a shallow depth. Its size and shape make it particularly suitable for making thin cakes, known as jelly rolls, but also versatile for a range of other baking and cooking tasks.
The jelly roll pan’s low sides allow for even baking and easy access to the baked goods, while its large surface area gives ample space for spreading batter or arranging multiple items side by side. This makes it an ideal choice for various recipes, from sheet cakes to bar cookies, and even roasted vegetables.
Key Features of a Jelly Roll Pan
Understanding the essential features of a jelly roll pan can help you make the most of this kitchen tool. Here are some critical characteristics:
- Dimensions: Typically around 15 x 10 inches, but sizes can vary slightly by manufacturer.
- Shallow Sides: Usually about 1 inch deep, which promotes quick and even cooking.
- Material: Most jelly roll pans are made of aluminum, which conducts heat evenly. However, other materials like stainless steel or non-stick coatings are also available.
- Versatility: Can be used for baking, roasting, broiling, and even serving food.
Common Uses for a Jelly Roll Pan
While jelly roll pans are often associated with baking jelly roll cakes, they are versatile kitchen tools that can be used for various culinary tasks:
Baking Cakes
Jelly roll pans are excellent for baking thin layers of sponge cake, perfect for rolling with fillings such as whipped cream or fruit preserves. The shallow depth allows for quick baking and easy removal of the cake.
Sheet Cakes
These pans are also perfect for making sheet cakes, where the batter is spread evenly across the surface. The large area allows for even cooking and frosting, making it ideal for parties and gatherings.
Cookies and Bars
You can use a jelly roll pan to bake cookies and bar recipes, delivering a thick yet manageable layer that can be portioned easily. Place parchment paper for easier cleanup and removal.
Roasting Vegetables
The shallow sides of a jelly roll pan offer ample space for roasting vegetables, allowing them to cook evenly without overcrowding. Toss your vegetables in olive oil and seasonings, spread them across the pan, and roast them in the oven.
Making Granola
Jelly roll pans are ideal for toasting granola in the oven, providing a large surface area that ensures an even toasting process.
Choosing the Right Jelly Roll Pan
When selecting a jelly roll pan, consider the following factors:
Material
Jelly roll pans are commonly made from aluminum, stainless steel, or non-stick materials. Aluminum pans are favored for their excellent heat conductivity, while stainless steel options offer durability. Non-stick coatings can make for easier cleanup but may not provide the same browning effect.
Size
While most jelly roll pans are approximately 15 x 10 inches, always check the dimensions to ensure it fits your oven and suits your baking needs. Some recipes may call for specific sizes.
Weight
A heavier pan can provide more stability in the oven, preventing warping during baking. Heavier pans may also distribute heat more evenly.
Cooking Techniques for Using a Jelly Roll Pan
Here are some cooking techniques and tips to maximize the efficiency of your jelly roll pan:
Preparing the Pan
- Greasing: If you are not using non-stick pans, grease the pan with butter or cooking spray to prevent sticking.
- Parchment Paper: Lining the pan with parchment paper can significantly ease the cleanup process and help with easy removal.
Mixing Ingredients
When mixing your batter, ensure that it is spread evenly across the pan to ensure even baking. Use an offset spatula to smooth out the top for a perfect finish.
Baking Tips
- Even Heat Distribution: Rotate the pan halfway through the baking time to ensure even cooking.
- Check Doneness: Use a toothpick or cake tester to check for doneness; it should come out clean when inserted into the center of your baked goods.
Common Mistakes When Using a Jelly Roll Pan
Even experienced cooks can make mistakes with jelly roll pans. Here are some common pitfalls to avoid:
Overfilling the Pan
Overfilling can lead to batter spilling over the sides during baking, creating a mess and uneven cooking. Always follow the recipe’s recommended batter amount.
Not Preheating the Oven
Failing to preheat your oven can result in uneven baking. Make sure your oven reaches the correct temperature before placing your pan inside.
Skipping the Grease
Not greasing your pan or using parchment paper can lead to stuck cakes or bars. Always take the time to prepare the pan properly for successful baking.
Popular Recipes to Try in a Jelly Roll Pan
Here are a couple of popular recipes that work perfectly with a jelly roll pan:
Classic Jelly Roll Cake
This classic dessert consists of a light sponge cake rolled around a filling of whipped cream or fruit preserves. Here’s a brief overview of how to make it:
- Preheat your oven to 375°F (190°C) and grease your jelly roll pan.
- Beat eggs and sugar until frothy, then gently fold in flour and baking powder.
- Spread the batter evenly over the prepared pan and bake for about 12-15 minutes.
- Once baked, carefully remove the cake from the pan and let it cool slightly.
- Spread your choice of filling over the cake, roll it up, and refrigerate before serving.
Sheet Cake
Sheet cakes are great for serving a crowd. Try this simple vanilla sheet cake recipe:
- Preheat your oven to 350°F (175°C) and grease your jelly roll pan.
- Cream butter and sugar, then add eggs and vanilla extract.
- In a separate bowl, mix flour, baking powder, and salt. Gradually add this dry mixture to the wet ingredients, alternating with milk.
- Pour the batter into the prepared pan and smooth the top.
- Bake for 25-30 minutes or until a toothpick comes out clean.
Storing Your Jelly Roll Pan
Proper storage of your jelly roll pan can prolong its lifespan. Here are a few tips for effective storage:
- Wash and Dry: Always wash your pan with warm, soapy water after use and dry it thoroughly before putting it away.
- Stacking: If you have multiple pans, stack them carefully. Consider placing a paper towel between pans to prevent scratches and sticking.
Maintenance of a Jelly Roll Pan
Taking care of your jelly roll pan will ensure it remains a reliable tool in your kitchen. Here are maintenance tips:
- Avoid Abrasive Cleaners: When cleaning your pan, steer clear of scrubbing pads or harsh chemicals that can scratch the surface.
- Handle with Care: Avoid dropping or exposing your pan to extreme temperature changes, as this can warp it.
Alternatives to a Jelly Roll Pan
If you do not have a jelly roll pan on hand, there are alternatives that can be used:
- Baking Sheets: A standard baking sheet can serve a similar purpose, though the depth may vary.
- Glass or Ceramic Dish: These can work for baking, though they typically do not conduct heat as well as metal pans.
Conclusion
A jelly roll pan is a dynamic tool that serves multiple functions in the kitchen, from baking to roasting. Embrace its versatility by incorporating it into your culinary repertoire. Remember to take care of it for many successful baking endeavors in the future.
For delicious jelly roll and pumpkin roll recipes, check out these great options: explore a tasty jelly roll recipe and try this delightful Libby’s pumpkin roll recipe.