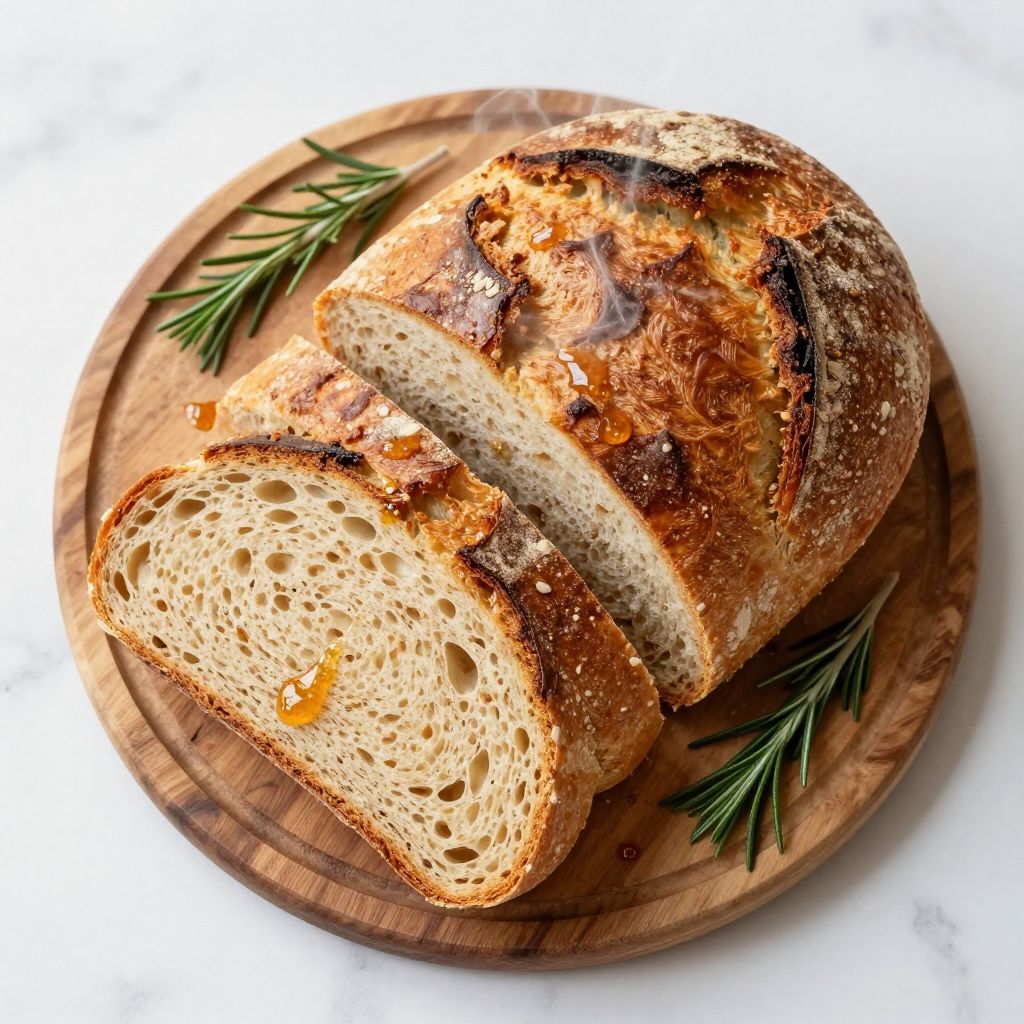
Ingredients
Equipment
Method
- Pour the warm water into a large mixing bowl and add the honey, stirring until it dissolves completely. Sprinkle the yeast over the surface and let it sit for 5 to 10 minutes until it foams and smells like fresh bread.
- In a separate medium bowl, whisk together the whole wheat flour, all-purpose flour, and salt. Mixing them dry first ensures the salt distributes evenly through the dough.
- Pour the flour mixture into the bowl with the activated yeast and add the vegetable oil. Stir with a wooden spoon or dough whisk until no dry flour remains and you have a shaggy, rough dough.
- Turn the dough onto a clean work surface and knead for 10 minutes, adding a pinch of flour only if the dough sticks to your hands. Push the dough away from you with the heel of your hand, fold it back over itself, rotate it a quarter turn, and repeat this motion continuously. After 10 minutes, the dough should feel smooth and elastic.
- Shape the dough into a loose ball and place it back in the mixing bowl. Lightly cover the bowl with a clean kitchen towel and set it in a warm spot for 1.5 hours until the dough nearly doubles in size.
- Turn the dough onto your work surface and divide it in half with a bench scraper or knife. Take one piece and press it gently into a rectangle roughly 8 inches by 6 inches. Roll the rectangle tightly from the short end, pinching the seam as you go to seal it closed. Press the ends to seal them as well, then place the loaf seam-side down into an oiled loaf pan. Repeat with the second piece of dough.
- Cover both loaf pans loosely with the kitchen towel and let them rise for 45 minutes to 1 hour until the dough rises about an inch above the rim of each pan.
- About 15 minutes before the second rise finishes, preheat your oven to 375 degrees F and place a small pan of water on the bottom rack.
- Just before placing the loaves in the oven, use a sharp knife to score the top of each loaf with a single diagonal slash about half an inch deep.
- Place both loaves on the middle oven rack and bake for 35 minutes until the crust is deep golden brown and the loaves sound hollow when you tap the bottom. An instant-read thermometer inserted into the center of the loaf should read 200 to 205 degrees F when the bread is fully baked.
- Remove the loaves from the pans immediately and place them on a wire cooling rack. While they're still warm, brush the top of each loaf with the melted butter. Let the bread cool for at least 30 minutes before slicing.
Notes
Use a kitchen scale to measure your flour by weight rather than volume for best results. Check your yeast's expiration date before you start. Store cooled bread in a paper bag at room temperature for up to three days, or freeze whole or sliced for up to three months. The steam pan in the oven creates the crispy, crackly crust.