Elderberry syrup recipe lovers, gather round. This immune boosting powerhouse has been a kitchen staple for centuries, and making it at home is ridiculously simple.
Forget those pricey store bought bottles that cost an arm and a leg. With dried elderberries, a few pantry spices, and raw honey, you can whip up a batch that tastes better and costs a fraction of the price.
Whether you want to ward off seasonal sniffles or just enjoy a delicious addition to your morning routine, this recipe delivers. Let me walk you through everything you need to know to make perfect elderberry syrup every single time.
Why You Will Love This Recipe
This homemade elderberry syrup checks all the boxes for both beginners and seasoned kitchen warriors. Once you make your first batch, you will never go back to store bought.
- Ready in under an hour with minimal hands on time
- Costs roughly one third of commercial alternatives
- Customizable sweetness and spice levels to suit your taste
- No artificial preservatives or mystery ingredients
- Makes a thoughtful homemade gift during cold and flu season
My Experience Making This Recipe
I started making elderberry syrup about five years ago when my family was going through cold medicine like it was candy. The first batch filled my kitchen with the most incredible aroma of warm spices and berries.
The deep purple color honestly surprised me. It looked like something a witch would brew in the best possible way.
My kids actually ask for their daily dose now, which never happened with store bought versions. The homemade stuff just tastes richer, more complex, and infinitely more satisfying.
Recipe Overview
- Recipe Name: Homemade Elderberry Syrup
- Servings: Approximately 2 cups
- Prep Time: 5 minutes
- Cook Time: 45 minutes
- Total Time: 50 minutes plus cooling
- Course: Wellness Remedy
- Cuisine: Traditional European
- Calories per Serving: 35 calories per tablespoon
Equipment You Will Need
- Medium saucepan with lid
- Fine mesh strainer or cheesecloth
- Large mixing bowl
- Potato masher or back of a wooden spoon
- Glass jar with tight fitting lid for storage
- Measuring cups and spoons
- Funnel for easy pouring
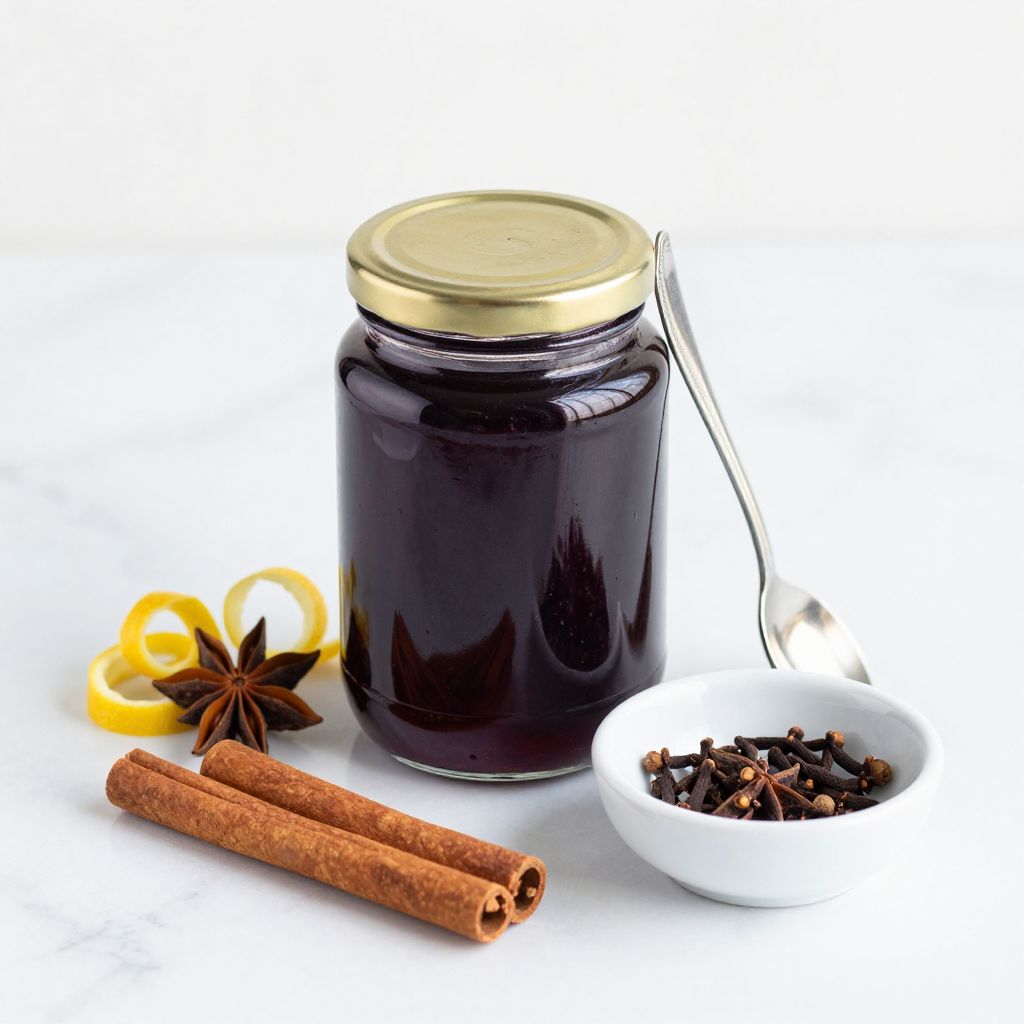
Ingredients for Elderberry Syrup
- Dried elderberries 1 cup
- Filtered water 3 cups
- Raw honey 1 cup
- Fresh ginger root 1 tablespoon, grated
- Cinnamon sticks 2 whole sticks
- Whole cloves 1/2 teaspoon
- Lemon juice 2 tablespoons, freshly squeezed
Optional Add Ins
- Star anise 1 whole pod
- Dried rose hips 1 tablespoon
- Orange zest 1 teaspoon
Ingredient Notes and Substitutions
- Dried elderberries: These provide the signature immune supporting properties and deep color. Fresh elderberries work but use double the amount.
- Raw honey: Acts as a natural preservative and adds antimicrobial benefits. Maple syrup or coconut nectar work for vegan versions but reduce shelf life.
- Fresh ginger: Adds warming properties and supports digestion. Ground ginger works in a pinch using 1 teaspoon instead.
- Cinnamon sticks: Provide warm, sweet notes and additional health benefits. Ground cinnamon can substitute using 1 teaspoon.
- Whole cloves: Add depth and subtle spiciness. Skip entirely if you dislike cloves since they can be overpowering.
- Lemon juice: Brightens the flavor and adds vitamin C. Apple cider vinegar offers a similar tang.
How to Make Elderberry Syrup
Step 1: Combine Elderberries and Water
Add the dried elderberries and filtered water to your medium saucepan. The berries will look a bit sad and shriveled right now, but they will plump up beautifully as they cook.
Step 2: Add the Spices
Toss in the grated ginger, cinnamon sticks, and whole cloves. Using whole spices instead of ground prevents your syrup from becoming gritty or cloudy.
Step 3: Bring to a Boil
Place the saucepan over high heat and bring everything to a rolling boil. Watch the pot carefully since elderberries can foam up unexpectedly if you look away.
Step 4: Reduce and Simmer
Lower the heat to medium low and let the mixture simmer uncovered for 45 minutes. You want the liquid to reduce by roughly half, which concentrates both flavor and beneficial compounds.
Stir occasionally to prevent sticking. Your kitchen will smell absolutely incredible during this step.
Step 5: Mash the Berries
Remove the pot from heat and use a potato masher to gently crush the softened berries. This releases every last bit of goodness from those plump little guys.
Step 6: Strain the Mixture
Set your fine mesh strainer over a large bowl and pour the mixture through slowly. Press the solids with the back of a spoon to extract maximum liquid.
Discard the spent berries and spices. They have given you everything they had.
Step 7: Add the Honey
Let the strained liquid cool to lukewarm, around 100 degrees Fahrenheit or comfortable to touch. Adding honey to hot liquid destroys its beneficial enzymes, so patience matters here.
Pour in the raw honey and whisk until completely dissolved. Add the lemon juice and stir again.
Step 8: Bottle and Store
Use a funnel to transfer your finished syrup into a clean glass jar. Seal tightly and label with the date so you remember when you made this liquid gold.
Pro Tip: Always let your elderberry mixture cool below 110 degrees Fahrenheit before adding honey to preserve the raw honey’s natural enzymes and antibacterial properties.
Tips for the Best Elderberry Syrup
- Source your dried elderberries from reputable suppliers to ensure quality and safety.
- Use filtered water for the purest flavor without chlorine interference.
- Taste your syrup before bottling and adjust honey levels to your preference.
- Invest in dark glass bottles to protect your syrup from light degradation.
- Make a double batch during fall so you have plenty for the entire season.
- Shake your stored syrup before each use since natural separation can occur.
Common Mistakes to Avoid
- Adding honey while hot: This destroys beneficial enzymes and reduces the health properties of your syrup.
- Not reducing enough: Weak, watery syrup lacks flavor concentration and spoils faster.
- Using raw elderberries improperly: Raw elderberries contain compounds that can cause stomach upset if not cooked thoroughly.
- Skipping the straining step: Leftover berry bits create an unpleasant texture and can cause faster spoilage.
- Storing in plastic containers: The dark pigments can stain plastic, and glass keeps the syrup fresher longer.
Serving Suggestions
Elderberry syrup works wonderfully beyond just taking it straight off the spoon. Get creative with these tasty applications.
- Drizzle over pancakes, waffles, or oatmeal for a healthy twist
- Stir into hot tea or warm water with lemon
- Mix into sparkling water for a refreshing immune boosting mocktail
- Swirl into plain yogurt or top vanilla ice cream
- Use as a glaze for roasted chicken or pork
Variations to Try
- Spiced Apple Elderberry: Add 1/2 cup apple cider during simmering for a cozy autumn flavor profile.
- Citrus Burst: Include orange and lemon zest with a whole star anise for bright, complex notes.
- Extra Strength: Double the elderberries and reduce the water by half for a more potent concentrate.
- Kid Friendly: Reduce ginger and cloves by half for a milder taste that little ones love.
- Herbal Boost: Add 1 tablespoon dried echinacea root during simmering for extra immune support.
Dietary Adaptations
- Vegan: Replace honey with maple syrup or date syrup, though refrigerate immediately and use within 2 weeks.
- Refined Sugar Free: This recipe is naturally refined sugar free when using raw honey or pure maple syrup.
- Low Glycemic: Use raw honey sparingly or substitute with monk fruit sweetener to taste.
- AIP Compliant: Omit cloves and ensure all ingredients align with your protocol phase.
Storage and Reheating
Refrigerator
Your elderberry syrup thrives in cold storage. Always keep it refrigerated for maximum freshness and safety.
- Store in an airtight glass container
- Keeps for 2 to 3 months when properly refrigerated
- Check for any off smells or mold before each use
Freezer
Freezing extends shelf life significantly for those big batch makers. This method works great for long term storage.
- Pour into ice cube trays for easy portioning
- Transfer frozen cubes to freezer bags
- Lasts up to 6 months frozen
- Thaw overnight in the refrigerator
Reheating
Technically elderberry syrup does not require reheating. Most people prefer it cold or at room temperature.
- If desired warm, heat gently over low heat
- Never microwave as it can create hot spots
- Avoid boiling which degrades the honey
Nutrition Information
| Nutrient | Amount |
|---|---|
| Calories | 35 |
| Total Fat | 0g |
| Saturated Fat | 0g |
| Carbohydrates | 9g |
| Fiber | 0g |
| Sugar | 8g |
| Protein | 0g |
| Sodium | 1mg |
| Cholesterol | 0mg |
Nutritional values are estimates based on one tablespoon serving size and may vary based on specific ingredients used.
Frequently Asked Questions
Can I use fresh elderberries instead of dried?
Absolutely, just double the amount since fresh berries contain more water. Make sure they are fully ripe and always cook them thoroughly before consuming.
How much elderberry syrup should I take daily?
Adults typically take 1 tablespoon daily for maintenance or 1 tablespoon every 2 to 3 hours when feeling under the weather. Children over one year old usually take 1 teaspoon daily.
Why did my syrup turn out too thin?
You likely did not simmer long enough to reduce the liquid properly. Return it to the stove and simmer until reduced by half before adding honey.
Can I make this recipe without honey for my baby?
Never give honey to children under one year old due to botulism risk. Use maple syrup instead and consult your pediatrician before giving elderberry to infants.
How do I know if my elderberry syrup has gone bad?
Signs of spoilage include mold growth, fermented or alcoholic smell, and fizzing when opened. When in doubt, throw it out and make a fresh batch.
Final Thoughts
Making your own elderberry syrup at home is one of those kitchen projects that feels incredibly rewarding. The process is straightforward, the results are delicious, and your immune system will thank you.
Give this recipe a try before the next cold season hits and taste the difference homemade makes. Once you see how easy and affordable it is, you will wonder why you ever bought the store version in the first place.
Homemade Elderberry Syrup
Ingredients
Method
- Combine dried elderberries and filtered water in a medium saucepan.
- Add grated fresh ginger root, cinnamon sticks, and whole cloves; bring to a rolling boil over high heat.
- Reduce heat to medium-low and simmer uncovered for 45 minutes, stirring occasionally, until the liquid has reduced by about half.
- Remove the saucepan from heat and gently mash the softened berries with a potato masher to release their juices.
- Strain the mixture through a fine-mesh strainer or cheesecloth into a large bowl, pressing the solids to extract as much liquid as possible; discard the solids.
- Let the strained liquid cool to approximately 100 °F (lukewarm), then whisk in the raw honey until fully dissolved.
- Stir in the freshly squeezed lemon juice, funnel the finished syrup into a clean glass jar, seal tightly, label, and refrigerate.