Apple pie filling recipe transforms fresh, crisp apples into a luscious, cinnamon-spiced masterpiece that makes holiday baking a breeze. Whether you’re prepping for Thanksgiving, stocking your pantry, or craving warm apple desserts on demand, homemade filling beats the canned stuff every single time.
The secret lies in using the right apple varieties and nailing that perfect balance of sweet and tart. Once you master this recipe, you’ll wonder why you ever reached for store-bought versions.
This versatile filling works beautifully in classic pies, turnovers, crisps, and even as a topping for pancakes. Let me walk you through everything you need to create the best apple pie filling you’ve ever tasted.
Why You’ll Love This Recipe
This apple pie filling delivers that nostalgic, grandmother’s kitchen flavor with minimal effort. Here’s what makes it special:
- Ready in under 30 minutes with basic pantry ingredients
- Freezes beautifully for up to 12 months of pie-ready convenience
- Customizable sweetness and spice levels to match your taste
- Works for pies, crisps, turnovers, and breakfast toppings
- No artificial preservatives or high fructose corn syrup
My Experience Making This Recipe
I’ve made this apple pie filling more times than I can count, and it never disappoints. The aroma of cinnamon and nutmeg bubbling away with fresh apples fills my entire kitchen and makes the neighbors jealous.
My family now requests this filling for everything from Sunday morning waffles to impromptu apple hand pies. The texture stays perfectly tender without turning to mush, which honestly took me a few batches to figure out.
Last Thanksgiving, I prepped six batches and froze them in pie-sized portions. Future me was extremely grateful when December rolled around and homemade apple pie was only a thaw away.
Recipe Overview
- Recipe Name: Homemade Apple Pie Filling
- Servings: Enough for one 9-inch pie (about 6 cups)
- Prep Time: 20 minutes
- Cook Time: 10 minutes
- Total Time: 30 minutes
- Course: Dessert, Filling, Preserve
- Cuisine: American
- Calories per Serving: 185 calories (per 3/4 cup serving)
Equipment You Will Need
- Large heavy-bottomed saucepan or Dutch oven
- Sharp knife and cutting board
- Vegetable peeler or apple peeler
- Apple corer (optional but helpful)
- Wooden spoon or silicone spatula
- Measuring cups and spoons
- Small bowl for mixing spices
- Canning jars or freezer-safe containers for storage
Ingredients for Apple Pie Filling
- 3 pounds apples (about 8 medium), peeled, cored, and sliced 1/4-inch thick
- 3/4 cup granulated sugar
- 1/4 cup packed brown sugar
- 3 tablespoons cornstarch
- 1 teaspoon ground cinnamon
- 1/4 teaspoon ground nutmeg
- 1/8 teaspoon ground allspice
- 1/4 teaspoon salt
- 1 tablespoon lemon juice
- 1 cup water or apple cider
- 2 tablespoons unsalted butter
- 1 teaspoon vanilla extract
Ingredient Notes and Substitutions
- Apples: Granny Smith, Honeycrisp, or Braeburn hold their shape best during cooking. Mix two varieties for complex flavor.
- Brown sugar: Adds caramel depth and moisture to the filling. Substitute with coconut sugar or additional granulated sugar if needed.
- Cornstarch: Creates that glossy, thick sauce that clings to apples. Tapioca starch works as a 1:1 replacement and freezes better.
- Apple cider: Intensifies the apple flavor beautifully. Water works fine, but cider takes it up a notch.
- Nutmeg: Provides warm, slightly sweet background notes. Skip it if you prefer a simpler cinnamon-forward filling.
- Lemon juice: Prevents browning and balances sweetness. Apple cider vinegar substitutes well in a pinch.
How to Make Apple Pie Filling
Step 1: Prep Your Apples
Peel, core, and slice your apples into uniform 1/4-inch thick slices. Consistent thickness ensures even cooking so you don’t end up with some mushy pieces and some crunchy ones.
Toss the sliced apples with lemon juice immediately to prevent oxidation. Nobody wants brown, sad-looking pie filling.
Step 2: Mix the Dry Ingredients
In a small bowl, whisk together granulated sugar, brown sugar, cornstarch, cinnamon, nutmeg, allspice, and salt. Combining these beforehand prevents cornstarch lumps from forming in your sauce.
Step 3: Create the Sauce Base
Pour the water or apple cider into your large saucepan over medium heat. Gradually whisk in the sugar and spice mixture until completely dissolved.
Whisking constantly prevents the cornstarch from clumping at the bottom. You want a smooth, lump-free base for your filling.
Step 4: Cook Until Thickened
Continue cooking and stirring the sauce for 2 to 3 minutes until it becomes thick and glossy. The sauce should coat the back of a spoon and hold its shape briefly when you drag a line through it.
Don’t rush this step by cranking up the heat. High heat can cause cornstarch to break down and lose its thickening power.
Step 5: Add the Apples
Gently fold the prepared apple slices into the thickened sauce. Stir carefully to coat every slice without breaking them.
Step 6: Simmer the Filling
Reduce heat to medium-low and let the apples simmer for 6 to 8 minutes. Stir occasionally to prevent sticking and ensure even cooking.
The apples should be just tender but still hold their shape. They’ll continue softening during baking, so don’t overcook them now.
Step 7: Finish with Butter and Vanilla
Remove the pan from heat and stir in the butter until melted and incorporated. Add vanilla extract and give everything one final gentle stir.
Adding butter and vanilla off heat preserves their flavors. High heat would mute the vanilla and could cause the butter to separate.
Step 8: Cool Before Using or Storing
Let the filling cool completely at room temperature for at least 30 minutes. Hot filling will make pastry soggy and can crack freezer containers.
Transfer to your storage containers or use immediately in your favorite recipe. The filling thickens further as it cools.
Pro Tip: For the glossiest, most stable filling, use Clear Jel instead of cornstarch if you plan to can or freeze large batches. It’s what commercial producers use and it won’t break down or become watery after freezing.
Tips for the Best Apple Pie Filling
- Mix apple varieties for depth. Combine tart Granny Smiths with sweeter Honeycrisps for a balanced flavor profile.
- Slice apples uniformly. A mandoline slicer makes quick work of this and ensures perfectly even cooking.
- Taste and adjust sweetness before cooking. Apple tartness varies by variety and season, so trust your palate.
- Don’t skip the salt. It sounds counterintuitive, but salt amplifies sweetness and rounds out the spices.
- Cool filling completely before adding to raw pie crust. Steam from hot filling creates a soggy bottom crust.
- For extra thick filling, toss raw apples in the cornstarch mixture rather than making a separate sauce.
Common Mistakes to Avoid
- Using Red Delicious apples: They turn mealy and mushy when cooked. Stick to baking varieties like Granny Smith or Braeburn.
- Overcooking the apples: Remember they’ll cook again in the pie. Barely tender is perfect for the filling stage.
- Skipping the lemon juice: Your filling will oxidize and turn an unappetizing brown color within minutes.
- Adding cornstarch directly to hot liquid: Instant lumps that won’t dissolve no matter how hard you whisk.
- Filling pie crust while hot: Creates steam that makes your bottom crust soggy and sad.
Serving Suggestions
This filling shines in classic double-crust pies but its versatility extends far beyond. Think of it as your secret weapon for impressive desserts with minimal last-minute effort.
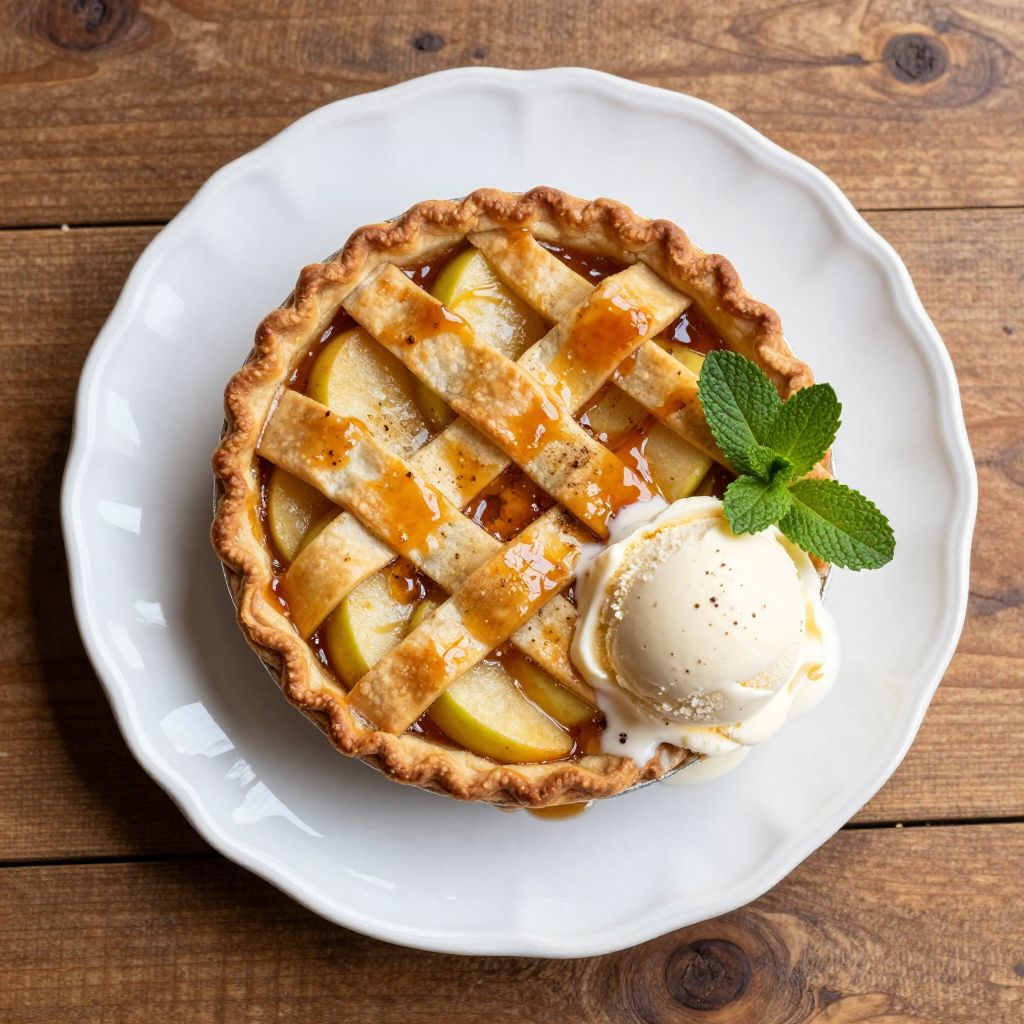
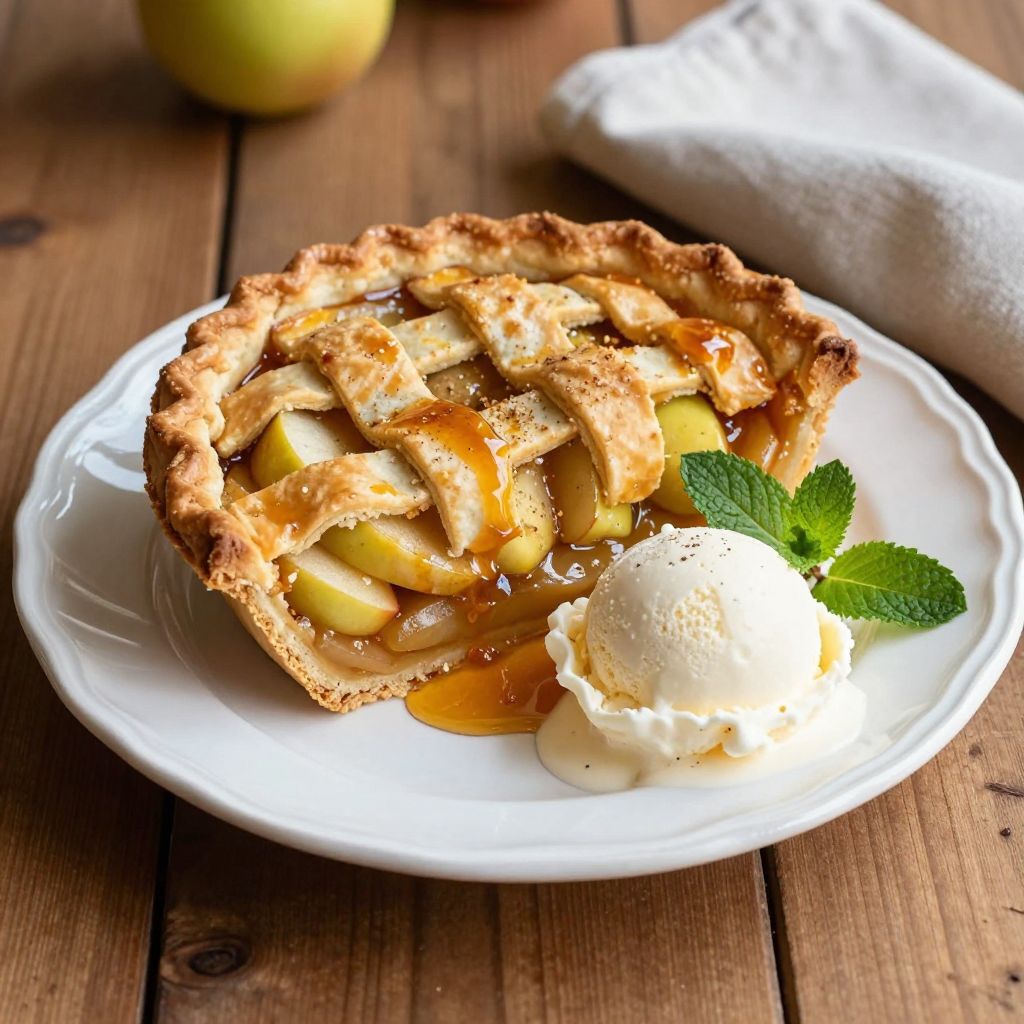
- Spoon warm over vanilla ice cream for an instant apple pie sundae
- Layer in mason jars with granola and yogurt for fancy breakfast parfaits
- Fill puff pastry squares for quick apple turnovers
- Top buttermilk pancakes or waffles for a decadent brunch
- Swirl into cheesecake batter before baking for apple pie cheesecake
Variations to Try
- Salted Caramel Apple: Drizzle 1/4 cup caramel sauce and a pinch of flaky sea salt into the finished filling. Ridiculously good.
- Cranberry Apple: Add 1/2 cup fresh cranberries during the last 3 minutes of cooking for tartness and festive color.
- Maple Bourbon: Replace brown sugar with maple syrup and add 2 tablespoons bourbon with the vanilla. Sophisticated and warming.
- Chai Spiced: Add 1/4 teaspoon each of cardamom and ginger, plus a pinch of black pepper. Perfect for fall baking.
- Dutch Apple: Increase cinnamon to 2 teaspoons and add 1/4 cup raisins soaked in warm water. Old-fashioned comfort.
Dietary Adaptations
- Gluten-Free: This filling is naturally gluten-free. Just ensure your cornstarch brand is certified if you have celiac disease.
- Dairy-Free: Replace butter with coconut oil or vegan butter. The texture remains identical.
- Vegan: Use vegan butter and you’re all set. The recipe contains no eggs or animal products otherwise.
- Low-Carb/Keto: Substitute sugars with monk fruit or allulose sweetener and use 2 teaspoons xanthan gum instead of cornstarch. Expect slightly different texture.
Storage and Reheating
Refrigerator
Properly stored apple pie filling keeps well in the fridge for quick access. Transfer to airtight containers for best results.
- Lasts 5 to 7 days refrigerated
- Press plastic wrap directly onto surface to prevent skin forming
- Let come to room temperature before using in pies
Freezer
Freezing is the best long-term storage method for homemade filling. Portion into pie-sized amounts for convenience.
- Freezes well for up to 12 months
- Use freezer bags laid flat for efficient storage
- Label with date and quantity
- Thaw overnight in refrigerator before using
Reheating
Gentle reheating restores the filling’s saucy consistency. Avoid high heat which can break down the apples.
- Microwave in 30-second intervals, stirring between
- Stovetop over low heat, stirring frequently
- Add a splash of water if filling seems too thick
Nutrition Information
| Nutrient | Amount |
|---|---|
| Calories | 185 |
| Total Fat | 3g |
| Saturated Fat | 2g |
| Carbohydrates | 42g |
| Fiber | 3g |
| Sugar | 35g |
| Protein | 0.5g |
| Sodium | 65mg |
| Cholesterol | 8mg |
Nutritional values are estimates based on standard ingredients and may vary depending on specific brands and apple varieties used.
Frequently Asked Questions
Can I use this filling immediately or does it need to rest?
You can use it right away once cooled. Resting overnight in the fridge actually improves flavor as the spices meld together.
Why did my filling turn out watery after baking?
Apples release moisture during baking, which can thin the filling. Make sure your stovetop filling is quite thick before adding to the pie, and consider adding an extra tablespoon of cornstarch.
Can I make this filling ahead for Thanksgiving?
Absolutely, and I highly recommend it. Make the filling up to 3 days ahead and refrigerate, or freeze up to a month before.
What’s the best apple to use if I can only pick one variety?
Granny Smith apples are the gold standard for pie filling. They’re tart, hold their shape well, and are available year-round at most grocery stores.
How do I prevent my bottom pie crust from getting soggy?
Brush the raw bottom crust with beaten egg white before adding cooled filling. You can also blind bake the crust for 10 minutes first.
Can I can this filling for shelf-stable storage?
Yes, but you must use Clear Jel instead of cornstarch and follow proper water bath canning procedures. Regular cornstarch is not safe for canning.
Final Thoughts
Homemade apple pie filling is one of those recipes that pays dividends far beyond the initial effort. With a few batches tucked away in your freezer, you’re always minutes away from impressing guests with warm, homemade apple desserts.
Give this recipe a try and taste the difference fresh ingredients and real spices make. Once you’ve experienced the genuine article, those cans at the grocery store will never tempt you again.
Homemade Apple Pie Filling
Ingredients
Method
- Peel, core, and slice the apples into 1/4-inch thick pieces, then toss immediately with the lemon juice to prevent browning.
- In a small bowl, whisk together granulated sugar, brown sugar, cornstarch, cinnamon, nutmeg, allspice, and salt until no lumps remain.
- Pour the water or apple cider into a large heavy-bottomed saucepan over medium heat. Gradually whisk in the sugar–spice mixture and cook, whisking constantly, until the sauce thickens and turns glossy, about 2–3 minutes.
- Fold the apple slices into the thickened sauce, ensuring every slice is coated. Reduce heat to medium-low and simmer, stirring occasionally, until the apples are just tender but still hold their shape, 6–8 minutes.
- Remove the pan from the heat. Stir in the butter until melted, then mix in the vanilla extract.
- Let the filling cool at room temperature for at least 30 minutes before using in pies or transferring to storage containers.