
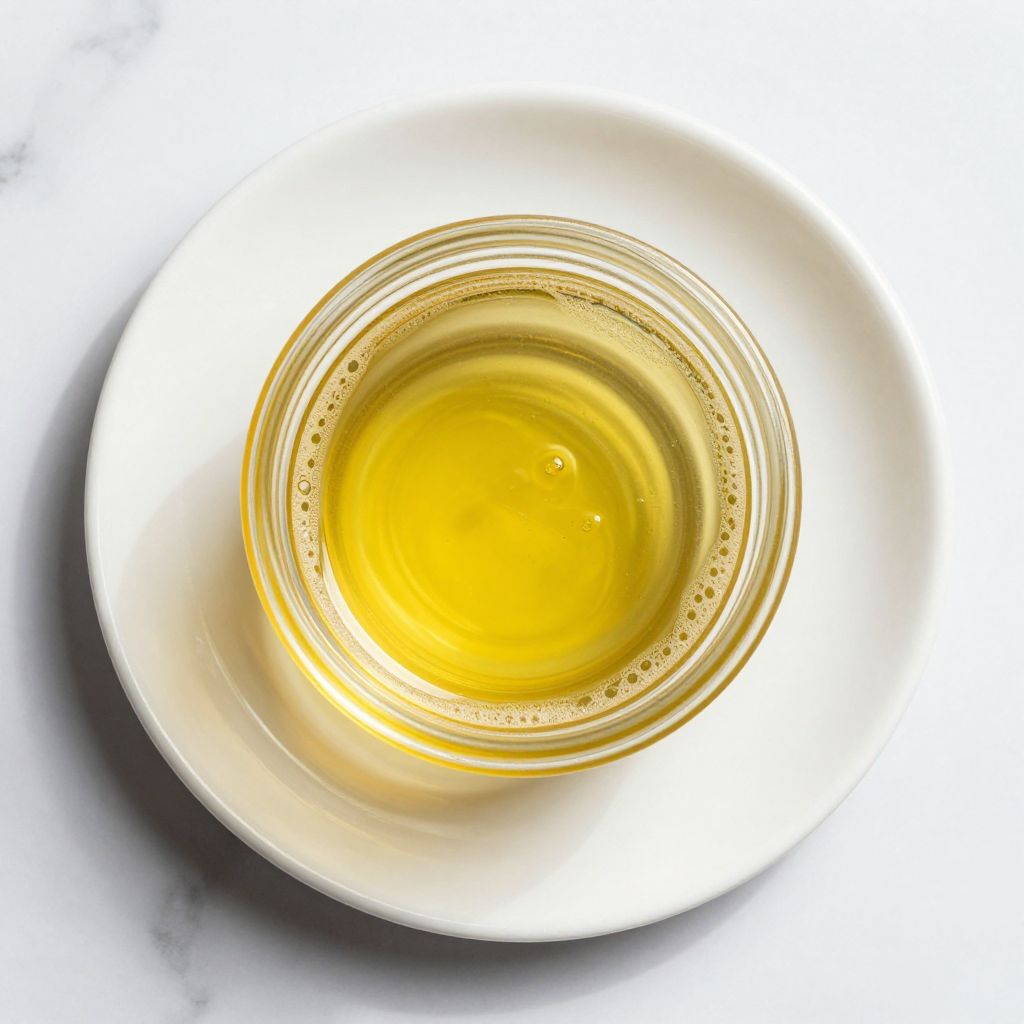
There’s something almost magical about watching butter transform into liquid gold, the milk solids sinking to the bottom while pure, clear fat rises to the top. Clarified butter is one of those simple kitchen skills that feels fancy but requires nothing more than patience and a saucepan.
This recipe is special because it unlocks a ingredient that cooks at higher temperatures without burning, tastes richer than regular butter, and lasts longer in your pantry. You’ll use it for searing steaks, making restaurant-quality hollandaise, drizzling over popcorn, and dozens of other applications where regular butter would smoke and disappoint you.
The best part? You probably have everything you need right now, and the whole process takes about 20 minutes of mostly hands-off time. Let’s turn that stick of butter into kitchen gold.
Why You’ll Love This Recipe
Clarified butter is a workhorse ingredient that every home cook should master. Once you have it on hand, you’ll find yourself reaching for it constantly.
- Higher smoke point means you can sear, fry, and cook without the butter breaking down or burning
- Pure, concentrated butter flavor that tastes richer than regular melted butter
- Longer shelf life than regular butter, staying fresh in the fridge for months
- Lactose-free once the milk solids are removed, making it suitable for dairy-sensitive diets
- Incredibly simple to make with just one ingredient and basic kitchen equipment
My Experience Making This Recipe
The first time I made clarified butter, I was skeptical that something so simple could actually taste that good. Within minutes of melting the butter, the whole kitchen smelled incredible, and I understood why chefs rely on this technique.
I remember pouring the golden liquid into a glass jar and marveling at how clean and pure it looked compared to regular butter. My family noticed the difference immediately when I used it to sear fish, and now they request clarified butter by name for their favorite dishes.
The process became even more satisfying once I realized I could use the leftover milk solids in other recipes. Nothing goes to waste, and you get two useful products from one stick of butter.
Recipe Overview
- Recipe Name: Clarified Butter
- Servings: Makes approximately 3/4 cup
- Prep Time: 2 minutes
- Cook Time: 15 minutes
- Total Time: 17 minutes
- Course: Ingredient/Condiment
- Cuisine: French
- Calories per Serving: 112 calories (per tablespoon)
Equipment You Will Need
- Small to medium saucepan
- Spoon or skimmer for removing foam
- Fine-mesh strainer or cheesecloth
- Glass jar or airtight container for storage
- Thermometer (optional, but helpful)
Ingredients for Clarified Butter
- 1 pound unsalted butter (salted butter works, but unsalted gives you better control)
Ingredient Notes and Substitutions
- Unsalted butter is the standard choice because it gives you a pure, neutral flavor and lets you control any added salt. Salted butter works fine if that’s what you have, though the final product will be saltier.
- European-style butter with higher fat content produces more clarified butter and less waste. Standard American butter works perfectly well, just expect slightly less yield.
How to Make Clarified Butter
Step 1: Cut the Butter Into Chunks
Cut your pound of butter into smaller pieces so it melts evenly and quickly. Smaller chunks melt in about 5 minutes instead of 10, which means less time for the milk solids to brown.
Step 2: Melt Over Medium-Low Heat
Place the butter chunks in your saucepan and heat over medium-low temperature. Low heat is crucial because it allows the water to evaporate slowly and prevents the milk solids from browning too quickly, which would turn your clarified butter gray or tan instead of golden.
Step 3: Watch for Foaming
As the butter melts, white foam will rise to the surface. This foam is mostly water and milk solids, and it’s completely normal and expected.
Step 4: Skim the Foam Carefully
Using a skimmer or large spoon, gently remove the white foam from the surface and discard it. Remove as much as you can, but don’t worry if a thin layer remains because you’ll filter it out later.
Step 5: Let It Settle for a Few Minutes
Once most of the foam is gone, remove the pan from heat and let it sit undisturbed for about 5 minutes. This allows the remaining milk solids to sink to the bottom of the pan, separating clearly from the clarified butter floating on top.
Step 6: Prepare Your Straining Setup
Line your strainer with cheesecloth or use a fine-mesh strainer alone, and position it over your clean glass jar. Having everything ready before you start pouring prevents spills and ensures you catch all the liquid gold.
Step 7: Slowly Pour Into the Strainer
Carefully pour the clarified butter through the strainer into your jar, leaving the milky solids behind in the pan. Pour slowly and steadily to give the strainer time to catch any remaining particles.
Step 8: Cool and Store
Let your clarified butter cool to room temperature, then seal it in an airtight container. It will solidify slightly as it cools, which is normal and expected.
Pro Tip: Don’t discard those milk solids at the bottom of the pan, they’re actually beurre noisette (brown butter solids) and taste amazing on roasted vegetables or stirred into soups.
Tips for the Best Clarified Butter
- Use a thermometer to monitor temperature if you want extra control. The ideal range is 212 to 230 degrees Fahrenheit, which keeps the milk solids from browning while water evaporates.
- Don’t rush the process by using high heat. High heat causes splattering and can brown the milk solids, changing the flavor and color of your final product.
- Save the leftover milk solids in a separate container. They keep for about a week and add incredible depth to scrambled eggs, roasted potatoes, or pasta.
- Use clarified butter within 6 months for best quality, though it stays safe longer thanks to the lack of water and milk proteins that spoil regular butter.
- Line your strainer with several layers of cheesecloth for extra filtration, catching even tiny particles that would cloud your butter.
Common Mistakes to Avoid
- Using high heat causes the milk solids to brown too quickly, turning your clarified butter cloudy or giving it a cooked flavor. Medium-low heat is your friend here.
- Skipping the resting period means the milk solids won’t separate properly, and you’ll end up with some cloudiness in your final product.
- Pouring too quickly through the strainer can overwhelm it and let sediment slip through. Take your time and pour steadily.
- Using salted butter without accounting for the extra salt in your recipe can throw off your seasoning. This matters more in delicate dishes like hollandaise.
- Storing in the wrong container allows oxidation and flavor changes. Use glass or food-safe plastic with a tight seal.
Serving Suggestions
Clarified butter shines in so many applications that you’ll start finding reasons to use it every time you cook. Here are some of my favorite uses that showcase what this ingredient can do.
- Drizzle warm over lobster, crab, or shrimp for a classic seafood pairing that makes every bite luxurious
- Use for searing steaks, chops, and fish at high heat without worrying about burning or smoking
- Make silky, restaurant-quality hollandaise sauce that tastes like it came from a five-star brunch
- Pour over fresh popcorn with sea salt for a gourmet snack that beats movie theater butter every time
- Brush on roasted vegetables, especially asparagus and potatoes, for a richer, more indulgent flavor
Variations to Try
- Garlic clarified butter: Add 4 to 5 smashed garlic cloves while the butter melts, then strain them out. The result tastes amazing on bread and vegetables.
- Herb-infused clarified butter: Add fresh herbs like thyme or rosemary during melting and strain them out after cooling. This adds subtle flavor without the texture of herb pieces.
- Truffle clarified butter: Whisk in a small amount of truffle oil after straining for a decadent version that elevates simple foods. A little goes a long way here.
- Spiced clarified butter: Add whole spices like cardamom, cinnamon, or star anise while melting for a warm, aromatic finish. This variation works beautifully drizzled over sweet potatoes or squash.
Dietary Adaptations
- Gluten-free: Clarified butter is naturally gluten-free since butter contains no gluten. No adaptation needed.
- Dairy-free: Use ghee or dairy-free butter as a replacement, understanding that the final product will have a slightly different flavor profile.
- Vegan: Substitute with coconut oil or refined vegetable oil, though you’ll lose the rich, buttery taste that makes clarified butter special.
- Low-carb or keto: Clarified butter is perfect for these diets, containing zero carbs and high fat content that keeps you in ketosis.
Storage and Reheating
Refrigerator
Clarified butter keeps for 3 to 4 months in the refrigerator, far longer than regular butter. Store it in an airtight glass jar to prevent it from absorbing odors.
- Keep in the coldest part of your fridge, away from the door where temperature fluctuates
- Check for any mold or off odors before using, though this rarely happens with properly made clarified butter
Freezer
You can freeze clarified butter for up to a year if you have extra on hand. Frozen clarified butter works just as well as fresh once thawed.
- Freeze in an airtight container, leaving a bit of room at the top for expansion
- Thaw in the refrigerator overnight before using
Reheating
Clarified butter doesn’t really need reheating since you’ll be using it at room temperature or melting it as needed for cooking. If your jar is cold from the fridge, simply scoop out what you need and it will melt from the warmth of the pan.
- For drizzling over hot food, warm it gently in a small saucepan or in a microwave for 10 to 15 seconds
- Never microwave for longer than necessary, as overheating can cause separation
Nutrition Information
| Nutrient | Amount |
|---|---|
| Calories | 112 |
| Total Fat | 12.7g |
| Saturated Fat | 7.9g |
| Carbohydrates | 0g |
| Fiber | 0g |
| Sugar | 0g |
| Protein | 0.1g |
| Sodium | 2mg |
| Cholesterol | 34mg |
This nutrition information is based on one tablespoon of clarified butter and is calculated from USDA data. Actual values may vary slightly based on the brand and type of butter used.
Frequently Asked Questions
Can I use salted butter to make clarified butter?
Yes, salted butter works fine for clarifying. Just keep in mind that the salt will remain in the final product, so it will be saltier than clarified butter made from unsalted butter.
What’s the difference between clarified butter and ghee?
Clarified butter and ghee are similar but ghee is heated slightly longer, allowing the milk solids to brown and develop a nutty flavor. Ghee has a slightly deeper taste, while clarified butter is more neutral.
How do I know if my clarified butter has gone bad?
Good clarified butter should smell clean and buttery with no sour or off odors. Any visible mold, strange discoloration, or rancid smell means it’s time to toss it.
Can I use clarified butter for baking?
Clarified butter works in some baking applications, but it won’t perform exactly like regular butter in pastries or cakes because it lacks the water content that affects structure. Use it for savory baked goods or when you specifically want a richer butter flavor.
Why is my clarified butter cloudy instead of clear?
Cloudiness usually means some milk solids didn’t fully separate or your heat was too high during cooking. Strain it again through cheesecloth for a clearer result, or simply accept it as still completely usable and delicious.
Final Thoughts
Making clarified butter is one of those simple kitchen techniques that gives you disproportionate results for the effort involved. Once you taste how much better your steaks sear or how silky your hollandaise becomes, you’ll understand why chefs have relied on this ingredient for centuries.
Try making a batch this week and experience the difference in your cooking immediately. You might also explore other cooking fats like cowboy butter recipe for different applications, or discover the anti-inflammatory benefits of golden milk recipe for wellness beyond the kitchen. Your kitchen just got a whole lot more versatile.
Clarified Butter
Ingredients
Equipment
Method
- Cut 1 pound of unsalted butter into small chunks to ensure even melting.
- Place the butter chunks in a small to medium saucepan and heat over medium-low heat (212°F to 230°F) until melted, about 5 minutes.
- As the butter melts, skim and discard the white foam with a spoon or skimmer until most foam is removed.
- Remove the pan from heat and let it sit undisturbed for 5 minutes to allow milk solids to settle to the bottom.
- Line a fine-mesh strainer with cheesecloth and position it over a glass jar or airtight container.
- Carefully pour the melted butter through the strainer into the jar, leaving the milk solids in the pan.
- Allow the clarified butter to cool to room temperature, then seal the container; it will solidify slightly as it cools.