
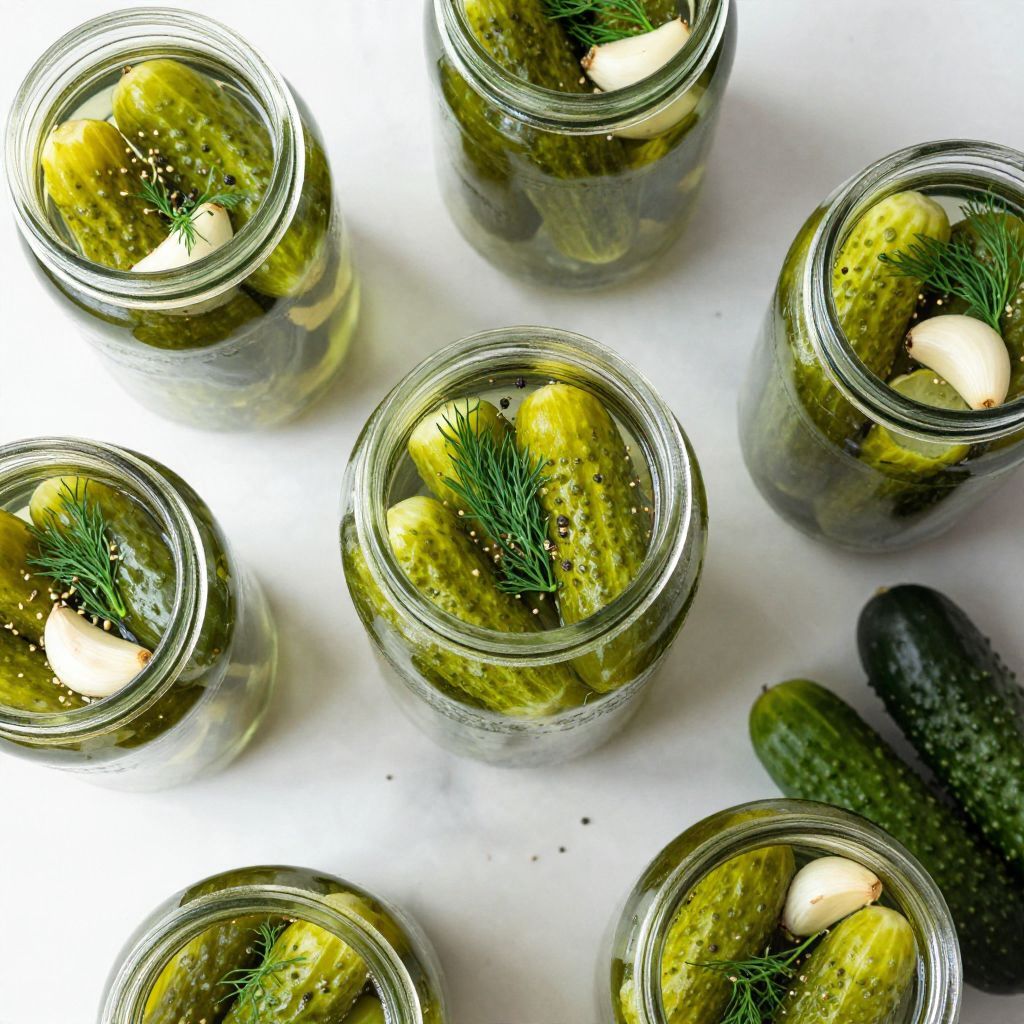
There’s nothing quite like the crisp crunch of a freshly made dill pickle. This Dill Pickles Recipe captures the essence of summer, even in the depths of winter, with its vibrant flavors and satisfying texture. Perfect for sandwiches, snacks, or just straight from the jar, these pickles are a delightful way to elevate any meal. With their tangy, briny goodness, they’re a must-try for any home cook looking to preserve the bounty of their garden or local market. Ready to dive into the world of pickling? Let’s get started!
Why You’ll Love This Recipe
This dill pickle recipe is a game-changer for your pantry.
- Simple ingredients you probably have on hand.
- Quick to prepare, with minimal hands-on time.
- Perfect balance of tangy and crunchy, a real treat.
- Customizable flavors to suit your taste.
- Great way to preserve cucumbers at their peak freshness.
My Experience Making This Recipe
Making dill pickles has become a cherished tradition in my kitchen. The moment those cucumbers hit the brine, the aroma of dill and garlic fills the air and makes my mouth water.
Friends and family are always impressed when I share a jar, and it’s a delight to see the joy on their faces when they taste that first crunch. There’s something incredibly satisfying about crafting these treats from scratch.
Recipe Overview
- Recipe Name: Dill Pickles
- Servings: 4 pints
- Prep Time: 30 minutes
- Cook Time: 10 minutes
- Total Time: 40 minutes
- Course: Snack
- Cuisine: American
- Calories per Serving: 10
Equipment You Will Need
- Large pot for boiling
- Large bowl for soaking cucumbers
- Measuring cups and spoons
- Jar lifter or tongs
- Clean glass canning jars with lids
Ingredients for Dill Pickles
- 4 cups of fresh cucumbers, sliced into spears or rounds
- 2 cups of water
- 1 cup of white vinegar
- 1/4 cup of granulated sugar
- 1 tablespoon of kosher salt
- 4 cloves of garlic, peeled and smashed
- 2 tablespoons of dill seeds or fresh dill sprigs
- 1 teaspoon of black peppercorns
- 1/2 teaspoon of red pepper flakes (optional)
Ingredient Notes and Substitutions
- Cucumbers: They should be firm and fresh for the best crunch. If unavailable, try pickling smaller cucumbers or gherkins.
- White vinegar: This is used for its sharpness. Apple cider vinegar can be a nice alternative for a sweeter flavor.
- Kosher salt: This salt dissolves easily and doesn’t contain additives. Sea salt can be used instead, but avoid table salt.
- Dill: Fresh dill provides a vibrant flavor. If you don’t have fresh, dried dill can be used, but the flavor will be milder.
How to Make Dill Pickles
Step 1: Prepare the Cucumbers
Wash the cucumbers thoroughly and cut them into your desired shape, either spears or rounds. This ensures they absorb the brine well and look appealing in the jar.
Step 2: Soak the Cucumbers
Place the cucumbers in a large bowl and cover them with cold water. Let them soak for about 1 hour to help them stay crisp during the pickling process.
Step 3: Make the Brine
In a large pot, combine the water, white vinegar, granulated sugar, and kosher salt. Bring to a boil while stirring until the sugar and salt dissolve completely.
Step 4: Add Flavorings
Once the brine is boiling, add the smashed garlic cloves, dill, black peppercorns, and red pepper flakes if using. This infuses the brine with delicious flavors.
Step 5: Pack the Jars
Remove the pot from heat and let the brine cool slightly. Pack the cucumbers tightly into clean canning jars, leaving about half an inch of headspace.
Step 6: Pour the Brine
Carefully pour the hot brine over the packed cucumbers in the jars, ensuring they are fully submerged. This step is crucial for proper preservation.
Step 7: Seal the Jars
Wipe the rims of the jars with a clean cloth to remove any residue. Place the lids on the jars and screw the bands on until they are fingertip-tight.
Step 8: Process the Jars
If you’re using a water bath canning method, process the jars for 10 minutes. This seals the jars and ensures your pickles last longer.
Pro Tip: Always use fresh, crisp cucumbers for the best texture and flavor in your pickles.
Tips for the Best Dill Pickles
- Choose pickling cucumbers, as they have fewer seeds and a thicker skin.
- Let the pickles sit for at least 24 hours before tasting; this allows the flavors to develop.
- Experiment with spices like mustard seeds or coriander for a different flavor profile.
- Store your pickles in a cool, dark place to maintain freshness.
- Consider adding a splash of pickle juice to salads for an extra zing.
Common Mistakes to Avoid
- Using overripe cucumbers can lead to mushy pickles. Always pick firm cucumbers.
- Not soaking the cucumbers can result in a less crunchy texture. Soaking is key for crispiness.
- Skipping the sterilization of jars may lead to spoilage. Clean jars ensure safety and longevity.
- Forgetting to leave headspace can cause overflow during processing. Always leave half an inch of headspace.
Serving Suggestions
Dill pickles are versatile and can accompany many dishes. Here are some tasty pairings:
- Sandwiches and burgers for that perfect crunch.
- Cheese boards for a tangy contrast to rich cheeses.
- Chopped into salads for an unexpected twist.
- On a charcuterie platter, they add color and flavor.
Variations to Try
- Spicy dill pickles: Add more red pepper flakes for an extra kick.
- Sweet dill pickles: Increase the sugar for a sweeter profile.
- Garlic dill pickles: Use more garlic cloves for a robust flavor.
- Herb-infused pickles: Experiment with other herbs like thyme or bay leaves.
Dietary Adaptations
- Gluten-free: This recipe is naturally gluten-free, so no changes needed.
- Dairy-free: There are no dairy ingredients, making it suitable for everyone.
- Vegan: These pickles are entirely plant-based.
- Low-carb/keto: With minimal sugars, they fit well into a low-carb diet.
Storage and Reheating
Refrigerator
Store your pickles in the refrigerator for up to 6 months.
- Keep them in a sealed jar to maintain freshness.
- Always use clean utensils to prevent contamination.
Freezer
Freezing is not recommended for pickles, as it can alter their texture.
- Pickles are best enjoyed fresh and crunchy.
Reheating
No reheating is required for pickles; they are enjoyed cold.
- Serve directly from the jar or as a side dish.
Nutrition Information
| Nutrient | Amount |
|---|---|
| Calories | 10 |
| Total Fat | 0g |
| Saturated Fat | 0g |
| Carbohydrates | 2g |
| Fiber | 0g |
| Sugar | 1g |
| Protein | 0g |
| Sodium | 200mg |
| Cholesterol | 0mg |
This nutritional information is approximate and can vary based on specific ingredients used.
Frequently Asked Questions
Can I use other types of cucumbers?
Yes, you can use slicing cucumbers, but pickling cucumbers yield the best results for crunch and flavor.
How long do the pickles need to sit before eating?
For the best flavor, let them sit for at least 24 hours before tasting.
Can I make these ahead of time?
Absolutely! These pickles can be made in advance and stored for several months.
What if my pickles are too soft?
This might be due to using overripe cucumbers or not soaking them long enough. Always use firm cucumbers.
Can I add other spices to the brine?
Definitely! Feel free to experiment with spices like mustard seeds or coriander for different flavors.
Final Thoughts
Making your own dill pickles is truly rewarding and surprisingly simple. I hope this recipe inspires you to fill your pantry with homemade goodness.
Enjoy your journey into pickling, and don’t forget to check out more delicious recipes like Claussen pickle recipe and Cowboy candy recipe for more tasty treats!