
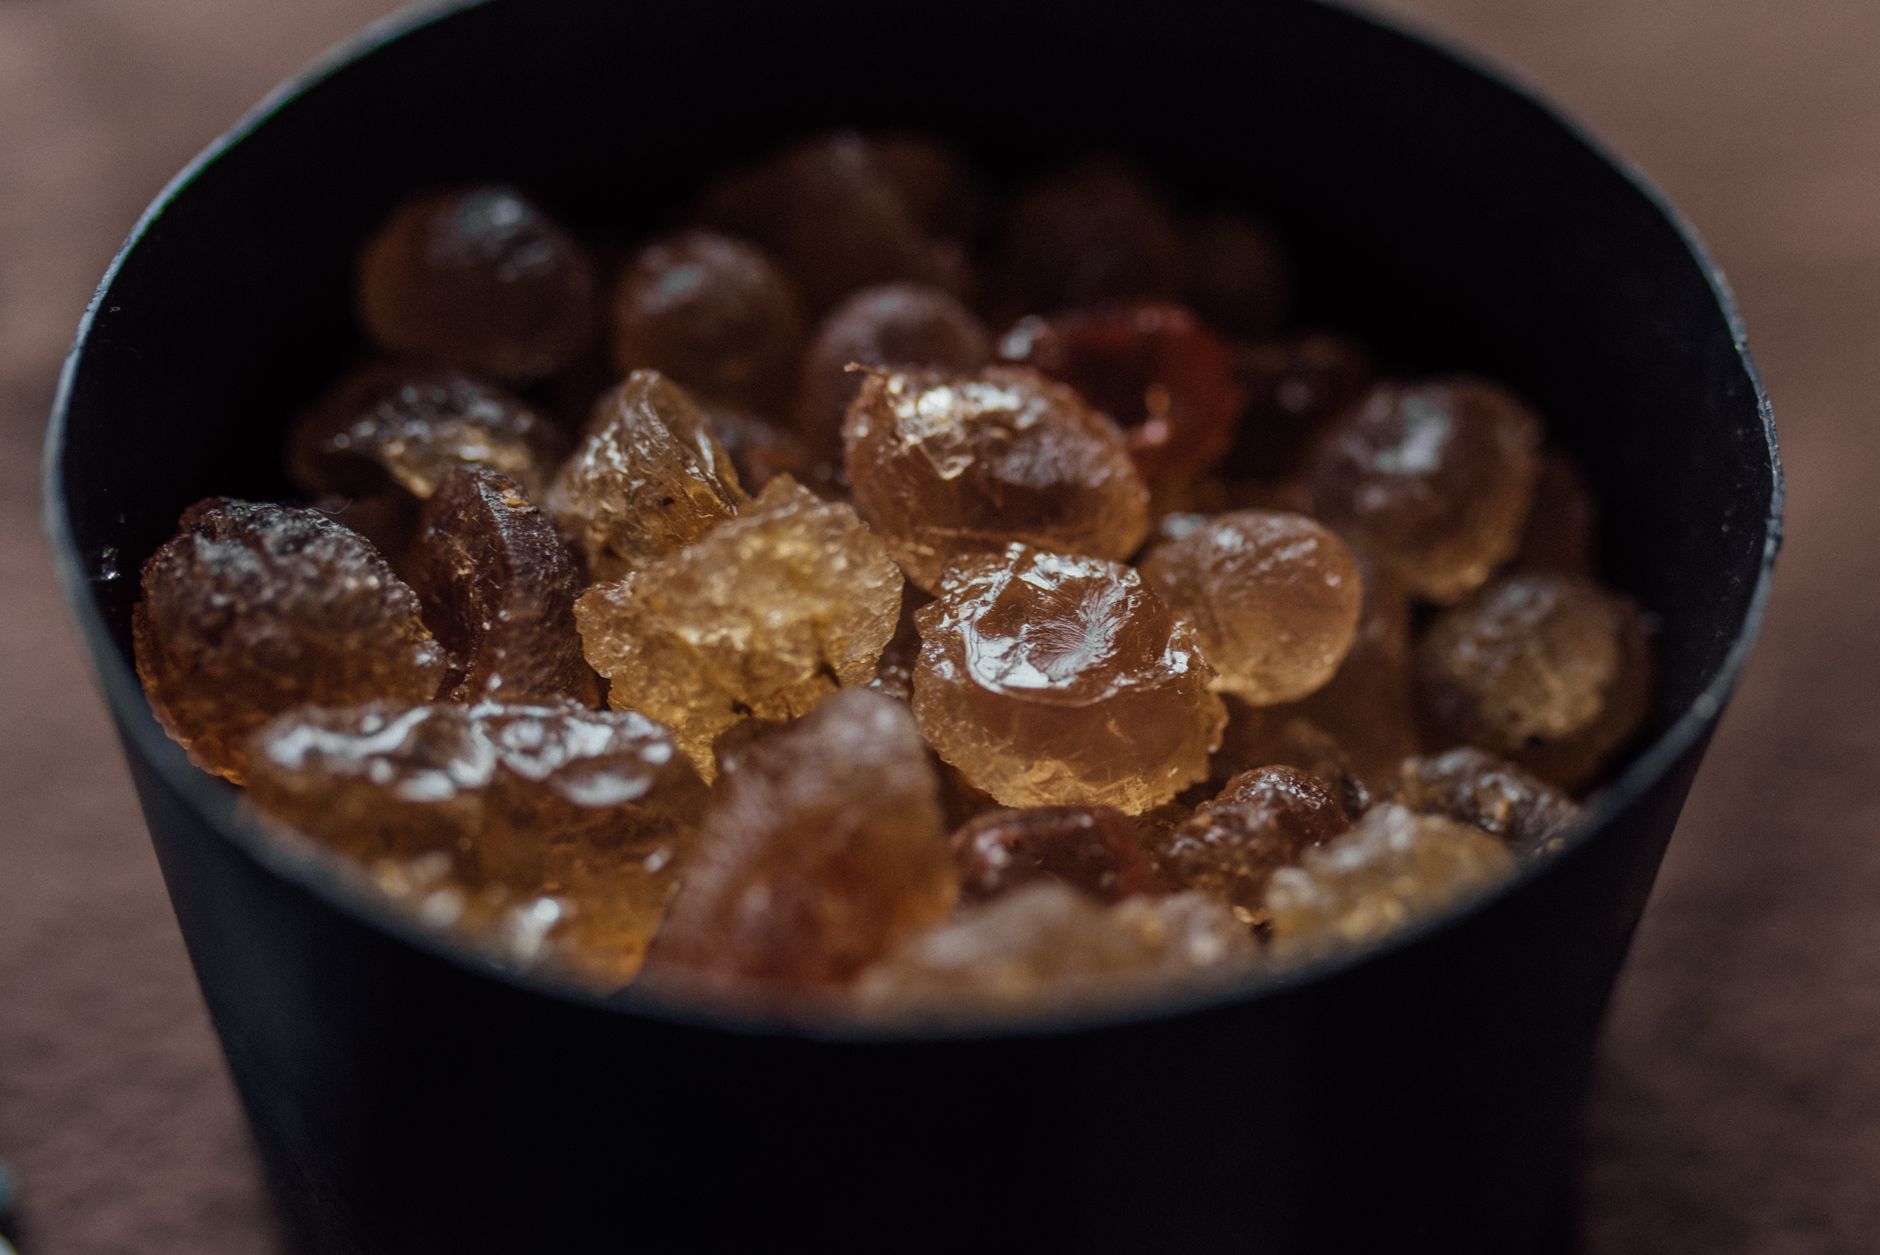
Rock candy, a delightful crystalline treat made from sugar, has been enjoyed for generations. Its unique texture, sweetness, and versatility make it a favorite choice for both children and adults. Whether you’re looking to make some for a festive occasion, use it as a decorative element, or simply satisfy a sweet tooth, learning how to make rock candy at home can be a rewarding experience.
This guide will take you through the entire process of creating delicious rock candy, from the necessary ingredients to step-by-step instructions. You’ll discover helpful tips and hints along the way, ensuring your candy turns out perfectly every time.
How Do You Make Rock Candy?
To make rock candy, you primarily need sugar, water, and a few optional flavorings. The process involves creating a sugar solution, allowing it to cool, and then letting sugar crystals form over several days. The result is a beautiful and sweet crystalline structure that’s both fun to eat and to look at.
Ingredients for Rock Candy
- 2 cups granulated sugar
- 1 cup water
- Optional: Flavoring extract (like vanilla, almond, or peppermint)
- Optional: Food coloring
- Optional: Clean wooden skewers or string for hanging
Essential Equipment
- Medium-sized saucepan
- Measuring cups and spoons
- Stirring spoon
- Glass jar (wide mouth is preferable)
- Cloth or paper towel
- Candy thermometer (optional)
- Twine or string (if using string instead of skewers)
Step-by-Step Instructions for Making Rock Candy
- Prepare your materials: Gather all necessary ingredients and equipment. Ensure that your glass jar is clean and dry, as any residue can interfere with crystal formation.
- Make the sugar solution: In a medium saucepan, combine the sugar and water over medium heat. Stir the mixture continuously until all the sugar dissolves completely. This should take about 5 minutes.
- Add flavor and color: If desired, add a few drops of your chosen flavoring extract and food coloring to the sugar solution. Stir well to ensure even distribution.
- Gauge the temperature: If using a candy thermometer, heat the solution until it reaches a temperature of 240°F (115°C). This stage is known as the soft ball stage.
- Cool the mixture: Once the sugar solution is ready, remove it from the heat and let it cool for about 15-20 minutes. It should be warm but not hot to the touch.
- Prepare the skewers or string: If using wooden skewers, wet them slightly with water and roll them in granulated sugar. This helps initiate crystal formation. If using string, tie one end to a pencil and the other end to a clean weight (like a small metal washer).
- Pour the solution: Carefully pour the cooled sugar solution into the glass jar, leaving some space at the top. Then, insert the prepared skewer or string into the jar so that it hangs in the sugar solution without touching the bottom.
- Cover and wait: Cover the jar with a cloth or paper towel to prevent dust from settling in. Place the jar in a cool, undisturbed area where it won’t be disturbed for at least 5-7 days.
- Observe the crystallization: Over the next few days, you should start to see sugar crystals forming on the skewer or string. The longer you wait, the larger the crystals will become. For best results, allow at least one week for optimal candy.
- Harvest your rock candy: Once the candy has formed to your liking, carefully remove the skewer or string from the jar. Let excess syrup drip off, then place the candy on a piece of wax paper to dry completely.
- Store your rock candy: Once dried, store rock candy in an airtight container at room temperature. It can last for several weeks if kept dry.
Rock Candy Substitutions and Variations
While the classic version of rock candy is simple and uses just sugar and water, you can experiment with a variety of flavors and colors. Here are some options you might consider:
- Flavoring alternatives: Experiment with different extracts such as strawberry, lemon, or orange. Adjust the amount depending on the strength of the flavoring.
- Using juices: You can replace water with fruit juice such as grape or apple juice for additional flavor. This may alter the color, so consider the visual aspect as well.
- Color variations: Use multiple colors of food dye or create layered rock candy by letting the first color crystallize and then adding another colored solution.
- Texture variations: For a more refined candy, consider grinding granulated sugar to create powdered sugar before mixing with water.
Common Mistakes and Troubleshooting
There are a few pitfalls to avoid when making rock candy. Here are some common issues and ways to address them:
- Crystals forming prematurely: If crystals start forming in the pot before cooling, it means the solution is supersaturated. Always stir until sugar is fully dissolved and avoid moving the jar during crystallization.
- Sugar crystals not forming: Ensure that the sugar solution is hot enough when pouring it into the jar. Low temperatures may prevent crystallization from taking place.
- Unattractive or uneven crystals: Dusting your wooden skewers or string lightly with sugar aids in uniform crystal formation. Make sure they are not too wet.
- Overcrowding the jar: If there’s not enough space for crystals to grow, it may hinder formation completely. One skewer or string per jar is best.
Serving Suggestions for Rock Candy
Rock candy can be enjoyed in various ways:
- As a sweet treat: Simply eat it as is, savoring the crunchy texture and satisfying sweetness.
- For beverages: Use rock candy to sweeten tea or coffee, or even as a stirrer for mixed drinks.
- In desserts: Crush rock candy and use it as a topping for cupcakes, brownies, or ice cream for added texture.
- Gifts and decorations: Package rock candy in clear bags and give them as gifts or use them as a party decoration.
Make-Ahead and Storage Tips
Rock candy can be made ahead of time, making it a great option for parties or events. Here are a few storage tips:
- Storing: Once fully dried, place rock candy in an airtight container. Keep away from moisture to prevent clumping.
- Re-crystallization: If candy sticks together over time, you can gently break it apart without damaging the candy.
- Long-term storage: If properly stored, rock candy can last for months, remaining a sweet treat ready to enjoy later.
Conclusion
Making rock candy at home is a simple process that yields satisfying results. With just a few ingredients and some patience, you can create delightful crystals that can enhance beverages or impress guests. Whether you’re personalizing your flavors or simply enjoying the art of candy-making, rock candy provides a fun culinary project for anyone.
Explore related recipes and cooking tips to continue your sweet adventures with Dalgona Candy or try making Candy Grapes for another delicious treat.