
Bread flour is a fundamental ingredient for anyone looking to create artisan bread at home. It is specifically formulated to provide the necessary structure and texture required in bread-making, distinguishing it from other types of flour. Understanding what bread flour is made of can help you make informed choices about your baking needs.
This article will delve into the composition of bread flour, its characteristics, types, and tips for using it effectively in baking. By the end, you will have a comprehensive grasp of how to select and utilize bread flour in your recipes to achieve the best results.
What Is Bread Flour Made Of?
Bread flour is primarily made from hard wheat varieties, which have a higher protein content compared to soft wheat types. The protein in the flour mainly consists of glutenin and gliadin, which combine to form gluten when mixed with water. This gluten network is what gives bread its elasticity and structure.
The typical protein content in bread flour ranges from 12% to 14%, compared to all-purpose flour, which has around 10% to 12% protein. The higher protein content in bread flour allows for better gas retention during fermentation, leading to a well-risen loaf with a chewy texture.
Characteristics of Bread Flour
Understanding the characteristics of bread flour can help you achieve the desired results in your baking endeavors. Here are a few key factors to consider:
- Protein Content: As mentioned, bread flour has a higher protein content, usually between 12% to 14%. This attribute is essential for gluten formation, which gives structure to the bread.
- Absorption Rate: Bread flour can absorb more water than all-purpose flour due to its higher protein content. This absorption capacity is crucial in developing the dough’s structure and hydration.
- Texture: Bread flour is coarser than all-purpose flour, which contributes to a chewy texture in finished bread products.
- Color: Typically, bread flour is a bright white color, indicating it is either bleached or unbleached. However, the type of wheat used can influence the actual color of the flour.
Types of Bread Flour
There are several varieties of bread flour available, and understanding their differences can help you make the right choice for your baking recipes.
All-Purpose Flour vs. Bread Flour
While all-purpose flour can be used for making bread, it lacks the higher protein content of bread flour. This means that bread made with all-purpose flour may not rise as well and may have a softer texture. However, in a pinch, all-purpose flour can be a versatile substitute for making bread.
Whole Wheat Bread Flour
Whole wheat bread flour is made from the entire wheat kernel, including the bran, germ, and endosperm. This type flour has a lower gluten content than white bread flour but offers added nutritional benefits such as fiber, vitamins, and minerals. Whole wheat bread flour can produce denser bread with a nutty flavor. To achieve a lighter texture, it is often combined with white bread flour.
High-Gluten Flour
This type of flour has an even higher protein content, usually around 14% to 15%. It’s primarily used in professional baking settings where a denser, chewier crust is desired, such as for bagels or pizza dough. High-gluten flour can also be blended with other flours to enhance the overall structure of your bread.
Using Bread Flour in Baking
The way you use bread flour significantly influences the texture and flavor profiles of your baked goods. Here are some tips and techniques for effectively utilizing bread flour in your recipes.
Measuring Bread Flour
Accurate measurement is vital for baking success. Use a kitchen scale for precision by weighing your flour, as different measuring methods can yield varied results. One cup of bread flour generally weighs around 120 to 125 grams. If measuring by volume, spoon the flour into the measuring cup and level it off without packing it down.
Mixing and Kneading
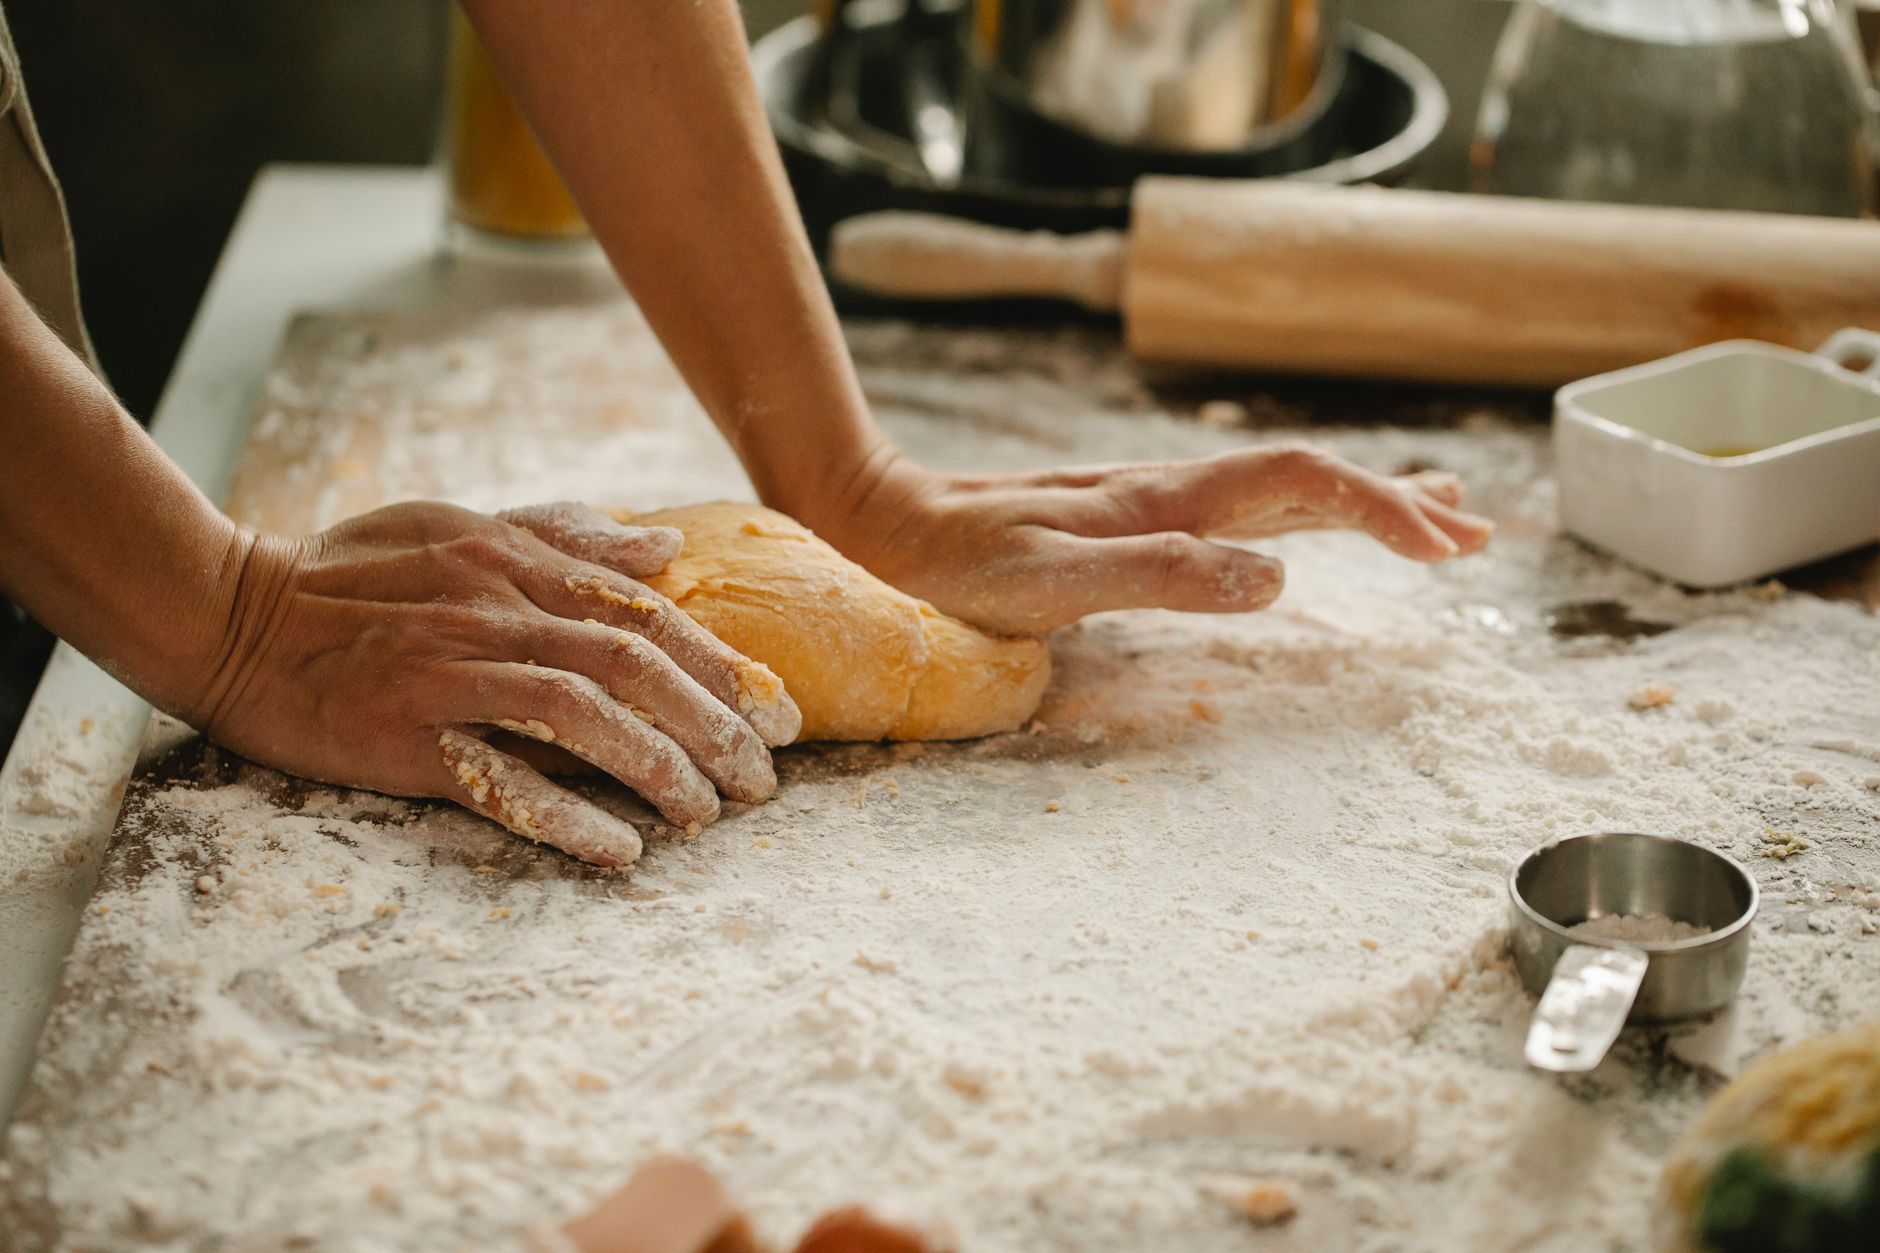
The process of mixing and kneading is essential for developing gluten in bread flour. This can be done by hand or with an electric mixer using a dough hook. Regardless of the method, the goal is to knead the dough until it achieves a smooth and elastic texture. A well-kneaded dough should pass the windowpane test, where a small piece of dough can stretch thin enough to see light through without tearing.
Hydration Levels
Due to its higher absorption capacity, bread flour can require more water than all-purpose flour in a recipe. Start with the amount specified in your recipe, but feel free to adjust by adding water incrementally until you achieve the desired dough consistency. A common hydration level for bread made with bread flour is about 60% to 75%, depending on the desired crumb structure.
Common Bread-Making Techniques
Several techniques can enhance your bread-making endeavors when using bread flour. Here are some widely used methods:
Autolyse
Autolyse involves mixing the flour and water before adding other ingredients like yeast and salt. This technique allows the flour to fully hydrate, making the gluten development process easier and enhancing the dough’s extensibility and flavor.
Bulk Fermentation
After kneading, let your dough rise for the first time during bulk fermentation. This phase allows yeast to produce gas, helping the dough expand. Bulk fermentation times can vary from one to four hours, depending on the ambient temperature and yeast activity.
Shaping
Proper shaping is vital for ensuring your bread has a good structure. After bulk fermentation, divide and shape the dough according to your desired bread style. Techniques vary for boules, batards, and specialty breads, but generally, the goal is to create surface tension in the dough to support rising during the final proofing stage.
Final Proofing
After shaping, give your dough time to rise again—this is known as final proofing. This stage is crucial for developing the bread’s volume and texture. Depending on the recipe, final proofing can last from 30 minutes to several hours. Look for dough that has visibly increased in size, aiming for about double its original volume.
Baking
Preheat your oven to the temperature indicated in your recipe, usually between 375°F to 500°F (190°C to 260°C). The baking time can vary significantly, typically ranging from 20 to 40 minutes, depending on the bread’s size and shape. Use an instant-read thermometer to check for doneness—a fully baked loaf should register 190°F to 210°F (88°C to 99°C) at its center.
Storage Tips for Bread Flour
Proper storage of bread flour is crucial to maintain its freshness and prevent spoilage. Here are some guidelines:
- Keep it cool: Store bread flour in a cool, dry place. For best results, use an airtight container.
- Freezing: If you buy flour in bulk, consider freezing it if you don’t use it frequently. Just make sure it is in a tightly sealed bag or container to prevent moisture absorption.
- Check for freshness: Always check the expiration date and perform a sensory evaluation before using flour. Fresh flour will have a clean, nutty scent and should feel soft to the touch.
Common Mistakes When Using Bread Flour
Baking can be tricky, and several common mistakes can occur when working with bread flour. Being aware of these can help in troubleshooting and improving your bread-baking results.
Neglecting Proper Measurements
As previously mentioned, flour measurement is critical in baking. Avoid packing the flour into the cup or using a heaping measure, as this can lead to excessively dry bread.
Over-Kneading
While kneading is essential for gluten development, over-kneading can toughen the dough, leading to a dry texture. If your bread feels too tight and dense, it may have been overworked.
Skipping the Proofing Steps
Don’t skip or rush through the fermentation and proofing times. Adequate resting allows the dough to develop flavor and structure. Insufficient proofing can lead to dense, heavy bread.
What to Make with Bread Flour
Understanding what you can create with bread flour opens up a world of baking possibilities. Here are a few popular items you can make:
- Artisan Bread: Utilize different shapes and flavors to create rustic loaves at home.
- Pizza Dough: High-protein bread flour creates a chewy, yet crisp crust that’s perfect for pizza.
- Bagels: The density and chewiness of bagels are enhanced with high-gluten bread flour.
- Focaccia: This Italian flatbread benefits from the moisture-absorbing characteristics of bread flour.
Conclusion
Bread flour is a vital ingredient in achieving the perfect bread, with its unique composition, higher protein content, and specific characteristics setting it apart from other types of flour. By understanding what bread flour is made of, along with tips for baking and using it effectively, you can enhance your baking skills and produce delicious, artisanal bread at home.
Now that you understand the ins and outs of bread flour, you might be interested in exploring more about flour types with our guide on the difference between bleached and unbleached flour, or perhaps try your hand at a delightful sourdough baguette recipe to put your newfound knowledge into practice.