
There’s something magical about the aroma of ripe pears simmering on the stove, filling the kitchen with warmth and nostalgia. Making Pear Jelly is not just a recipe; it’s a delightful way to capture the essence of fall in a jar, offering a sweet, smooth spread perfect for toast or desserts.
Why You’ll Love This Recipe
This is a simple yet rewarding recipe that brings the joy of homemade preserves right to your table.
- Rich, sweet flavor that highlights the fruit’s natural taste.
- Easy to follow with minimal ingredients required.
- Perfect for gifting or adding to your brunch spread.
- Versatile use in desserts, glazes, or simply on bread.
My Experience Making This Recipe
When I first made Pear Jelly, I was surprised by how easy it was to create something so delicious. The vibrant color and the sweet scent filled my home, making it feel like a cozy fall afternoon.
My family was thrilled when I served the jelly on freshly baked bread. Watching them savor each bite reminded me of the simple joys of homemade goodness.
Recipe Overview
- Recipe Name: Pear Jelly
- Servings: About 4 cups
- Prep Time: 15 minutes
- Cook Time: 30 minutes
- Total Time: 45 minutes
- Course: Preserve
- Cuisine: American
- Calories per Serving: Approximately 50
Equipment You Will Need
- Large pot
- Wooden spoon
- Jelly strainer or cheesecloth
- Glass jars with lids
- Measuring cups and spoons
- Canning funnel
Ingredients for Pear Jelly
- Pears: 4 cups, peeled, cored, and chopped
- Water: 2 cups
- Sugar: 5 cups
- Liquid pectin: 1 package (about 3 ounces)
- Fresh lemon juice: 1/4 cup
Ingredient Notes and Substitutions
- Pears: They provide the natural sweetness and flavor essential for the jelly. Any sweet variety works, but Bartlett pears are ideal.
- Water: Used for boiling the pears to extract their juice. You can substitute with apple juice for added flavor.
- Sugar: It helps in the gel formation and sweetens the jelly. For a lower sugar option, use a sugar substitute designed for canning.
- Liquid pectin: This is crucial for the jelly to set properly. You may try powdered pectin, but adjust the recipe accordingly.
- Fresh lemon juice: Adds brightness and acidity. Bottled lemon juice can be used but fresh is more flavorful.
How to Make Pear Jelly
Step 1: Prepare the Pears
Start by peeling, coring, and chopping the pears into small pieces. This allows for better juice extraction during cooking.
Step 2: Simmer the Pears
In a large pot, combine the chopped pears and water. Bring to a boil over medium heat and then reduce to a simmer for about 20 minutes, stirring occasionally.
Step 3: Strain the Juice
After simmering, strain the mixture through a jelly strainer or cheesecloth into a bowl. This separates the juice from the solids, giving you the clear liquid needed for the jelly.
Step 4: Measure the Juice
Measure out 4 cups of the strained pear juice. Accurate measurement is key to achieving the right consistency in your jelly.
Step 5: Cook the Jelly Mixture
Return the juice to the pot and add sugar and lemon juice. Stir well and bring to a full rolling boil over high heat.
Step 6: Add Pectin
Once boiling, stir in the liquid pectin quickly. This will help the jelly to set as it cools.
Step 7: Boil for One Minute
Maintain a rapid boil for one minute while stirring constantly. This step ensures that the pectin activates properly, resulting in a perfect set.
Step 8: Jar the Jelly
Remove the pot from heat and pour the hot jelly into sterilized jars using a canning funnel. Leave about 1/4 inch of headspace at the top.
Pro Tip: Ensure your jars are properly sterilized to avoid spoilage — no one wants a science experiment on their shelf.
Tips for the Best Pear Jelly
- Use ripe pears for maximum flavor; underripe pears may not yield enough juice.
- Don’t skip the lemon juice; it balances the sweetness and helps with preservation.
- Make sure to boil the jelly long enough to activate the pectin for a good set.
- Test for gel consistency by using the spoon test — dip a spoon in and see if it coats the back thickly.
- Label your jars with the date made; you’ll thank yourself later when you’re looking for a jar of jelly.
Common Mistakes to Avoid
- Not measuring the juice accurately can lead to a runny jelly. Stick to the exact amounts provided.
- Skipping the pectin will result in a syrup instead of jelly. Always include it to get that perfect texture.
- Overcooking the jelly can result in a tough texture. Keep an eye on the time and boil just as instructed.
- Filling jars too full can cause spills during sealing. Leave enough headspace to prevent mess.
Serving Suggestions
Pear Jelly pairs beautifully with various dishes, adding a sweet touch to your meals.
- Spread on warm, crusty bread
- Serve with cheese for a delightful appetizer
- Use as a glaze for meats like pork or chicken
- Mix into yogurt or oatmeal for a sweet twist
Variations to Try
- Spiced Pear Jelly: Add cinnamon or ginger for a warm, spiced flavor.
- Pear and Vanilla: Infuse with vanilla bean for a luxurious taste.
- Pear and Ginger: Incorporate fresh ginger for a zesty kick.
- Mixed Fruit Jelly: Combine with apples or quinces for a unique blend.
Dietary Adaptations
- Gluten-free: This recipe is naturally gluten-free.
- Dairy-free: No dairy ingredients are used, making it suitable for all diets.
- Vegan/Vegetarian: Perfect for plant-based diets as it contains no animal products.
- Low-carb/Keto: Use a sugar substitute to lower carb content.
Storage and Reheating
Refrigerator
Store opened jars in the refrigerator for up to three weeks.
- Make sure the lid is tightly sealed.
- Keep away from moisture to prevent spoilage.
Freezer
You can freeze pear jelly for up to a year. Just make sure to use freezer-safe containers.
- Leave headspace for expansion.
- Label your containers with the date.
Reheating
Reheat jelly gently on the stove or in the microwave. Avoid boiling it again.
- Use low power in the microwave to prevent splattering.
- Stir well before serving to ensure even consistency.
Nutrition Information
| Nutrient | Amount |
|---|---|
| Calories | 50 |
| Total Fat | 0g |
| Saturated Fat | 0g |
| Carbohydrates | 13g |
| Fiber | 0g |
| Sugar | 12g |
| Protein | 0g |
| Sodium | 0mg |
| Cholesterol | 0mg |
This nutritional information is an estimate and can vary based on specific ingredients and serving sizes.
Frequently Asked Questions
Can I use other fruits to make jelly?
Absolutely! You can experiment with different fruits like apples or quinces to create your unique jelly flavors.
How long does homemade pear jelly last?
When sealed properly, homemade pear jelly can last up to a year in the pantry and about three weeks in the refrigerator after opening.
Can I make this jelly ahead of time?
Yes, making jelly ahead of time is a great idea. Just store it in sealed jars and keep it in a cool, dark place.
What should I do if my jelly does not set?
If your jelly doesn’t set, you can reheat it and add more pectin according to the package instructions, then boil again.
How do I know when the jelly is ready?
Use the spoon test; if the mixture coats the back of a spoon, it is ready to jar.
Final Thoughts
Making your own Pear Jelly is not just rewarding, but it also adds a special touch to your meals. I encourage you to try this recipe and enjoy the lovely taste of homemade preserves.
For more delightful recipes, check out my Pear Jam Recipe and Pear Butter Recipe.
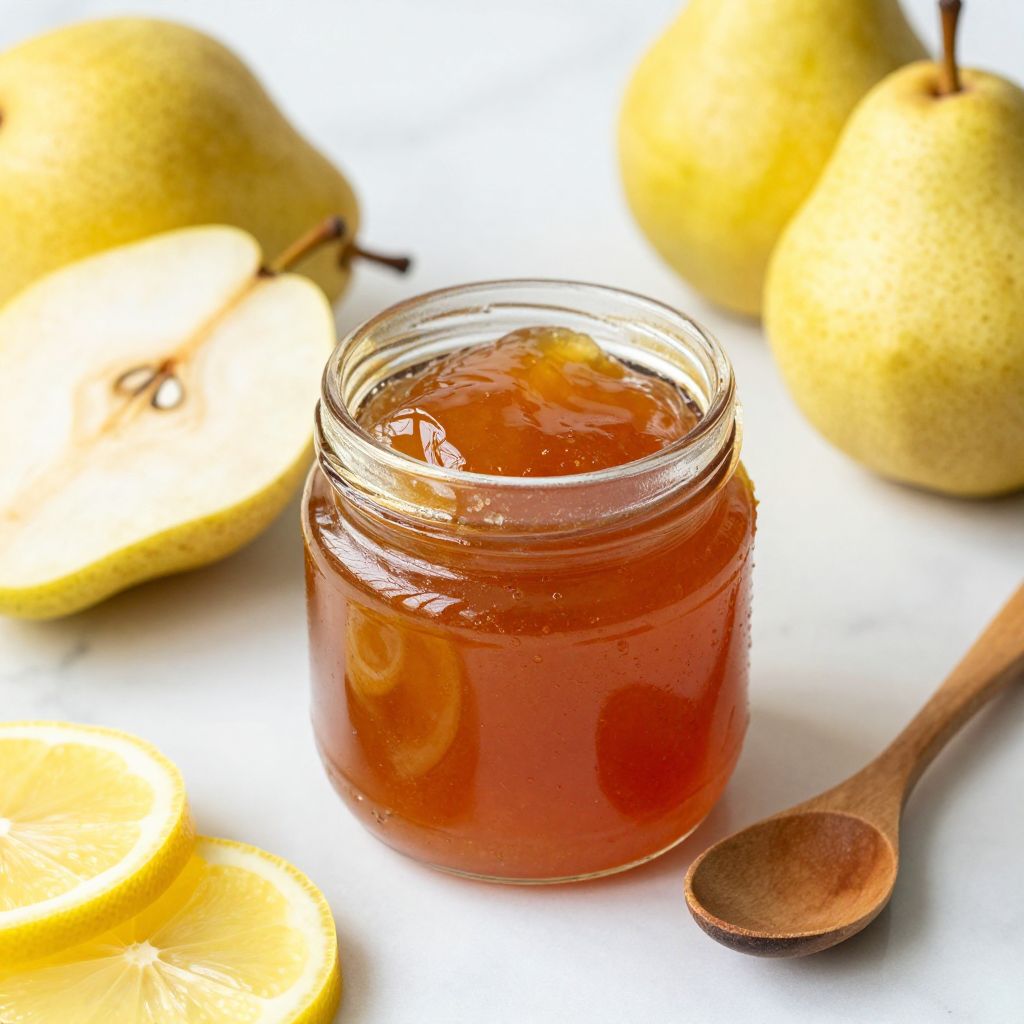
Pear Jelly
Ingredients
Equipment
Method
- Start by peeling, coring, and chopping the pears into small pieces.
- In a large pot, combine the chopped pears and water. Bring to a boil over medium heat and then reduce to a simmer for about 20 minutes, stirring occasionally.
- After simmering, strain the mixture through a jelly strainer or cheesecloth into a bowl.
- Measure out 4 cups of the strained pear juice.
- Return the juice to the pot and add sugar and lemon juice. Stir well and bring to a full rolling boil over high heat.
- Once boiling, stir in the liquid pectin quickly.
- Maintain a rapid boil for one minute while stirring constantly.
- Remove the pot from heat and pour the hot jelly into sterilized jars using a canning funnel, leaving about 1/4 inch of headspace at the top.