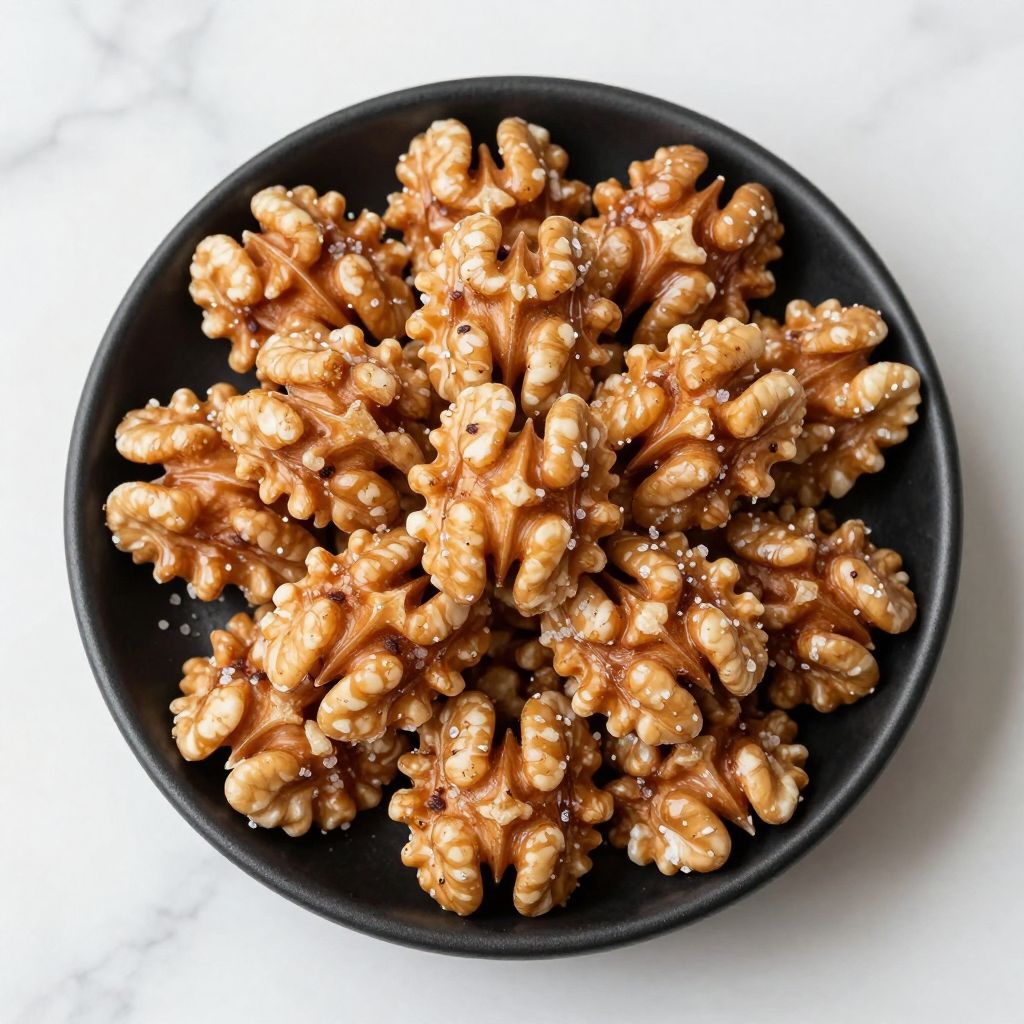
Candied walnuts are the perfect combination of crunchy, sweet, and slightly salty that makes them impossible to stop eating. Whether you’re topping a salad, adding them to a cheese board, or just snacking straight from the jar, this simple recipe transforms ordinary walnuts into something special in under 20 minutes.
You only need five basic ingredients and one pan to create these addictive little treats. They’re so much better than store-bought versions, and once you see how easy they are, you’ll never buy them pre-made again.
Why You’ll Love This Recipe
This recipe delivers bakery-quality results without any fancy equipment or complicated techniques. The process is straightforward, and the walnuts turn out perfectly caramelized every single time.
- Ready in less than 20 minutes from start to finish
- Uses only five simple ingredients you probably already have
- Creates the perfect balance of sweet and savory with a satisfying crunch
- Stores well for weeks, making them perfect for meal prep or gifting
- Versatile enough to use in salads, desserts, or as a standalone snack
My Experience Making This Recipe
I burned my first batch of candied walnuts because I walked away for just two minutes. The sugar went from golden to charcoal in what felt like seconds, and my kitchen smelled like a campfire for hours.
After that disaster, I learned to stay planted right at the stove, stirring constantly once the sugar started to melt. Now I can make these with my eyes half-closed, and the smell of cinnamon and caramelizing sugar is one of my favorite kitchen experiences.
My family devours these faster than I can make them, especially during the holidays. I’ve started doubling the batch and hiding half in the back of the pantry just so I can have some for myself.
Recipe Overview
- Recipe Name: Candied Walnuts
- Servings: 8 servings (about 2 cups)
- Prep Time: 5 minutes
- Cook Time: 12 minutes
- Total Time: 17 minutes
- Course: Snack, Appetizer, Salad Topping
- Cuisine: American
- Calories per Serving: 210
Equipment You Will Need
- Large skillet or frying pan (preferably non-stick or stainless steel)
- Wooden spoon or heat-resistant silicone spatula
- Baking sheet lined with parchment paper
- Measuring cups and spoons
- Small bowl for mixing spices
Ingredients for Candied Walnuts
- 2 cups raw walnut halves
- 1/2 cup granulated sugar
- 2 tablespoons unsalted butter
- 1/2 teaspoon ground cinnamon
- 1/4 teaspoon salt (plus extra for sprinkling)
- 1/4 teaspoon vanilla extract (optional but recommended)
Ingredient Notes and Substitutions
- Raw walnut halves: Raw walnuts are preferred because they toast perfectly during the cooking process. You can substitute pecans, almonds, or cashews using the same method and timing.
- Granulated sugar: White sugar creates the classic candy coating and caramelizes beautifully. Brown sugar works too and adds a deeper molasses flavor, though it may make the coating slightly softer.
- Unsalted butter: Butter adds richness and helps the sugar coat the nuts evenly. Coconut oil can replace butter for a dairy-free version, though the flavor will be slightly different.
- Ground cinnamon: Cinnamon provides warmth and complements the sweetness perfectly. Nutmeg, cardamom, or pumpkin pie spice can create different flavor profiles if you want to experiment.
- Salt: Salt balances the sweetness and makes the flavors pop. Fine sea salt or kosher salt both work well, just adjust the amount based on grain size.
How to Make Candied Walnuts
Step 1: Prepare Your Workspace
Line a baking sheet with parchment paper and set it near your stove. Have your wooden spoon ready and all ingredients measured out within arm’s reach.
This preparation matters because once the sugar starts melting, things move fast and you won’t have time to search for anything. Setting up properly prevents burns and ensures success.
Step 2: Toast the Walnuts Dry
Place the walnuts in your large skillet over medium heat without any butter or sugar yet. Stir them frequently for about 3 to 4 minutes until they smell nutty and fragrant.
Dry toasting first removes any moisture from the nuts, which helps the sugar coating stick better and prevents a sticky mess. You’ll notice the color deepens slightly when they’re ready.
Step 3: Add the Sugar and Butter
Lower the heat to medium-low and add the butter to the pan with the toasted walnuts. Once the butter melts completely, sprinkle the sugar evenly over the nuts.
Keep stirring constantly as the sugar begins to melt and coat the walnuts. The mixture will look grainy at first, but that’s exactly what should happen.
Step 4: Keep Stirring as Sugar Melts
Continue stirring without stopping for about 5 to 7 minutes as the sugar melts and turns golden. The mixture will transition from dry and grainy to wet and glossy as the sugar caramelizes.
This constant motion prevents hot spots and burning while ensuring every walnut gets evenly coated. Your arm will get tired, but the results are worth it.
Step 5: Add Cinnamon and Salt
Once the sugar has fully melted and the walnuts are completely coated in a golden caramel, remove the pan from heat. Quickly stir in the cinnamon, salt, and vanilla extract if using.
Adding spices off the heat prevents them from burning, which would create a bitter taste. Work quickly because the mixture is still cooking from residual heat.
Step 6: Spread on Parchment Paper
Immediately pour the candied walnuts onto your prepared baking sheet. Use your wooden spoon to spread them into a single layer, working quickly before they harden.
Separating the nuts now prevents them from cooling into one giant clump. If some stick together, you can break them apart once they’re cool.
Step 7: Sprinkle Extra Salt
While the walnuts are still hot and sticky, sprinkle a tiny pinch of flaky sea salt over the top if you want extra contrast. This step is optional but adds a gourmet touch.
The salt crystals will stick to the warm coating and provide little bursts of salinity that balance the sweetness perfectly. A light hand is key here.
Step 8: Cool Completely
Let the candied walnuts cool at room temperature for at least 15 minutes until the coating hardens completely. Resist the urge to taste them while hot, as melted sugar can cause serious burns.
The coating will become crisp and crunchy as it cools, transforming from sticky to perfectly snackable. Once cooled, break apart any clusters that formed.
Pro Tip: Never walk away from the stove once you add the sugar. The difference between perfectly caramelized and burnt is about 30 seconds, and you need to be there stirring constantly to catch that golden window.
Tips for the Best Candied Walnuts
- Use a light-colored pan if possible so you can see the sugar color changing and prevent burning. Dark pans make it harder to judge when the caramel reaches the perfect shade.
- Keep the heat at medium-low once you add the sugar, even if it feels too slow at first. High heat will burn the sugar before it properly coats the nuts.
- Make sure your walnuts are completely dry before starting, as any moisture will make the coating grainy and prevent proper caramelization.
- Don’t overcrowd the pan if you’re making a larger batch. Work in batches rather than piling too many nuts in at once, which prevents even coating.
- Store cooled walnuts in an airtight container with a piece of parchment paper between layers to prevent sticking. They’ll stay crispy for up to three weeks.
- If you want extra crunch, add a tablespoon of water to the sugar when you first add it. This creates a harder candy shell, though it takes slightly longer to cook.
Common Mistakes to Avoid
- Walking away from the stove during the caramelization process leads to burnt sugar that tastes bitter and acrid. Stay present and keep stirring.
- Using high heat rushes the process and burns the sugar before the nuts are properly coated. Patience at medium-low heat produces the best results.
- Adding the cinnamon too early causes it to burn and turn bitter. Always add spices after removing the pan from heat.
- Not spreading the nuts quickly enough after cooking allows them to cool in a giant clump that’s nearly impossible to separate. Work fast once you pour them out.
- Tasting the nuts while they’re still hot can cause severe burns from molten sugar. Wait until they’re completely cool, no matter how tempting.
Serving Suggestions
These candied walnuts work beautifully as both a standalone snack and a versatile ingredient in other dishes. Their sweet-salty crunch adds texture and flavor to everything from salads to desserts.
- Toss them over mixed greens with goat cheese, dried cranberries, and balsamic vinaigrette for an elegant salad
- Serve them alongside a cheese board with sharp cheddar, brie, and fresh fruit
- Chop them roughly and sprinkle over vanilla ice cream or yogurt parfaits
- Mix them into homemade trail mix with dried fruit and dark chocolate chips
- Use them as a topping for roasted butternut squash or sweet potato dishes
Variations to Try
- Spicy Candied Walnuts: Add 1/4 teaspoon cayenne pepper with the cinnamon for a sweet-heat combo that’s perfect on savory salads. The spice builds slowly and balances the sugar beautifully.
- Maple Candied Walnuts: Replace half the sugar with pure maple syrup and reduce the butter to 1 tablespoon. The maple flavor adds depth and pairs perfectly with fall dishes.
- Rosemary Candied Walnuts: Add 1 teaspoon finely minced fresh rosemary with the salt for a savory-sweet version. These are incredible on winter salads or with roasted meats.
- Orange Candied Walnuts: Add 1 teaspoon orange zest and 1/4 teaspoon cardamom instead of cinnamon. The citrus brightens the flavor and makes them feel more sophisticated.
- Chocolate Candied Walnuts: Toss the cooled walnuts with 2 tablespoons melted dark chocolate for a candy-like treat. Let the chocolate set before storing.
Dietary Adaptations
- Gluten-Free: This recipe is naturally gluten-free as written. Just verify that all your ingredients, especially any vanilla extract, are certified gluten-free if you have celiac disease.
- Dairy-Free: Replace the butter with coconut oil or a plant-based butter substitute. The flavor will be slightly different but still delicious, and the texture remains the same.
- Vegan: Use coconut oil or vegan butter instead of regular butter. All other ingredients are already plant-based, making this an easy vegan conversion.
- Low-Sugar: Use a sugar substitute like monk fruit sweetener or erythritol in place of regular sugar. The coating may not caramelize quite as deeply, but it still tastes great with fewer carbs.
Storage and Reheating
Refrigerator
Store candied walnuts in an airtight container at room temperature for up to three weeks. Refrigeration isn’t necessary and can actually make them soft from condensation.
- Keep them away from heat and direct sunlight
- Use parchment paper between layers if stacking
- Make sure the container seals tightly to prevent moisture
Freezer
Candied walnuts freeze beautifully for up to three months in a freezer-safe container or bag. They thaw quickly at room temperature and maintain their crunch.
- Freeze in portion-sized bags for easy use
- Remove as much air as possible before sealing
- Thaw at room temperature for about 10 minutes before serving
Reheating
Reheating isn’t typically necessary, but if your candied walnuts lose their crunch from humidity, you can restore them. Spread them on a baking sheet and warm in a 300-degree oven for 5 minutes.
- Let them cool completely after warming to regain crispness
- Don’t reheat in the microwave, which makes them soggy
- Store properly after refreshing to maintain texture
Nutrition Information
| Nutrient | Amount |
|---|---|
| Calories | 210 |
| Total Fat | 17g |
| Saturated Fat | 2g |
| Carbohydrates | 14g |
| Fiber | 2g |
| Sugar | 12g |
| Protein | 4g |
| Sodium | 75mg |
| Cholesterol | 8mg |
Nutritional values are approximate and based on one serving of about 1/4 cup. Actual values may vary depending on specific ingredients used and serving sizes.
Frequently Asked Questions
Can I use pre-roasted walnuts instead of raw?
Raw walnuts work best because they toast perfectly during the cooking process without becoming overly brown or bitter. Pre-roasted nuts can burn more easily when you add the sugar, so if you use them, skip the dry toasting step and go straight to adding butter and sugar.
How do I know when the sugar is perfectly caramelized?
The sugar is ready when it transforms from grainy and white to smooth, glossy, and light amber in color. This typically takes 5 to 7 minutes of constant stirring, and the mixture will coat the walnuts evenly without any dry sugar remaining.
Can I make these ahead for holiday gifting?
Absolutely, candied walnuts make fantastic gifts and stay fresh for up to three weeks when stored properly in an airtight container. Make them up to a month ahead if you freeze them, then package them in decorative jars or bags just before gifting.
Why did my candied walnuts turn out sticky instead of crunchy?
Sticky walnuts usually mean the sugar didn’t fully caramelize or there was too much moisture present. Make sure you cook the mixture long enough for the sugar to reach the hard crack stage, and ensure your nuts are completely dry before starting.
Can I make a larger batch at once?
You can double the recipe, but use a larger pan to avoid overcrowding, which prevents even coating. If you want to make an even bigger batch, work in separate batches rather than tripling or quadrupling in one pan, as too much volume makes it difficult to control the caramelization.
Final Thoughts
Candied walnuts are one of those recipes that seem fancy but are secretly simple once you understand the technique. The key is staying present at the stove and trusting the process as the sugar transforms from grainy to gloriously caramelized.
Whether you’re making them for a special occasion or just want a better snack option in your pantry, this recipe delivers every time. Give them a try, and I guarantee you’ll be making batch after batch once you taste how much better homemade versions are than anything you can buy.
Candied Walnuts
Ingredients
Equipment
Method
- Line a baking sheet with parchment paper and set it near your stove. Have your wooden spoon ready and all ingredients measured out within arm's reach.
- Place the walnuts in your large skillet over medium heat without any butter or sugar yet. Stir them frequently for about 3 to 4 minutes until they smell nutty and fragrant.
- Lower the heat to medium-low and add the butter to the pan with the toasted walnuts. Once the butter melts completely, sprinkle the sugar evenly over the nuts.
- Keep stirring constantly as the sugar begins to melt and coat the walnuts. Continue stirring without stopping for about 5 to 7 minutes as the sugar melts and turns golden. The mixture will transition from dry and grainy to wet and glossy as the sugar caramelizes.
- Once the sugar has fully melted and the walnuts are completely coated in a golden caramel, remove the pan from heat. Quickly stir in the cinnamon, salt, and vanilla extract if using.
- Immediately pour the candied walnuts onto your prepared baking sheet. Use your wooden spoon to spread them into a single layer, working quickly before they harden.
- While the walnuts are still hot and sticky, sprinkle a tiny pinch of flaky sea salt over the top if you want extra contrast (optional).
- Let the candied walnuts cool at room temperature for at least 15 minutes until the coating hardens completely. Once cooled, break apart any clusters that formed.