
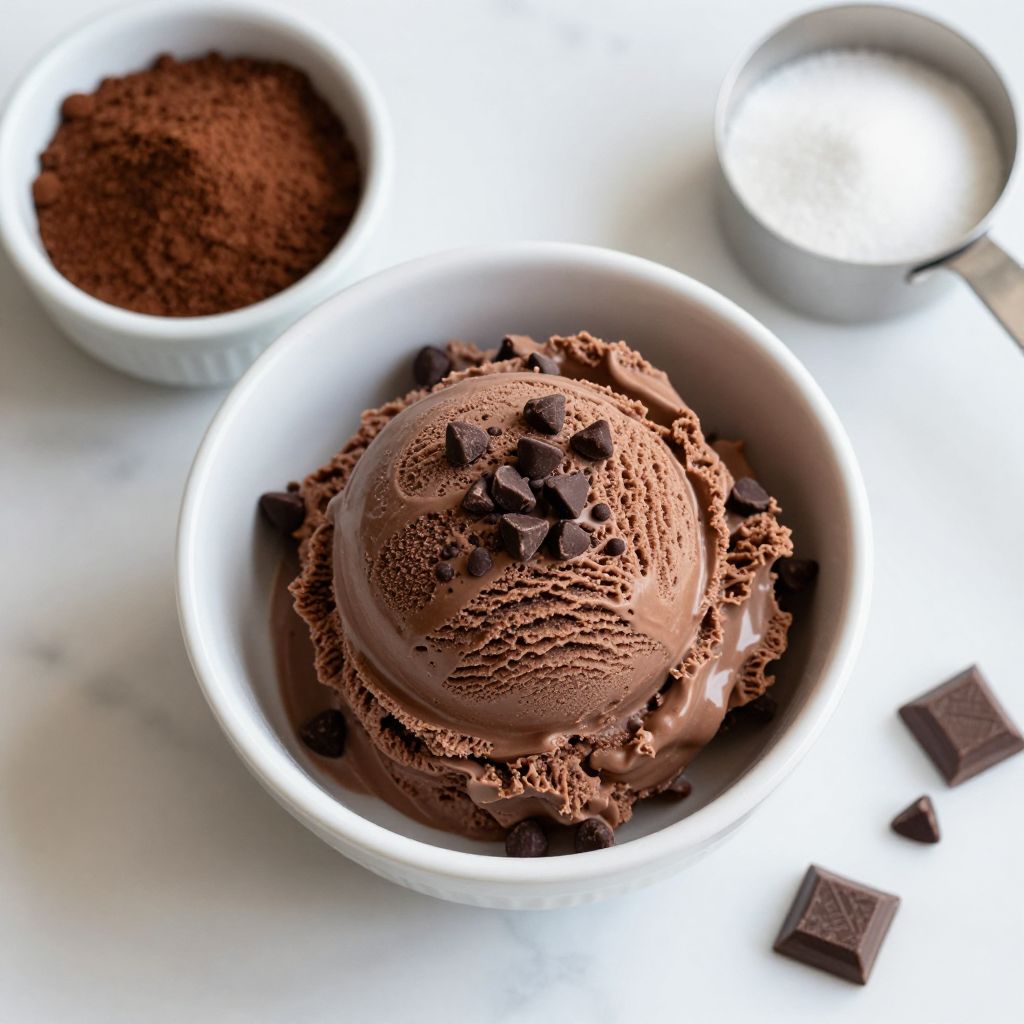
Picture a hot summer day, the sun blazing overhead, and you crave something cool and decadent. Enter the Ninja Chocolate Ice Cream recipe; it’s rich, creamy, and incredibly simple to whip up in your Ninja appliance. With just a handful of ingredients, you can create a delightful treat that rivals any ice cream shop’s offerings. The smooth texture and deep chocolate flavor will make you think twice about store-bought options. Let’s dive into how to make this luscious dessert!
Why You’ll Love This Recipe
This recipe is a must-try for chocolate lovers everywhere.
- Quick and easy to prepare.
- Rich, creamy texture that’s hard to resist.
- Made with simple ingredients you likely have on hand.
- Versatile; can be customized to suit your flavor preferences.
- Perfect for satisfying your sweet tooth on a hot day.
My Experience Making This Recipe
The first time I made this ice cream, I was amazed by how effortless it was. Watching it transform from a mixture into creamy ice cream in mere minutes had me grinning ear to ear.
It was a hit with my family, who devoured it faster than I could scoop it. The delight on their faces was priceless, and I knew I had found a new favorite recipe.
Recipe Overview
- Recipe Name: Ninja Chocolate Ice Cream
- Servings: 4
- Prep Time: 10 minutes
- Cook Time: 0 minutes
- Total Time: 10 minutes
- Course: Dessert
- Cuisine: American
- Calories per Serving: 250
Equipment You Will Need
- Ninja ice cream maker
- Mixing bowl
- Whisk or electric mixer
- Measuring cups and spoons
- Spoon for serving
Ingredients for Ninja Chocolate Ice Cream
- 2 cups heavy cream
- 1 cup whole milk
- 3/4 cup granulated sugar
- 1/2 cup unsweetened cocoa powder
- 1 teaspoon vanilla extract
- 1/2 cup chocolate chips (optional)
Ingredient Notes and Substitutions
- Heavy cream: Adds richness and creaminess; you can use half-and-half for a lighter version.
- Whole milk: Provides a smooth texture; you can substitute with almond or oat milk for a dairy-free option.
- Granulated sugar: Sweetens the mixture; you can use honey or maple syrup, but the texture may vary.
- Unsweetened cocoa powder: Gives the rich chocolate flavor; Dutch-processed cocoa can make it smoother.
- Vanilla extract: Enhances the flavor; feel free to leave it out if you want a pure chocolate taste.
How to Make Ninja Chocolate Ice Cream
Step 1: Prepare the Base
In a mixing bowl, whisk together the heavy cream, whole milk, sugar, cocoa powder, and vanilla extract until well combined. This creates a rich chocolate base that will be the foundation of your ice cream.
Step 2: Chill the Mixture
Cover the bowl and refrigerate the mixture for at least 30 minutes. Chilling helps the flavors meld and improves the texture during freezing.
Step 3: Add the Chocolate Chips
If you’re using chocolate chips, stir them into the mixture after chilling. They add delightful bits of chocolate throughout the ice cream.
Step 4: Pour into the Ninja Ice Cream Maker
Set up your Ninja ice cream maker and pour the chocolate mixture into the bowl. Make sure not to overfill; it needs space to churn.
Step 5: Churn the Ice Cream
Turn on your Ninja ice cream maker and churn according to the manufacturer’s instructions, usually about 20-30 minutes. This process incorporates air, giving your ice cream a light and fluffy texture.
Step 6: Check the Consistency
Once it reaches a soft-serve consistency, it’s ready to enjoy. If you prefer a firmer texture, transfer it to a container and freeze for an additional 2-4 hours.
Step 7: Serve and Enjoy
Scoop the ice cream into bowls or cones and serve immediately. The rich chocolate flavor and creamy texture make this a treat to remember.
Step 8: Store Leftovers
If you have any leftovers, store the ice cream in an airtight container in the freezer. This way, you can savor the deliciousness later!
Pro Tip: For an extra chocolatey kick, consider drizzling some chocolate syrup over the top just before serving!
Tips for the Best Ninja Chocolate Ice Cream
- Ensure your Ninja ice cream maker bowl is fully frozen before use for optimal churning.
- For a creamier texture, avoid over-churning the mixture.
- Experiment with different brands of cocoa powder to find your favorite flavor profile.
- Try mixing in crushed cookies or nuts for added texture and flavor.
- Always taste the mixture before freezing; adjust the sweetness to your liking.
Common Mistakes to Avoid
- Not chilling the mixture long enough; this can lead to icy ice cream.
- Overfilling the ice cream maker; it needs room to churn properly.
- Skipping the chocolate chips; they add great texture and bursts of flavor.
- Freezing ice cream for too long before serving; let it sit for a few minutes to soften.
Serving Suggestions
This ice cream is delightful on its own, but you can elevate it even further.
- Serve it in a waffle cone for a classic treat.
- Top with whipped cream and chocolate shavings.
- Pair it with warm brownies or chocolate cake.
- Drizzle with caramel or fudge sauce for a decadent touch.
Variations to Try
- Add a pinch of sea salt for a salted chocolate flavor.
- Mix in mint extract for a refreshing mint chocolate ice cream.
- Incorporate peanut butter swirls for a chocolate-peanut butter combo.
- Substitute some cocoa powder for espresso powder for a mocha flavor.
Dietary Adaptations
- Gluten-free: All ingredients are naturally gluten-free!
- Dairy-free: Use coconut cream and almond milk for a dairy-free option.
- Vegan/Vegetarian: Substitute with plant-based milk and sweeteners.
- Low-carb/Keto: Use unsweetened almond milk and a sugar substitute.
Storage and Reheating
Refrigerator
Store any leftovers in an airtight container.
- Keep it in the fridge for up to 2 days.
Freezer
This ice cream can last in the freezer for up to 2 weeks.
- Make sure it is in an airtight container to prevent freezer burn.
Reheating
Let the ice cream sit at room temperature for a few minutes to soften before scooping.
- A warm scoop helps bring out the rich flavors.
Nutrition Information
| Nutrient | Amount |
|---|---|
| Calories | 250 |
| Total Fat | 18g |
| Saturated Fat | 11g |
| Carbohydrates | 24g |
| Fiber | 2g |
| Sugar | 20g |
| Protein | 3g |
| Sodium | 50mg |
| Cholesterol | 70mg |
This information is an estimate and can vary based on specific ingredients used.
Frequently Asked Questions
Can I make this ice cream ahead of time?
Absolutely! You can make it a day in advance and store it in the freezer.
What can I substitute for heavy cream?
You can use coconut cream or a vegan heavy cream alternative for a lighter option.
How long can I store this ice cream?
It can be stored in the freezer for up to 2 weeks, but it tastes best fresh.
Why is my ice cream icy?
This usually happens if the mixture wasn’t chilled long enough before churning; make sure to chill it properly.
Can I add other flavors or ingredients?
Definitely! Feel free to mix in your favorite candies, nuts, or flavor extracts.
Final Thoughts
Making your own ice cream at home is not just satisfying; it’s also a fun way to experiment with flavors. The Ninja Chocolate Ice Cream recipe is sure to become a staple in your dessert rotation.
So grab your Ninja, gather your ingredients, and get ready to enjoy a scoop (or two) of this delightful treat. For more delicious ideas, check out this Ninja Creami recipe or try this fantastic Mexican hot chocolate recipe for a cozy drink pairing!
Ninja Chocolate Ice Cream
Ingredients
Equipment
Method
- In a mixing bowl, whisk together the heavy cream, whole milk, sugar, cocoa powder, and vanilla extract until well combined.
- Cover the bowl and refrigerate the mixture for at least 30 minutes.
- If you're using chocolate chips, stir them into the mixture after chilling.
- Set up your Ninja ice cream maker and pour the chocolate mixture into the bowl.
- Turn on your Ninja ice cream maker and churn according to the manufacturer's instructions, usually about 20-30 minutes.
- Once it reaches a soft-serve consistency, it’s ready to enjoy. For a firmer texture, transfer it to a container and freeze for an additional 2-4 hours.
- Scoop the ice cream into bowls or cones and serve immediately.
- If you have any leftovers, store the ice cream in an airtight container in the freezer.