
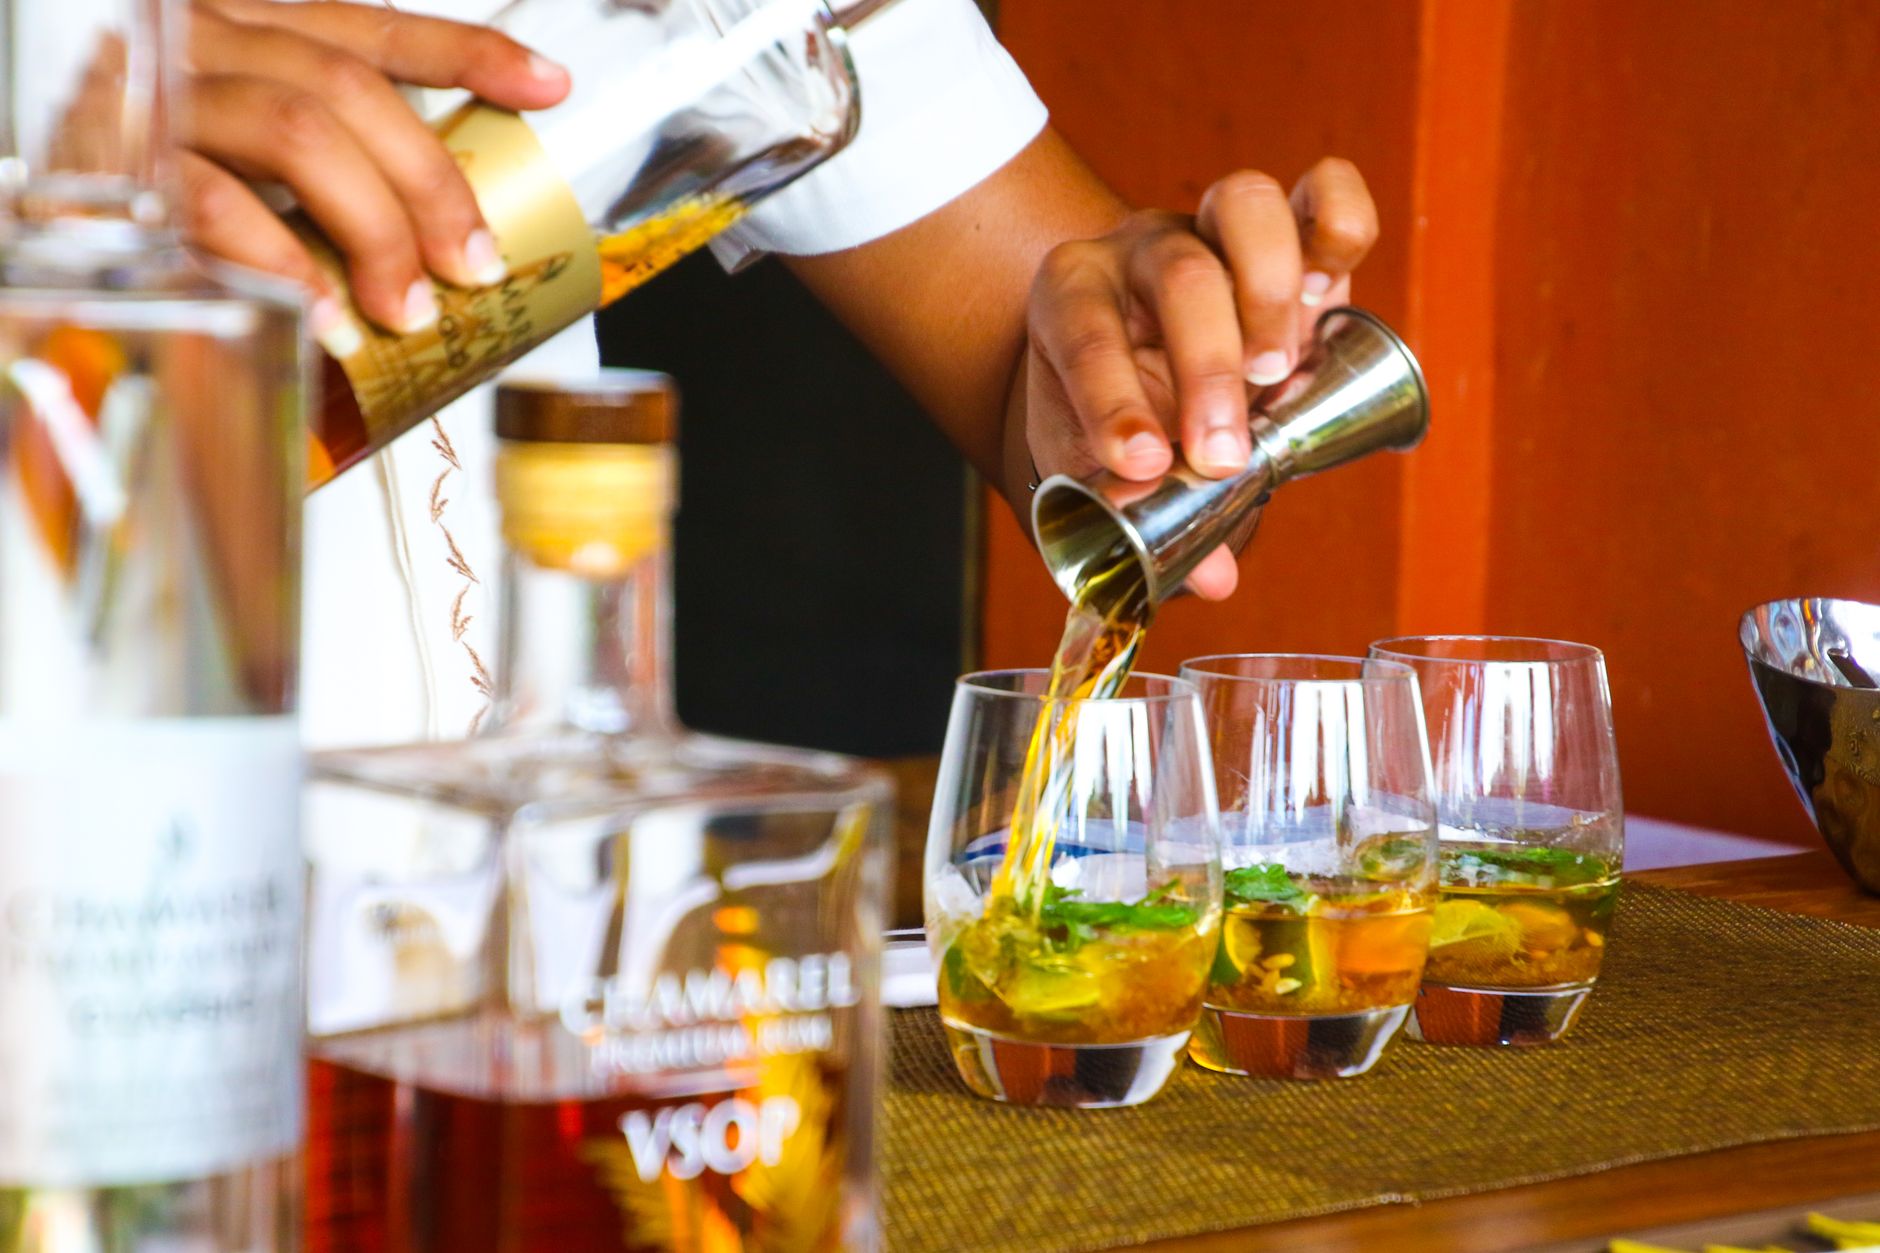
Rum is a beloved spirit with a history as rich as its flavor profiles. Known for its versatility, it is enjoyed straight, mixed into cocktails, or as a key ingredient in many desserts. Making rum at home can be an exciting adventure that allows you to experiment with flavors and refine techniques to suit your palate.
This guide will explain how to make rum, covering everything from the key ingredients to the method involved in its production and some serving tips to enjoy your creation.
How Do You Make Rum?
To make rum, you’ll need basic ingredients such as sugarcane, water, yeast, and time for fermentation and aging. The process involves fermenting the sugar, distilling the liquid, and then maturing it to develop complex flavors.
Ingredients Needed to Make Rum
- Raw Sugar or Molasses: About 10 pounds (4.5 kg) of raw sugar or 12 pounds (5.4 kg) of molasses can be used. Raw sugar contributes a more refined taste, while molasses offers deeper flavors.
- Yeast: 1 packet of distiller’s yeast or roughly 5 grams of active dry yeast. Yeast is crucial for fermentation, converting sugars into alcohol.
- Water: Approximately 5 gallons (19 liters) of water. The quality of water affects the overall taste of the rum.
- Aging Barrel: Optional, but if you want to make aged rum, consider using a charred oak barrel (or oak chips) to enrich flavor during the aging process.
Essential Equipment for Making Rum
- Fermentation Vessel: A food-grade plastic or glass container with an airlock will help control the fermentation process.
- Stirring Spoon: For mixing ingredients.
- Hydrometer: A tool to measure specific gravity to understand sugar content and fermentation progress.
- Still: A copper or stainless steel pot still is used for distillation.
- Bottles: Clean glass bottles for storing the finished rum.
The Rum-Making Process
The process of making rum can be broken down into several key steps: preparing the wash, fermenting, distilling, and aging. Each step is crucial, and attention to detail can significantly impact the final product.
Step 1: Preparing the Wash
- Begin by heating approximately 5 gallons of water in your fermentation vessel. The water should ideally be around 150°F (65°C).
- Once the water is heated, slowly add your choice of raw sugar or molasses to the container. Stir until fully dissolved. This mixture is known as the “wash.”
- Allow the wash to cool to about 75°F (24°C). This temperature is important to avoid killing the yeast during fermentation.
Step 2: Fermentation
- Once the wash has cooled, add the yeast. If using dry yeast, it’s advisable to hydrate it according to the package instructions before adding.
- Seal the fermentation vessel with an airlock. This will allow carbon dioxide to escape but prevent contaminants from entering.
- Place the vessel in a warm, dark area (around 70°F to 75°F or 21°C to 24°C) for fermentation to take place. This process can take between 5 to 14 days, depending on temperature and yeast activity.
- Use a hydrometer to check the specific gravity. When the gravity stabilizes and is lower than the original reading, fermentation is complete.
Step 3: Distillation
- After fermentation, the wash should be ready for distillation. Pour the fermented wash into your still, leaving some space to prevent overflowing.
- Heat the wash slowly. As the alcohol heats, it will vaporize and rise through the neck of the still.
- Cool the vapor back into liquid form using a condenser. The first portion collected is known as “heads,” which contains undesirable compounds and should be discarded. Collect only the “heart” of the distillation for rum.
- Keep discarding the “tails” or the last portions of the distillation, which contain heavier compounds.
Step 4: Aging (Optional)
- If you wish to age your rum, transfer the collected “heart” into an oak barrel or add oak chips to a glass container.
- Let the rum age for at least six months to a year, depending on desired flavor profile and complexity. The aging process allows for the absorption of flavors from the wood.
Step 5: Bottling
- Once aging is complete, siphon the rum into clean bottles. Consider straining it to remove any sediment or wood particles.
- Seal the bottles tightly and store them upright in a cool, dark place to preserve flavor.
Serving Tips for Homemade Rum
Once you have completed the rum-making process, it’s time to enjoy your handcrafted spirit. Here are some serving tips:
- Neat or on the Rocks: Enjoy straight or with a few ice cubes to appreciate the complex flavors developed during fermentation and aging.
- Cocktails: Use your rum in classic cocktails such as mojitos, daiquiris, or a simple rum and cola. Homemade rum offers a unique twist to these drinks.
- Infusions: Experiment with infusing your rum with fruits, herbs, or spices for added flavor complexity. A few weeks of infusion can transform your rum into something extraordinary.
Common Mistakes to Avoid When Making Rum
Making rum can be a rewarding venture, but there are common pitfalls to avoid for success:
- Not sanitizing equipment: Ensure all equipment is thoroughly cleaned and sanitized to prevent contamination during fermentation.
- Incorrect fermentation temperatures: Too hot or cold temperatures can stunt yeast activity and result in off-flavors. Maintain the right temperature throughout.
- Rushing the aging process: Aged rum develops deeper flavors over time. Patience is key to achieving the best results.
Practical Substitutions and Variations
- Sugar Variations: You can experiment with different types of sugar such as brown sugar, cane sugar, or panela for varied flavors.
- Yeast Options: Different yeast strains can impact flavor and fermentation speed. Consider specialty yeast formulated for rum production for unique flavor profiles.
- Aging Alternatives: If you do not have access to an oak barrel, using toasted oak chips in the aging process can yield satisfying results.
Storage and Handling
After bottling your homemade rum, store it in a cool, dark environment away from heat sources. Proper storage will maintain its quality over time.
While rum doesn’t spoil, it’s best consumed within a few years for the best flavor. Make sure bottles are sealed tightly to prevent oxidation.
Final Thoughts
Creating your homemade rum can be an enriching and enjoyable experience, allowing you to engage with a time-honored tradition of spirit-making. Experimentation is part of the journey, so feel free to try various ingredients and techniques as you develop your unique rum profile.
With the knowledge gathered from this guide, you are better equipped to embark on your rum-making adventure. Whether you choose to sip it neat or incorporate it into delightful cocktails, the fruits of your labor are sure to be savored.
For more delicious drink recipes, check out our guide to Jamaican Rum Punch or try a classic Rum and Coke. Happy distilling!