
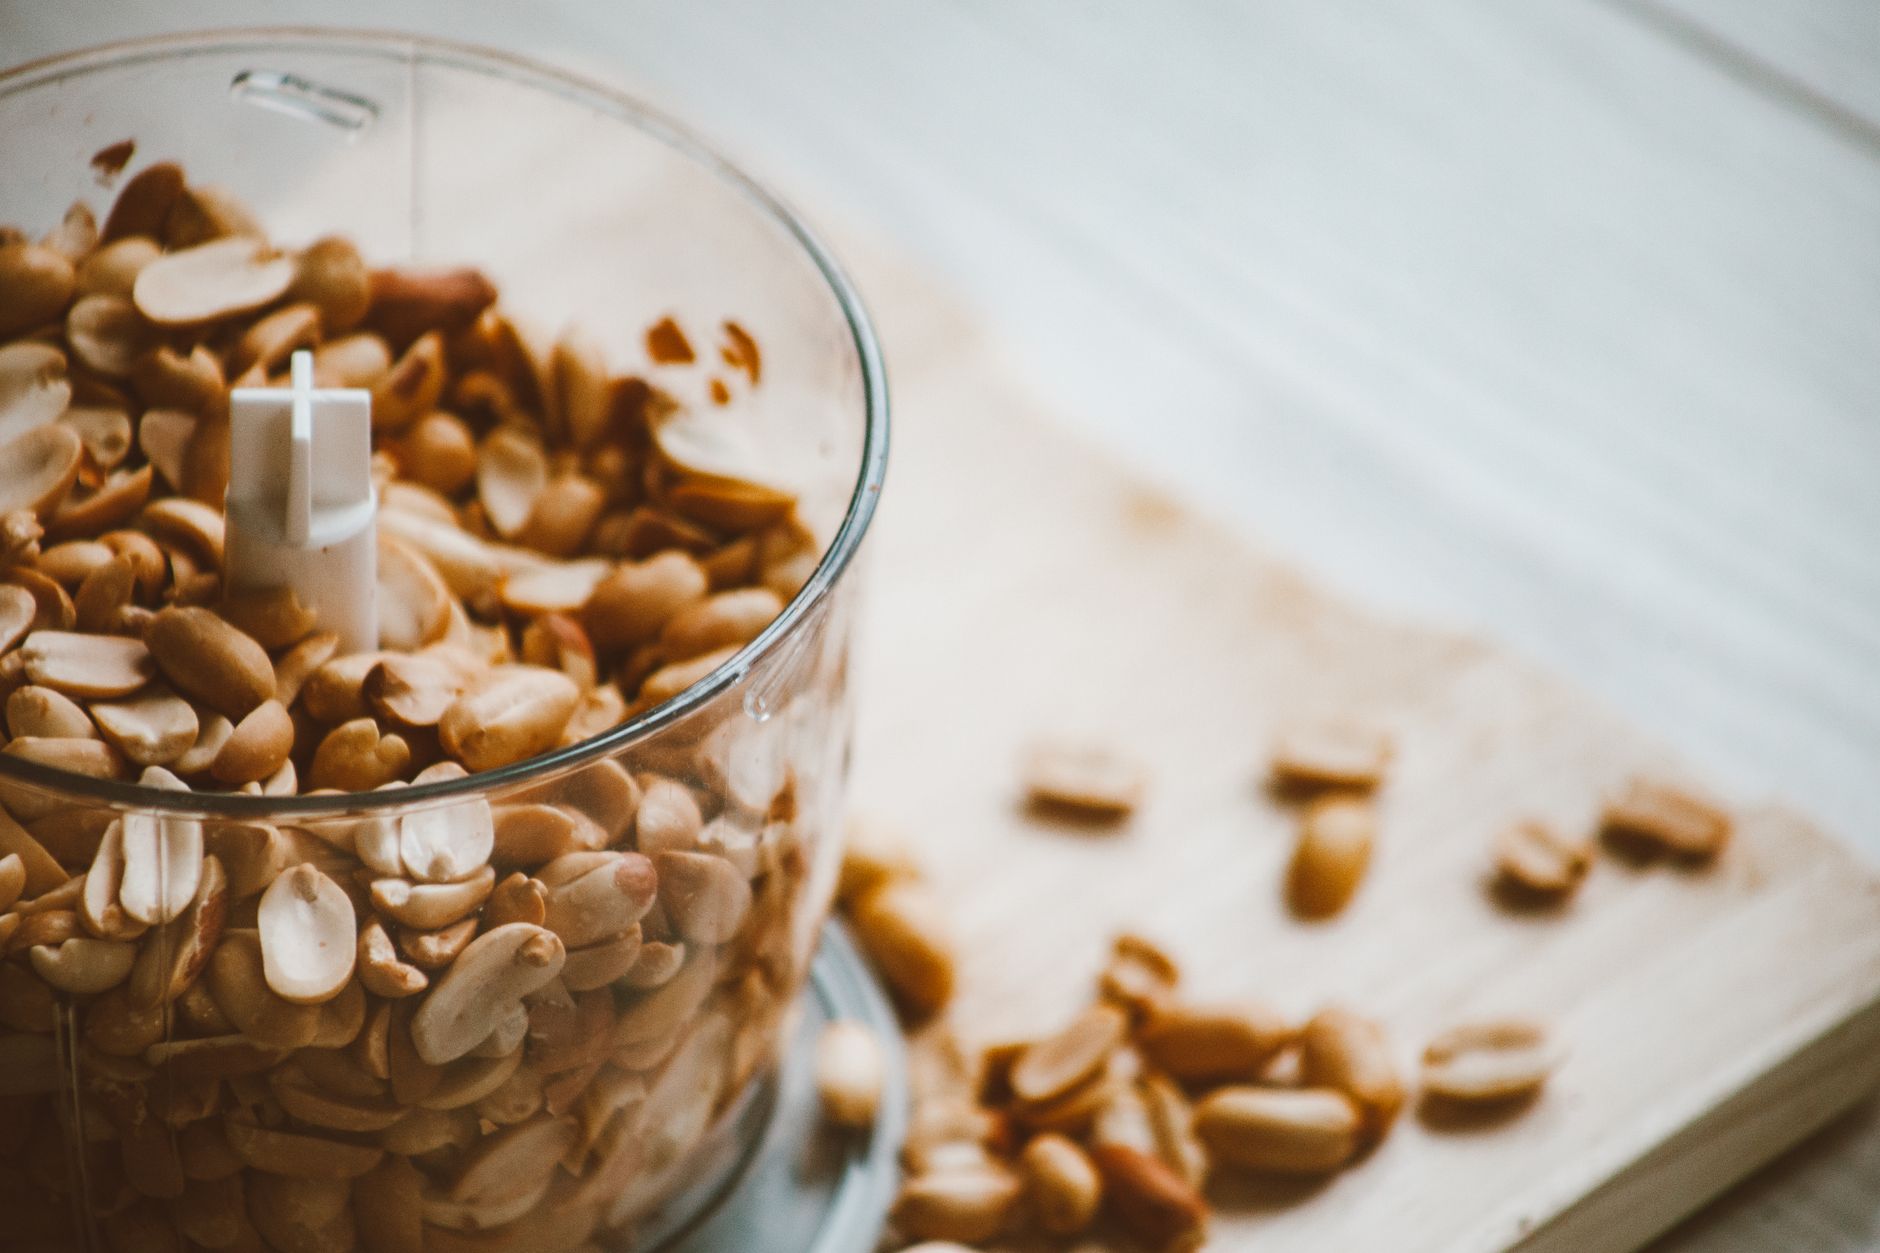
Making peanut butter at home can be an enjoyable and satisfying culinary experience. Many people wonder if a blender can achieve this task effectively, and the answer is yes! A blender can be used to transform nuts into a smooth, creamy peanut butter similar to those found in stores.
In this guide, we will explore how to make peanut butter in a blender, the equipment needed, essential techniques, possible variations, and storage tips. Delve into the world of homemade peanut butter that can elevate your snacks, breakfasts, and treats!
Can You Make Peanut Butter in a Blender?
Yes, you can make peanut butter in a blender. The process requires blending roasted peanuts until they reach a creamy consistency. You can customize the texture and flavor by adding ingredients like salt, sweeteners, or oils.
Why Make Peanut Butter at Home?
Making peanut butter at home offers several benefits. First, you have complete control over the ingredients, which means you can avoid added sugars, preservatives, and unhealthy oils found in many commercial brands. Second, the flavor is fresher and more intense, as freshly ground peanuts provide a richer taste. Finally, it can be more economical than purchasing specialty peanut butter.
Ingredients and Equipment
- 2 cups of roasted peanuts (unsalted)
- 1/2 teaspoon of salt (optional)
- 1-2 tablespoons of honey or maple syrup (optional for sweetness)
- 1-2 tablespoons of peanut oil (optional for creaminess)
- Blender or high-powered blender
- Spatula
- Storage container (preferably airtight)
How to Make Peanut Butter in a Blender
Follow this step-by-step method to create your own peanut butter from scratch using a blender. It requires only a few minutes of active time and can yield a delicious spread perfect for toast, smoothies, or baking.
- Prepare the Peanuts: Place the roasted peanuts into the blender. If you’re using unsalted peanuts, add salt to taste.
- Start Blending: Blend the peanuts on low speed to begin with. Gradually increase the speed as the peanuts break down. This may take about 1-2 minutes.
- Scrape Down the Sides: Use a spatula to scrape down the sides of the blender as needed to ensure even blending.
- Continue Blending: Continue blending on a medium speed for another 2-5 minutes. Initially, the mixture will look crumbly, but it will eventually start to come together. The time can vary based on the power of your blender.
- Check the Consistency: Once the mixture has become creamy and smooth, check the consistency. If you prefer a thinner peanut butter, you can add a tablespoon or two of peanut oil and blend again.
- Add Sweeteners (Optional): If desired, add honey or maple syrup to the peanut butter to enhance the flavor. Blend again to incorporate the sweetener thoroughly.
- Taste and Adjust: Taste your peanut butter. Adjust the salt or sweetness to your liking and blend again for a few seconds.
- Store Your Peanut Butter: Transfer the peanut butter to an airtight container. It can be refrigerated for several weeks.
Common Mistakes When Making Peanut Butter
Here are some common mistakes to avoid when making peanut butter in a blender:
- Insufficient Blending Time: If you stop blending too early, you may end up with a chunky consistency rather than a smooth spread. Be patient and allow time for the peanuts to release their natural oils.
- Using Raw Peanuts: Raw peanuts will not create the desired flavor and texture. Use roasted peanuts for the best results.
- Overheating the Blender: Blending for too long can heat the blender motor, potentially damaging it. Take breaks and let the blender cool down after a minute or two of continuous use.
- Not Scraping the Sides: Failing to scrape the sides of the blender can lead to uneven blending. Regularly pause to scrape down any peanut butter that clings to the sides.
Variations for Your Peanut Butter
Homemade peanut butter doesn’t have to be plain. Here are some variations to consider:
- Chunky Peanut Butter: For a chunkier texture, reserve some peanuts (1/4 to 1/2 cup) and add them at the end of blending to keep their texture intact.
- Flavored Peanut Butter: Experiment by adding ingredients like cocoa powder, cinnamon, or vanilla extract for unique flavors.
- Nutritional Add-Ins: Boost nutrition by adding chia seeds, flaxseeds, or protein powder while blending.
- Different Nuts: Consider using almonds or cashews as an alternative to peanuts for a different nut butter experience.
Mix-ins for Enhanced Flavor
Similarly, many people enjoy adding a variety of mix-ins for extra flavor and texture:
- Chocolate Chips: Stir in mini chocolate chips for a sweeter treat.
- Dried Fruits: Incorporate dried cranberries, raisins, or apricots for added sweetness.
- Sea Salt Flakes: A sprinkle of flaky sea salt can enhance the nutty flavor substantially.
Storage Tips for Peanut Butter
Proper storage will help retain the quality of your homemade peanut butter:
- Refrigeration: Store your peanut butter in the refrigerator to prolong freshness. Homemade peanut butter can typically last for 2-3 weeks in the fridge.
- Separation: Natural peanut butter may separate over time due to oil separation. Stir well before using.
- Airtight Containers: Use glass jars or BPA-free plastic containers to keep your peanut butter fresh and safe from contamination.
Using Peanut Butter in Your Recipes
Once you’ve made your peanut butter, consider using it in various recipes:
- Smoothies: Add a spoonful of peanut butter to your smoothies for a protein boost.
- Cookies: Use peanut butter as an ingredient in cookie recipes for added flavor.
- Sauces: Mix peanut butter with soy sauce, coconut milk, and ginger for a delectable dipping sauce.
- Sandwiches: The classic peanut butter and jelly sandwich is a beloved lunch or snack.
Conclusion
Making peanut butter in a blender is not only feasible but also a rewarding and enjoyable kitchen project. With just a few ingredients and a little time, you can create a delicious, customizable spread that fits your tastes perfectly. It’s an excellent way to add flavor and nutrition to your meals and snacks.
Try creating and personalizing your peanut butter today, and discover how simple it can be to craft your favorite nut butter at home!
For more creative uses of peanut butter, check out our recipes for peanut butter fudge and peanut butter granola. Happy cooking!