
There’s something undeniably satisfying about popping open a jar of homemade Canned Jalapenos and letting that zesty aroma fill the kitchen. This recipe is a fantastic way to preserve those spicy little peppers, adding a kick to everything from tacos to nachos. Not only are these jalapenos bursting with flavor, but they’re also incredibly easy to make and perfect for personalizing based on your heat preference. Let’s jump into how to make these delightful canned jalapenos!
Why You’ll Love This Recipe
This recipe is a must-try for anyone who enjoys a bit of spice in their life.
- Simple ingredients make it easy to prepare.
- Perfect for enhancing your favorite dishes.
- Customize the heat level to suit your taste.
- Great for preserving excess peppers from your garden.
- Can be stored for long periods, so you always have some on hand.
My Experience Making This Recipe
Making these canned jalapenos was a fun afternoon project. The vibrant colors of the peppers and the tangy smell of vinegar filled my kitchen, making it feel like a mini fiesta.
When I finally cracked open a jar after a few weeks, the first bite was a burst of flavor that took my tacos to another level. I couldn’t help but share them with friends, and they all wanted the recipe!
Recipe Overview
- Recipe Name: Canned Jalapenos
- Servings: 4 pint jars
- Prep Time: 15 minutes
- Cook Time: 10 minutes
- Total Time: 25 minutes
- Course: Condiment
- Cuisine: Mexican
- Calories per Serving: 25
Equipment You Will Need
- Large pot for boiling
- Jar lifter
- Pint canning jars with lids
- Measuring cups and spoons
- Cutting board and knife
Ingredients for Canned Jalapenos
- 2 pounds of fresh jalapenos, sliced
- 2 cups of white vinegar
- 2 cups of water
- 2 tablespoons of salt
- 1 tablespoon of sugar
- 2 cloves of garlic, minced
Ingredient Notes and Substitutions
- Jalapenos: They add heat and flavor. You can substitute with serrano peppers for more spice.
- White vinegar: Provides acidity for preservation. Apple cider vinegar can be used for a milder flavor.
- Salt: Enhances flavor and aids preservation. Pickling salt is ideal, but kosher salt works too.
- Sugar: Balances the heat and acidity. You can use honey or agave syrup for a different sweetness.
- Garlic: Adds depth of flavor. Feel free to omit if you prefer a cleaner taste.
How to Make Canned Jalapenos
Step 1: Prepare the Jars
Start by sterilizing your canning jars. Place them in a boiling water bath for about 10 minutes to ensure they are clean and safe for preservation.
Step 2: Slice the Jalapenos
Wash and slice the jalapenos into rings. Wear gloves to protect your skin from the heat; trust me, your fingers will thank you later!
Step 3: Make the Brine
In a large pot, combine the vinegar, water, salt, sugar, and minced garlic. Bring this mixture to a boil, stirring until the salt and sugar dissolve completely.
Step 4: Pack the Jars
Remove the sterilized jars from the boiling water and pack them tightly with the sliced jalapenos. Leave about half an inch of headspace at the top of each jar.
Step 5: Add the Brine
Pour the hot brine over the jalapenos, ensuring the peppers are completely submerged. Use a clean utensil to remove any air bubbles trapped in the jar.
Step 6: Seal the Jars
Wipe the rims of the jars with a clean cloth to remove any residue. Place the sterilized lids on top and screw on the metal bands until they are fingertip-tight.
Step 7: Process the Jars
Return the jars to the boiling water bath, ensuring they are covered by at least an inch of water. Process for 10 minutes to seal them properly.
Step 8: Cool and Store
Once processed, carefully remove the jars and let them cool completely on a clean towel. After they cool, check the seals by pressing the center of each lid; it should not pop back.
Pro Tip: If you prefer less heat, remove the seeds from the jalapenos before slicing.
Tips for the Best Canned Jalapenos
- Use fresh jalapenos for the best flavor and crunch.
- Experiment with additional spices like cumin or oregano for a unique twist.
- Allow the jalapenos to sit for at least two weeks for the flavors to meld.
- Keep a close eye on the water level during processing to ensure jars are submerged.
- Label your jars with the date and contents for easy reference later.
Common Mistakes to Avoid
- Not sterilizing jars properly, which can lead to spoilage.
- Overpacking jars, preventing proper sealing and heat distribution.
- Forgetting to remove air bubbles, which can create pressure issues.
- Using non-canning salt, which can affect flavor and preservation.
- Skipping the water bath processing step, risking food safety.
Serving Suggestions
These canned jalapenos are versatile and can elevate many dishes.
- Top your tacos or burritos for an extra kick.
- Add them to nachos for a spicy crunch.
- Mix into egg dishes for a delightful breakfast.
- Include in sandwiches for added flavor.
- Use as a garnish on chili or soups for a zesty finish.
Variations to Try
- Add sliced carrots for a colorful and crunchy mix.
- Incorporate sliced onions for added sweetness.
- Try different types of peppers, like banana peppers, for variety.
- Experiment with flavored vinegars for unique taste profiles.
- Make it a sweet heat by adding more sugar or honey.
Dietary Adaptations
- Gluten-free: This recipe is naturally gluten-free; no adjustments needed.
- Dairy-free: No dairy is used; it’s inherently dairy-free.
- Vegan/Vegetarian: All ingredients are plant-based.
- Low-carb/Keto: This recipe is low in carbs, making it keto-friendly.
Storage and Reheating
Refrigerator
Once opened, store your canned jalapenos in the refrigerator.
- Keep them in a sealed jar.
- They will last for up to 2 months in the fridge.
Freezer
For long-term storage, you can freeze the jalapenos.
- Place them in airtight containers or freezer bags.
- They can last for up to 6 months in the freezer.
Reheating
Reheating is simple; just toss them into your dish as needed.
- They can be added directly to hot meals.
- No need to thaw if you are adding to cooked dishes.
Nutrition Information
| Nutrient | Amount |
|---|---|
| Calories | 25 |
| Total Fat | 0g |
| Saturated Fat | 0g |
| Carbohydrates | 5g |
| Fiber | 1g |
| Sugar | 1g |
| Protein | 1g |
| Sodium | 290mg |
| Cholesterol | 0mg |
This nutritional information is approximate and may vary based on specific ingredients used.
Frequently Asked Questions
Can I use other types of peppers?
Absolutely! Feel free to experiment with different peppers like serranos or banana peppers for varied flavors.
Can I make these jalapenos ahead of time?
Yes! They are perfect for making ahead; just store them in a cool, dark place until you’re ready to use them.
How should I store opened jars?
Once opened, refrigerate the jalapenos in a sealed jar for up to two months.
Why are my jalapenos soft?
If they are processed properly, they should remain crisp. If you overcook them, they may become softer than desired.
What’s the best way to enjoy canned jalapenos?
They are great on tacos, nachos, and sandwiches, or even in salads for an extra kick.
Final Thoughts
Making Canned Jalapenos is a rewarding experience that brings a burst of flavor to your meals. Whether you are using them for a backyard barbecue or a cozy night in, these jalapenos are sure to spice things up.
So grab those peppers and get canning! And while you’re here, check out more delicious recipes like Cowboy Candy Canning Recipe or Chuy’s Jalapeno Ranch Recipe for more ways to enjoy your culinary adventures.
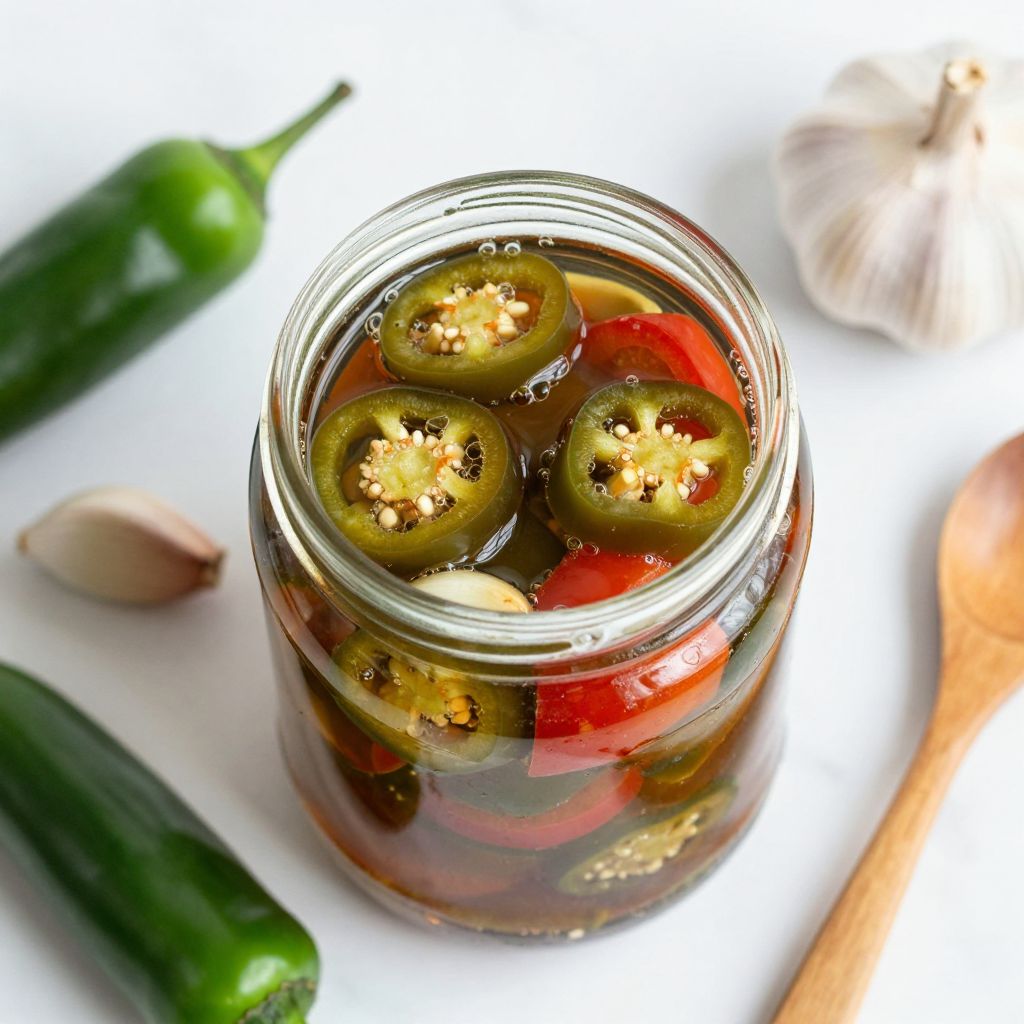
Canned Jalapenos
Ingredients
Equipment
Method
- Start by sterilizing your canning jars. Place them in a boiling water bath for about 10 minutes.
- Wash and slice the jalapenos into rings. Wear gloves to protect your skin.
- In a large pot, combine the vinegar, water, salt, sugar, and minced garlic. Bring this mixture to a boil.
- Remove the sterilized jars from the boiling water and pack them tightly with the sliced jalapenos.
- Pour the hot brine over the jalapenos, ensuring the peppers are submerged.
- Wipe the rims of the jars and place the sterilized lids on top. Screw on the metal bands until they are fingertip-tight.
- Return the jars to the boiling water bath, ensuring they are covered by at least an inch of water. Process for 10 minutes.
- Once processed, carefully remove the jars and let them cool completely on a clean towel.