
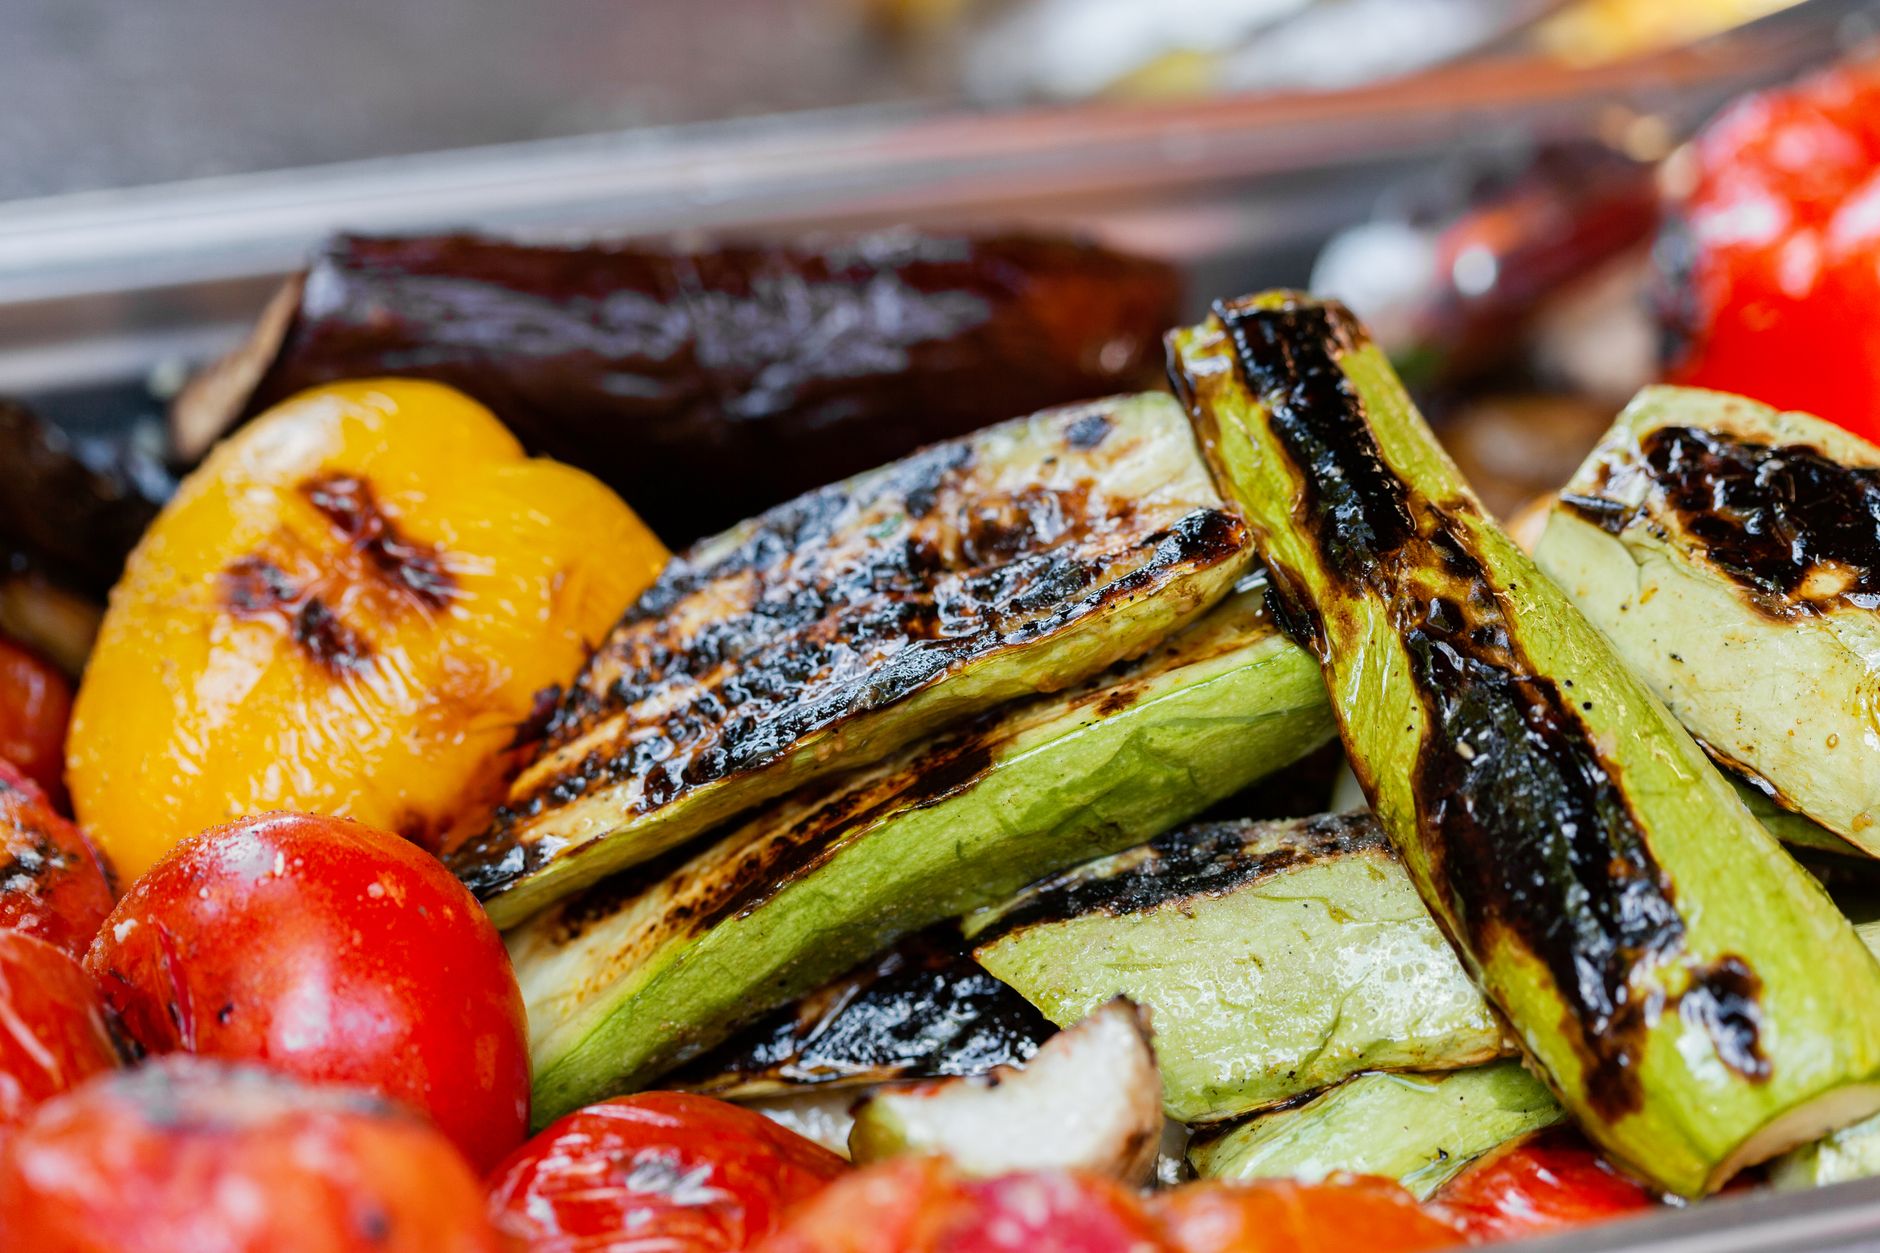
Understanding how to use your oven’s broiler can open up a world of culinary possibilities. This cooking technique, often overshadowed by baking and roasting, provides a unique way to achieve beautifully browned and caramelized results in a short amount of time.
Whether you’re looking to give a golden top to casseroles, finish off a steak, or make quick work of melting cheese, knowing how to effectively use the broiler will elevate your cooking skills. This article will explore what broiling means, how it works, and share practical tips for cooking and serving delicious broiled dishes.
What Does Broil Mean on an Oven?
Broiling is a cooking technique that uses high, direct heat from above, generally for quick cooking or browning foods. When you set your oven to broil, the heating element at the top of the oven heats up, radiating intense heat that cooks the food quickly. This method is perfect for tasks like melting cheese, browning meat, or toasting bread.
How to Broil
Broiling may seem straightforward, but there are some essential steps and precautions to ensure that your dishes come out perfectly cooked and flavorful. Here’s a practical guide on how to effectively use your oven’s broiler.
Essential Equipment
- Oven with a broiler function
- Baking sheet or broiler pan
- Aluminum foil (optional for easy cleanup)
- Long-handled tongs or spatula
- Food thermometer (for meat)
Steps to Broil Food
- Preheat the Broiler: Most ovens require preheating. Close the oven door and set the broiler to high (usually around 500-550°F). Allow it to preheat for a few minutes.
- Prepare the Food: Season and prepare your food as desired. For meats, marinate or use a dry rub, while veggies often benefit from a drizzle of olive oil and seasoning.
- Use a Broiling Pan: Place your food on a broiling pan or a baking sheet lined with aluminum foil. Using these tools helps catch drippings and allows for better air circulation.
- Position the Rack: Adjust the oven rack so that the food is about 4 to 6 inches away from the heat source. For thicker cuts of meat or larger items, a lower rack position may be preferred.
- Monitor Closely: Broiling cooks food quickly, so it’s crucial to keep an eye on it. Check for browning every couple of minutes, and rotate or flip foods as necessary.
- Check Doneness: Use a food thermometer for meat and poultry to ensure safety. Chicken should reach an internal temperature of 165°F, while steaks vary by preference.
- Remove and Rest: Once done, carefully remove the food from the oven. Allow it to rest for a few minutes before serving to let juices redistribute.
Visual Cues for Doneness
Broiling involves a quick cooking process, so recognizing visual cues is essential. Foods should have a golden-brown surface, and meats should be juicy with slightly charred edges. Cheeses should bubble and ideally turn a golden color, while vegetables can become vibrant and tender.
Common Mistakes When Broiling
Even experienced cooks can make missteps while broiling. Here are a few common pitfalls to avoid:
- Not Preheating: Skipping the preheating step can result in uneven cooking. Always allow your broiler to reach the correct temperature before placing your food inside.
- Using the Wrong Rack Position: Placing food too far from the heat source can lead to undercooking, while placing it too close can result in burning.
- Walking Away: Broiling is a fast process. Never leave the kitchen unattended while broiling; a minute can make the difference between perfectly browned and burnt food.
- Ignoring Smoke: If your food is smoking excessively, it could be an indication that fat is dripping onto the heating element. This can lead to unwanted flavors and smoke in your food.
Best Foods to Broil
Broiling is suitable for a variety of foods. Here’s a rundown of some of the best options:
- Meats: Steaks, chicken thighs, pork chops, and fish fillets broil well and develop a beautiful crust.
- Vegetables: Asparagus, bell peppers, zucchini, and tomatoes caramelize beautifully under the broiler.
- Cheese: Melting cheese on top of nachos, casseroles, or pasta dishes is a classic use of the broiler.
- Bread: Toasting bread or bagels can be done swiftly, producing a delightful crisp texture.
- Fruit: Certain fruits like peaches or pineapple can be broiled for a caramelized finish, perfect for desserts or toppings.
Broiling Times for Common Foods
Since broiling cooks food quickly, knowing how long to broil different ingredients helps ensure optimal results:
| Food | Broiling Time (minutes) |
|---|---|
| Chicken Breasts (boneless) | 6-8 per side |
| Steak (1-inch thick) | 4-6 per side |
| Pork Chops (1-inch thick) | 4-5 per side |
| Fish Fillets | 4-5 per side |
| Vegetable Skewers | 8-10, turning occasionally |
Serving Suggestions for Broiled Dishes
Broiled foods can be served in many creative ways. Here are suggestions to enhance your meal:
- Serve broiled meats over a bed of fresh greens with a drizzle of vinaigrette.
- Pair broiled fish with a citrus salsa for freshness and balance.
- Top broiled vegetables with a sprinkle of feta cheese or balsamic glaze for added flavor.
- Use broiled bread as a base for bruschetta or as a side to soup.
- Create a broiled dessert by charring fruit and serving it with ice cream or yogurt.
How to Make Broiling Safe
Safety should always be top of mind when broiling. Here are some tips to keep in mind:
- Keep oven mitts handy to avoid burns while using the broiler.
- Use long-handled tools to flip foods and avoid accessing the oven too close to the heat.
- Always monitor the food closely; do not leave it unattended.
- Use a food thermometer for meat to avoid undercooking or overcooking.
- Keep a fire extinguisher readily available in the kitchen in case of flare-ups.
Tips for Successful Broiling
To maximize your broiling experience, consider the following tips:
- Experiment with Marinades: Using marinades can add flavor and moisture, enhancing the overall taste of your broiled dish.
- Cut Food into Even Pieces: For even cooking, make sure to cut your ingredients into similar sizes.
- Embrace Flavorful Toppings: Adding ingredients like bread crumbs, cheeses, or sauces can create a delicious topping when broiled.
- Keep it Clean: Line your broiling pan with foil to make post-cooking cleanup easier.
Variations and Substitutions
Broiling can easily be adapted based on ingredient availability, dietary preferences, or flavor profiles. Here are some suggestions:
- Meat Alternatives: Instead of chicken or beef, try broiling tofu or tempeh for a vegetarian option.
- Seasonal Vegetables: Adjust your vegetable selection based on the season, using whatever is fresh to you.
- Different Cheeses: Experiment with various cheeses such as gouda, mozzarella, or aged cheddar when broiling for different flavor experiences.
- Herbs and Spices: Use fresh herbs instead of dried spices to enhance the taste and aroma of your broiled dishes.
Storing Leftovers
If you have leftovers from a broiled meal, proper storage is crucial for maintaining quality:
- Allow food to cool completely before placing it in an airtight container.
- Store leftover broiled meats in the refrigerator for up to 3-4 days.
- Reheat leftovers by broiling them again to restore crispy edges, if applicable.
Conclusion
Broiling is a valuable cooking technique that can elevate your meals with minimal effort. Whether you’re using it for meats, vegetables, or to finish off a dish, mastering the broiler can add depth to your culinary repertoire. Start experimenting and enjoy the delicious outcomes of broiling!
For more cooking techniques, try our broiled lobster tail recipe or explore a convenient way to prepare delicious meals with our oven-baked BBQ ribs recipe.