
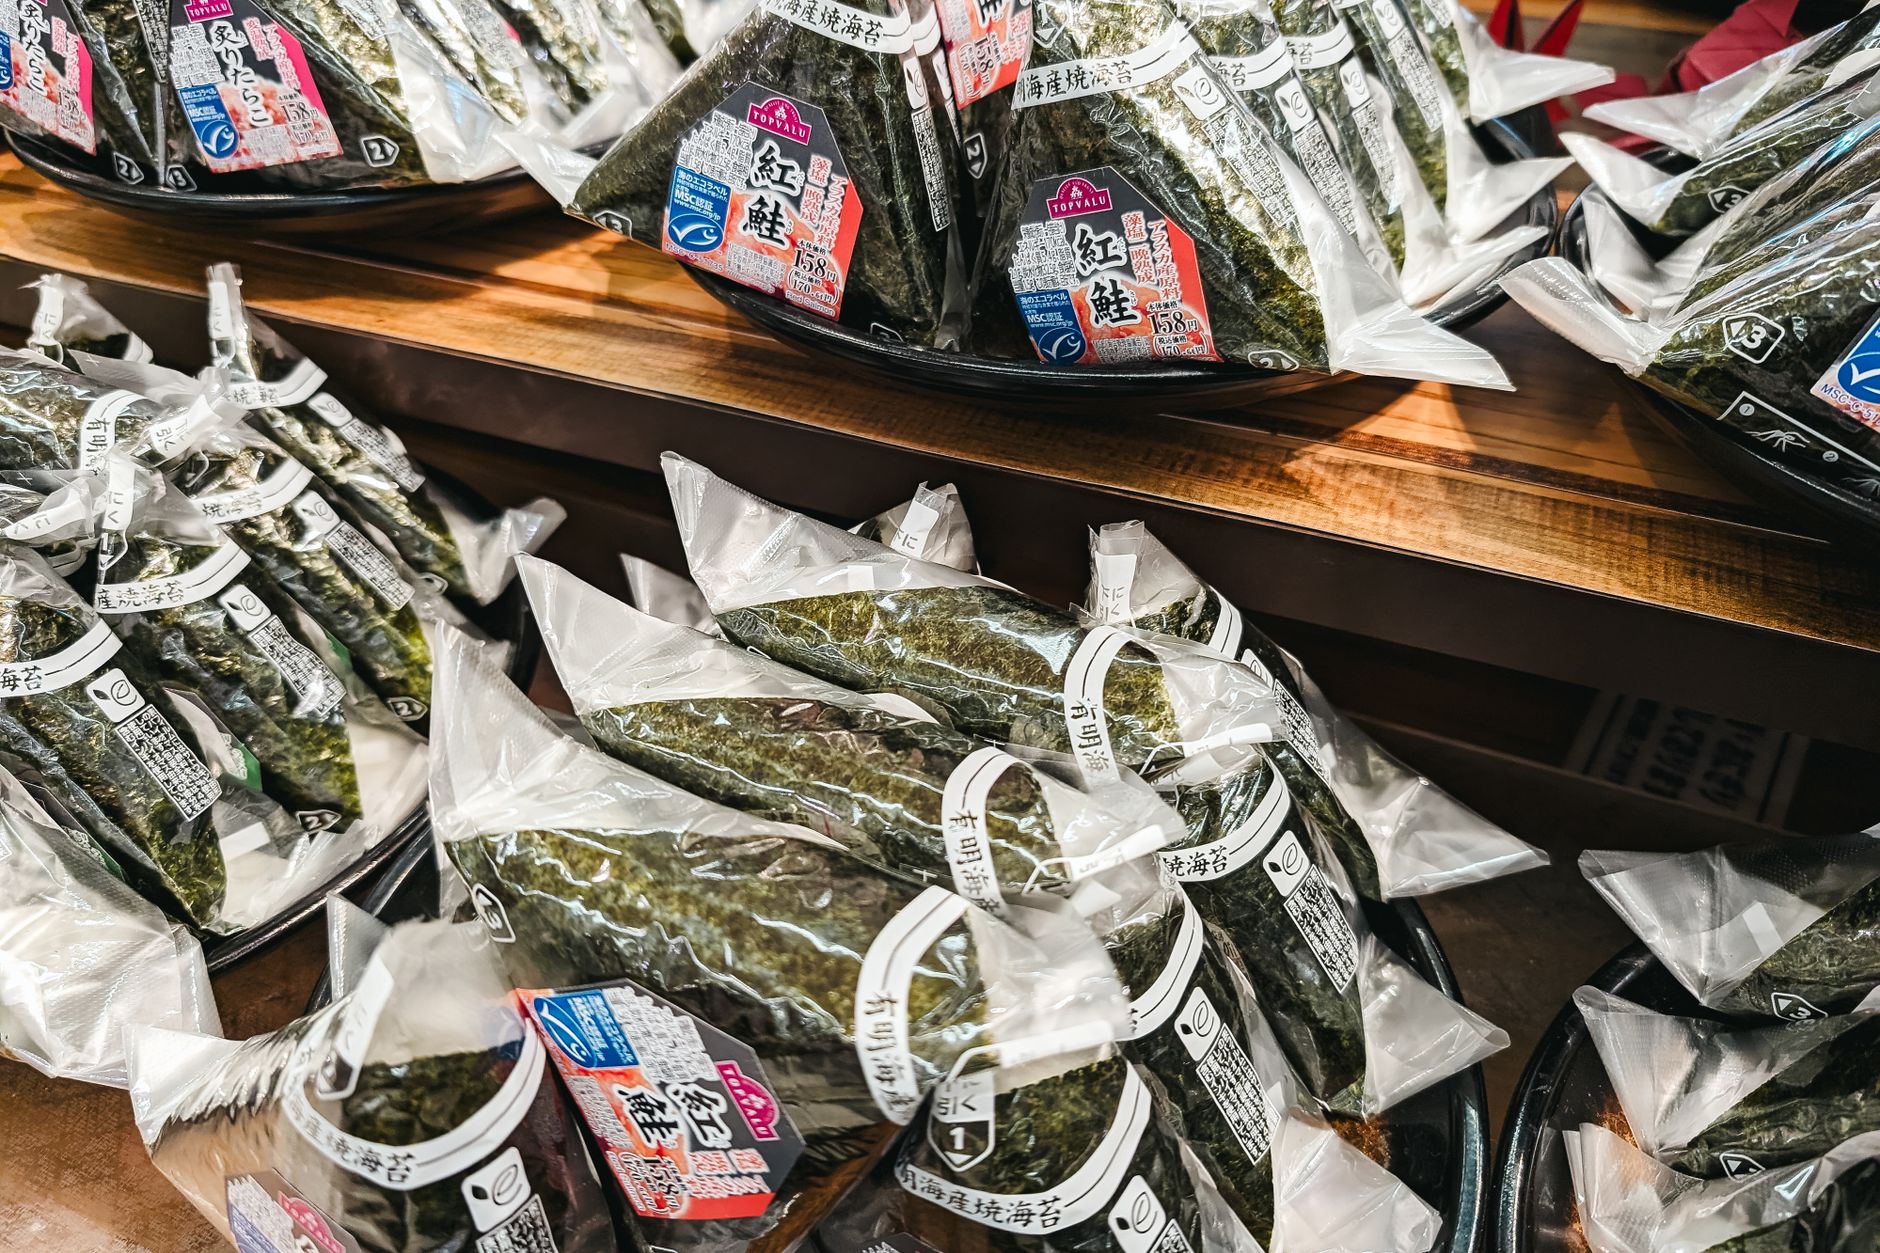
Onigiri, also known as rice balls, is a popular Japanese dish made primarily from seasoned rice that is shaped into triangles, ovals, or other forms and often filled or topped with various ingredients. This snack is not only delicious but also convenient for on-the-go meals, making it a staple in Japanese cuisine.
The beauty of onigiri lies in its versatility; it can be tailored to suit individual palates with a wide range of fillings, toppings, and seasonings. Whether enjoyed as a simple snack, a side dish, or as part of a bento box, onigiri brings cultural richness and flavor to every meal.
What Is Onigiri?
Onigiri, or rice balls, are simple yet flavorful bites made from cooked Japanese rice. The trademark of onigiri is its unique shape, typically triangular, which is formed by hand or using a mold. The rice is often seasoned and can be filled with various ingredients, such as umeboshi (pickled plum), salmon, or vegetables. Onigiri is often enjoyed cold or at room temperature, making it a fantastic option for lunchboxes or picnics.
Ingredients Used in Onigiri
Creating onigiri generally involves a few key ingredients. The primary ingredient is rice, but various fillings and seasonings can further enhance the flavor profile. Here’s a closer look at these components:
- Japanese Short-Grain Rice: This short-grain variety is sticky and holds its shape well when formed into balls.
- Water: Essential for cooking the rice, water should be measured accurately for optimal texture.
- Salt: A crucial seasoning, salt can be mixed into the rice or sprinkled on the exterior for added flavor.
- Fillings: Common fillings include:
- Umeboshi (pickled plum)
- Salmon (grilled or canned)
- Tuna mixed with mayonnaise
- Seasoned vegetables or pickles
- Nori: Dried seaweed used to wrap onigiri or as a garnish. It adds texture and flavor.
- Sesame Seeds: These can be sprinkled on for extra crunch and flavor.
Flavor Profile of Onigiri
The flavor of onigiri can vary widely depending on the ingredients used. The rice itself has a mild, slightly sweet taste when cooked properly, which serves as a perfect canvas for enhancing flavors. Fillings contribute different tastes:
- Umeboshi: Sour and salty, bringing a sharp contrast to the rice
- Salmon: Rich and savory, often with a smoky flavor
- Tuna Salad: Creamy and umami-rich from the addition of mayonnaise
- Vegetable Fillings: Often tangy, sweet, or crunchy depending on the vegetable choice and preparation method
This combination of textures and flavors creates a delightful eating experience, where each bite offers a new nuance. Additionally, the use of nori and sesame seeds adds layers of flavor and texture to onigiri.
How to Serve Onigiri
Onigiri is incredibly versatile and can be served in various ways. Here are some popular serving suggestions:
- As a Snack: Enjoy onigiri as a quick snack with your favorite filling, ideal for picnics or during travel.
- As Part of a Bento Box: Onigiri makes a beautiful and practical addition to bento boxes, paired with other elements like fish, vegetables, and pickles.
- With Soy Sauce: Serve onigiri with a small dish of soy sauce for dipping, elevating the flavor of both the rice and the filling.
- With Miso Soup: Pair onigiri with a warm bowl of miso soup for a comforting and complete meal.
How to Make Onigiri: A Step-by-Step Guide
Making onigiri at home is straightforward and requires only a few ingredients. Below is a step-by-step guide to help you create your own onigiri.
Equipment Needed
- Rice cooker or pot
- Mixing bowl
- Plastic wrap or onigiri mold (optional)
- Cutting board and knife (for fillings)
- Measuring cups and spoons
Ingredients
- 2 cups Japanese short-grain rice
- 2.5 cups water
- 1 teaspoon salt (more for seasoning)
- Fillings of your choice (e.g., umeboshi, grilled salmon, or tuna salad)
- Nori sheets (cut into strips or squares)
- Optional: sesame seeds for garnish
Preparation Steps
- Prepare the Rice: Rinse the rice under cold water until the water runs clear. Drain, then place the rice in a rice cooker or pot.
- Cook the Rice: Add 2.5 cups of water to the rice. If using a rice cooker, start it according to the manufacturer’s instructions. If using a pot, bring water to a boil, then reduce heat to low. Cover and cook for about 18-20 minutes until water is absorbed.
- Season the Rice: Once cooked, let the rice sit covered for 10 minutes. Fluff it gently with a spatula and mix in the salt.
- Cool the Rice: Allow the rice to cool until it is comfortable to handle (slightly warm is ideal).
- Shape the Onigiri: Wet your hands with water (this prevents the rice from sticking), then take a handful of rice (about 1/3 to 1/2 cup). Form it into a triangle or oval shape. Press gently to ensure it holds its form.
- Add Filling: Create a small indentation in the center of the shaped rice and add a teaspoon of your chosen filling. Then encase the filling with more rice, reshaping into a ball or triangle.
- Wrap with Nori: Cut nori into strips or squares, and wrap them around the onigiri if desired. This adds flavor and keeps the rice from drying out.
- Garnish: If desired, sprinkle sesame seeds on top for added texture.
- Serve: Enjoy immediately or store for later. Onigiri is best served fresh but can be stored in the refrigerator for a day.
Common Mistakes When Making Onigiri
Even though making onigiri is simple, there are a few common mistakes to watch out for:
- Overcooking or Undercooking the Rice: Cooking times can vary depending on your equipment. Ensure you follow your rice cooker’s instructions or adjust the stove heat appropriately.
- Too Little or Too Much Water: Measuring water correctly is crucial for achieving the right texture. Too much water can make the rice mushy, while too little can make it dry.
- Not Wetting Hands: Failing to wet your hands before handling rice can result in sticky hands, making it challenging to shape your onigiri.
Variations of Onigiri
While the traditional onigiri fillings are delightful, there are numerous variations to explore that cater to different tastes. Here are some popular ones:
- Onigirazu: A modern twist on traditional onigiri, onigirazu resembles a sandwich, with rice and fillings wrapped in nori or other leafy greens.
- Yaki Onigiri: Grilled onigiri that is brushed with soy sauce or miso for an extra umami flavor. This creates a crunchy exterior.
- Sushi Onigiri: Incorporating sushi ingredients like raw fish, avocado, and wasabi to create appealing and flavored rice balls.
Storage and Leftover Onigiri
While onigiri tastes best when fresh, you can store leftovers for later consumption. Here are some tips on how to store onigiri effectively:
- Refrigeration: Onigiri can be placed in an airtight container and stored in the refrigerator for up to 24 hours.
- Freezing: For longer storage, wrap each onigiri individually in plastic wrap and place them in a freezer-safe bag. They can be frozen for up to one month.
- Thawing: To enjoy frozen onigiri, thaw overnight in the refrigerator or microwave briefly until slightly warm.
Conclusion
Onigiri is a delightful, versatile food that embodies the comforts of Japanese cuisine. With a short list of ingredients and simple steps, it is an approachable dish for all skill levels. Whether enjoyed as a snack or as part of a meal, onigiri can cater to countless tastes and preferences.
Next time you crave a tasty, portable meal, consider making onigiri at home. You can mix and match fillings and seasonings to create a version that suits your palate perfectly.
For more insights on meal prepping, check out our tips on bento box packing and easy sushi recipes for more culinary exploration!