
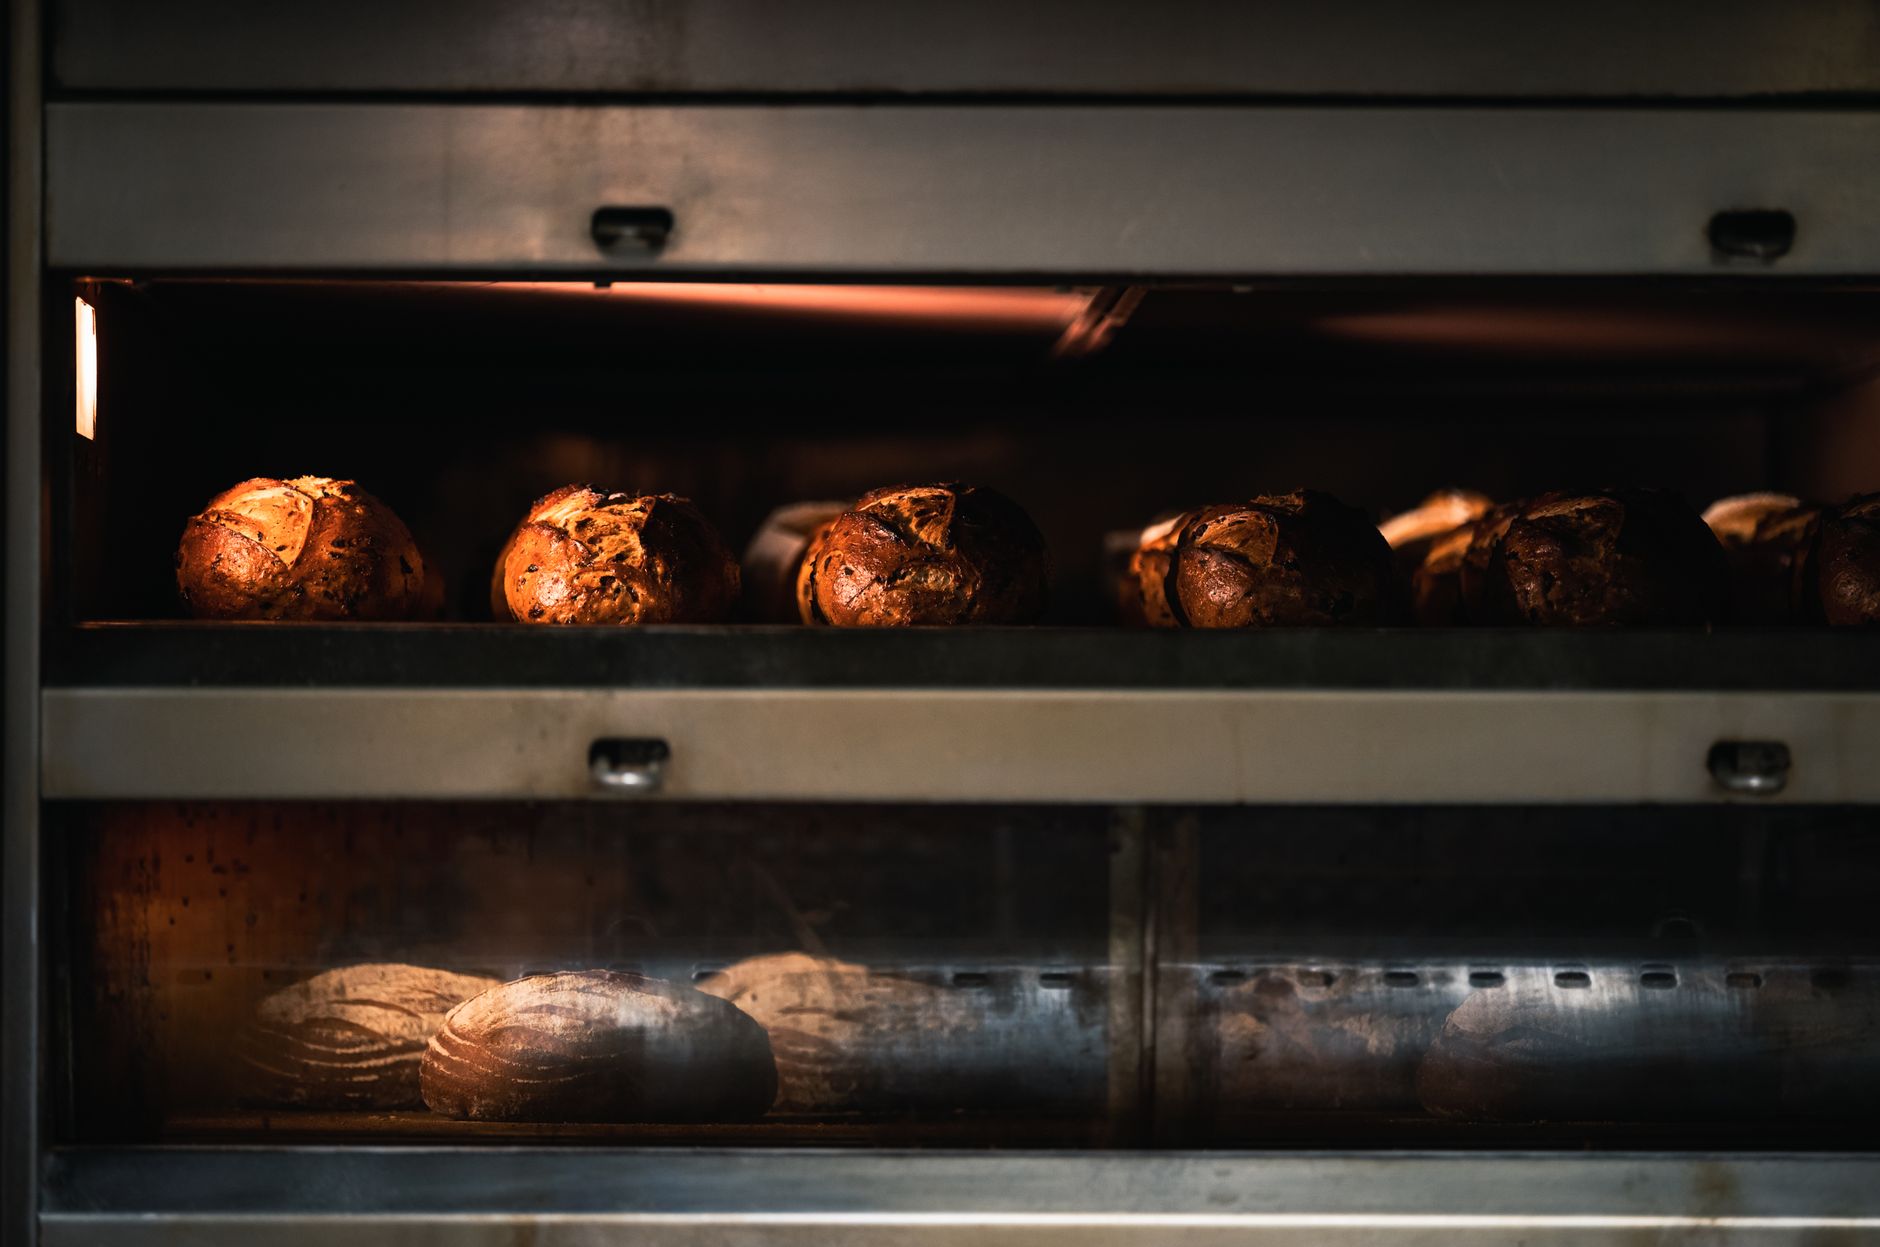
Baking bread at home is a rewarding and satisfying experience. However, understanding how long to bake bread can be challenging, especially with the variety of bread types, methods, and personal preferences for texture and flavor. This guide will help you determine accurate baking times and methods so that you can achieve the perfect loaf every time.
This article will cover several essential factors influencing baking times, including bread types, oven temperatures, and doneness checks, to ensure your homemade bread comes out just right.
How Long to Bake Bread?
The typical baking time for bread can range from 25 to 65 minutes, depending on the type of bread. Factors such as dough thickness, oven temperature, and desired crust color play crucial roles. Checking for doneness can be accomplished through various methods, ensuring that your bread is both delicious and safe to eat.
Factors Affecting Baking Time
Understanding what factors can affect the baking time of your bread can help you achieve the optimal result.
1. Type of Bread
- White bread: Generally bakes for 25 to 35 minutes.
- Whole grain bread: Requires 30 to 40 minutes.
- Sourdough bread: Typically takes 30 to 50 minutes.
- Artisan bread: Can range from 30 to 60 minutes depending on the shape and size.
- Quick breads: Usually bake in 45 to 60 minutes due to their denser texture.
2. Oven Temperature
The temperature at which you bake your bread can vary based on the recipe. Most bread is baked at a temperature between 350°F and 475°F. The higher the temperature, the shorter the baking time, which can impact the crust and moisture content of the loaf.
3. Dough Thickness
The size and shape of your dough will significantly affect baking time. A larger loaf or one that is thicker will require more time than smaller, thinner varieties.
Doneness Checks for Bread
Determining when your bread is done is critical for achieving the right texture and flavor. Here are a few reliable methods to check for doneness:
1. Internal Temperature
The most accurate method to check if your bread is fully baked is by using an instant-read thermometer. Insert it into the center of the loaf; bread is typically done when the internal temperature reaches:
- 190°F (88°C) for white bread
- 200°F (93°C) for whole-grain bread
- 205°F (96°C) for sourdough and artisan varieties
2. Visual Cues
A well-baked loaf should have a golden-brown crust. Darker crust indicates additional baking time, while a pale appearance may mean the loaf is undercooked.
3. Sound Test
Carefully remove the bread from the pan and tap the bottom. A hollow sound indicates that the bread is fully baked, while a dull thud suggests it needs more time.
Common Types of Bread and Their Baking Times
Knowing the typical baking times for various bread types can simplify the baking process. Here’s an overview of common loaves:
1. White Bread
White bread typically bakes for 25 to 35 minutes at 350°F (175°C). It should have a golden crust and sound hollow when tapped on the bottom. If you’re using a pan, it’s good to check a few minutes before the recommended time, to avoid overbaking.
2. Whole Wheat Bread
Whole wheat bread takes longer, generally 30 to 40 minutes. The denser dough absorbs more moisture, requiring extended baking for complete cooking. Check for an internal temperature of around 200°F (93°C).
3. Sourdough Bread
Sourdough, with its often hefty crust, can bake between 30 to 50 minutes, depending on the shape. Internal temperature is key here; aim for around 205°F (96°C). The crust should be deeply browned.
4. Artisan Bread
Artisan bread varies significantly in recipe and dough composition but typically requires 30 to 60 minutes for baking. The visual and sound tests are excellent indicators of doneness.
5. Quick Bread
Unlike yeast bread, quick bread utilizes baking powder or baking soda as leavening agents and generally bakes for 45 to 60 minutes at 350°F (175°C). Check for doneness with a toothpick inserted in the center—if it comes out clean, the bread is ready.
Practical Tips for Baking Bread
Here are some additional tips to enhance your bread-baking experience:
1. Preheat Your Oven
Preheating your oven is crucial. It ensures that your bread begins baking at the right temperature, preventing undercooked dough at the center and promoting a beautiful crust.
2. Use the Right Tools
- Baking pans or stone for even heat distribution.
- Kitchen scale for accurate measurements.
- Instant-read thermometer for precise doneness checks.
- Silicone spatula for folding in ingredients without deflating the dough.
3. Ensure Proper Proofing
Following the proofing time as prescribed in your recipe will influence the bread’s final texture. Over-proofed bread may collapse during baking, while under-proofed bread may yield a dense loaf.
4. Avoid Opening the Oven Door
Every time the oven door opens, heat escapes, causing fluctuations in temperature. It’s best to refrain from checking your bread until it’s near the end of the baking time.
Common Mistakes to Avoid
To further improve your bread-baking journey, here are some common pitfalls and how to avoid them:
1. Overmixing or Undermixing
Overmixing can develop too much gluten, creating a tough loaf. On the other hand, undermixing can lead to unevenly distributed ingredients. Follow your recipe’s instructions closely for mixing times.
2. Improper Temperature Settings
Using inaccurate oven temperatures can negatively impact your bread. Use an oven thermometer to ensure the correct temperature, especially if your oven is known to be inconsistent.
3. Not Measuring Ingredients Accurately
Incorrect ingredient ratios can lead to unexpected results. Use a kitchen scale for precision, ensuring your loaves turn out as intended.
Storage and Reheating Bread
Once your bread is finished baking, it’s crucial to store it correctly to maintain freshness. Here are some simple storage tips:
1. Cooling Before Storage
Allow your bread to cool completely before wrapping it or placing it in a container. This will prevent moisture build-up, preserving its texture.
2. Storing Bread
- Room temperature: Wrap in a clean kitchen towel or in a bread bag for a couple of days.
- Refrigeration: Not recommended, as this can lead to staleness. If you must, keep it airtight.
- Freezing: For longer storage, slice bread and wrap tightly in plastic wrap or foil, then place in a freezer-safe bag.
3. Reheating Bread
To refresh bread, you can wrap it in foil and place it in a preheated oven at 350°F (175°C) for about 10 to 15 minutes. Alternatively, you can use a toaster or microwave in short increments for soft breads.
Variations and Substitutions in Bread Recipes
Often, you might want to make alterations to accommodate dietary preferences or to experiment with flavors. Here are some common substitutions:
- Flour: Substitute whole wheat flour for all-purpose flour (use 25% less to avoid density). Gluten-free flour is also available, although it may require additional binding agents.
- Sweeteners: Replace sugar with honey or maple syrup. Use a 3/4 cup substitution for every cup of sugar; reduce liquid accordingly.
- Fats: Replace butter with vegetable oil or coconut oil; use the same quantity.
When modifying ingredients, be mindful that the baking time may also need to be adjusted, particularly with dense additions like nuts or seeds.
Conclusion
Baking bread can be an enjoyable and fulfilling task when you understand the principles behind the process. With the information provided on baking times, doneness checks, and practical tips, you can confidently experiment with different types of bread in your kitchen. Remember to keep precise notes on your baking adventures—each loaf crafted is a step toward mastering the art of bread-making.
For delicious bread recipes and more cooking tips, explore our articles on honey wheat bread and einkorn bread.